Lucky's Series 3

Restoring, modifying, fettling or just enjoying your RX7 ? Share it with us here...
Lucky
VIP User
VIP User
Posts: 2685
Joined: Mon Nov 07, 2011 8:30 pm
Location: Worthing, UK
Been thanked: 5 times

Re: Lucky's Series 3

Post by Lucky »

Bit more progress today. Had to do stuff in the garage as it kept pissing down every time I stuck my snout outside, so I couldn't get on with swapping the perished fuel hose like I wanted to :( Annoying, but it hasn't caught fire yet, I guess a few more days won't hurt it. Hopefully that wasn't tempting fate :shock:

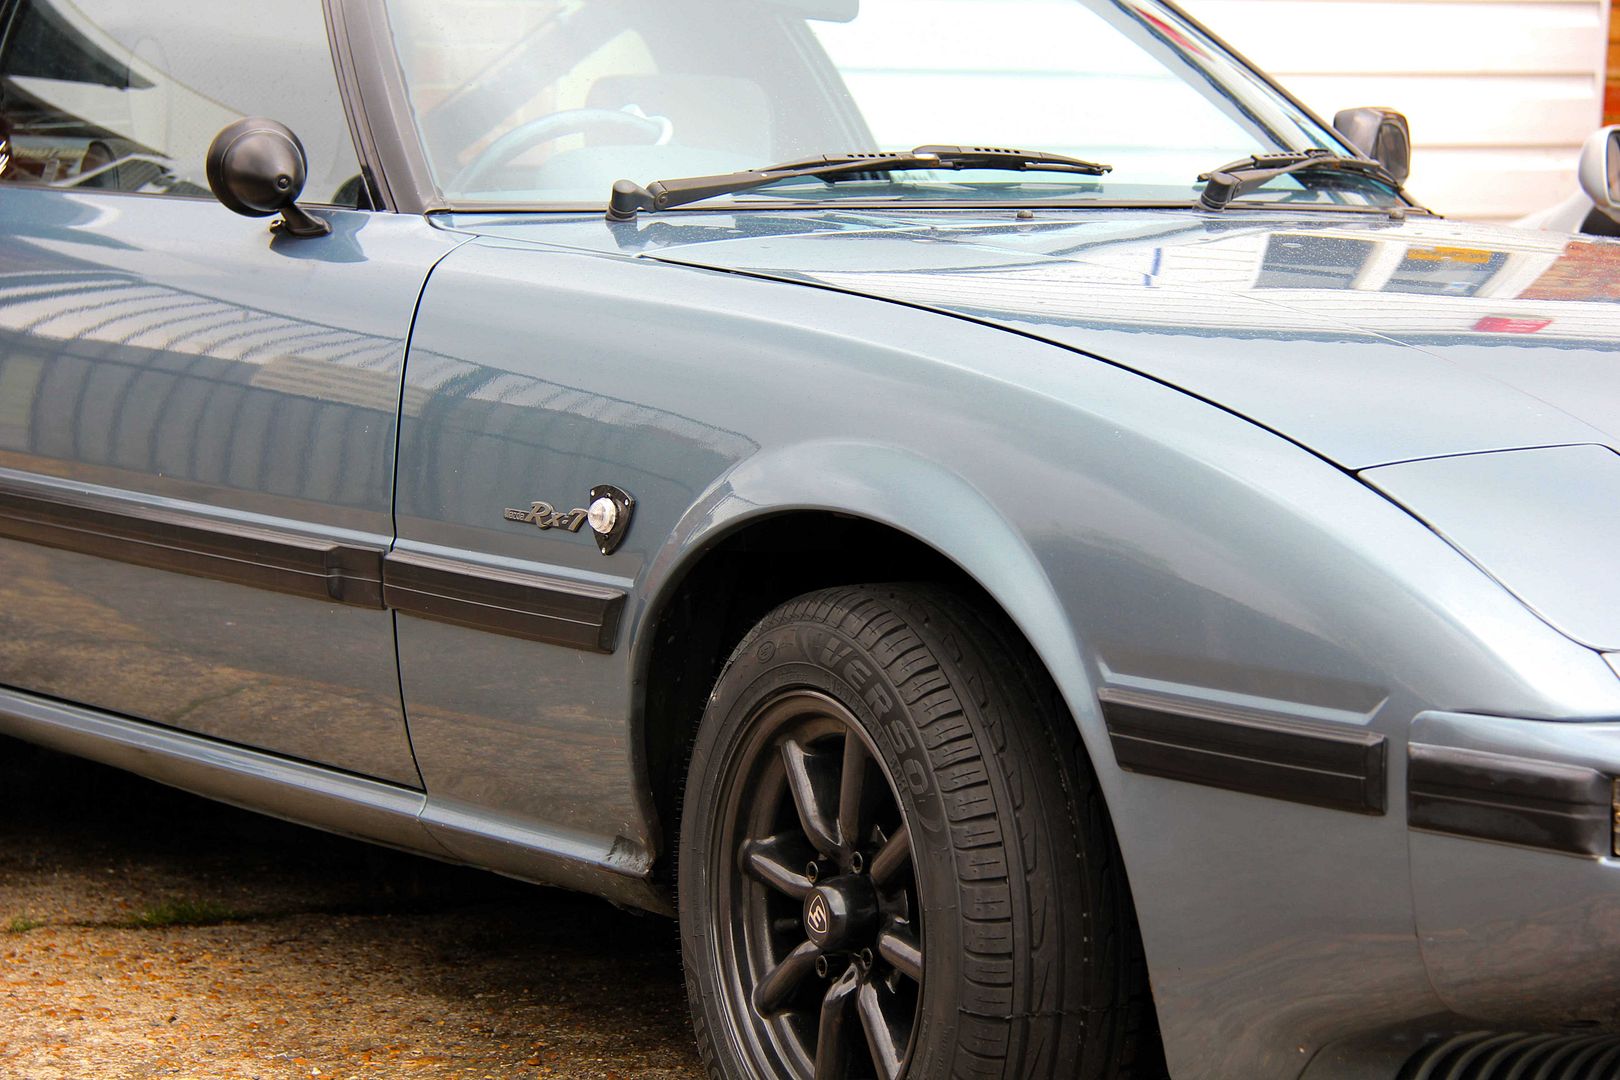
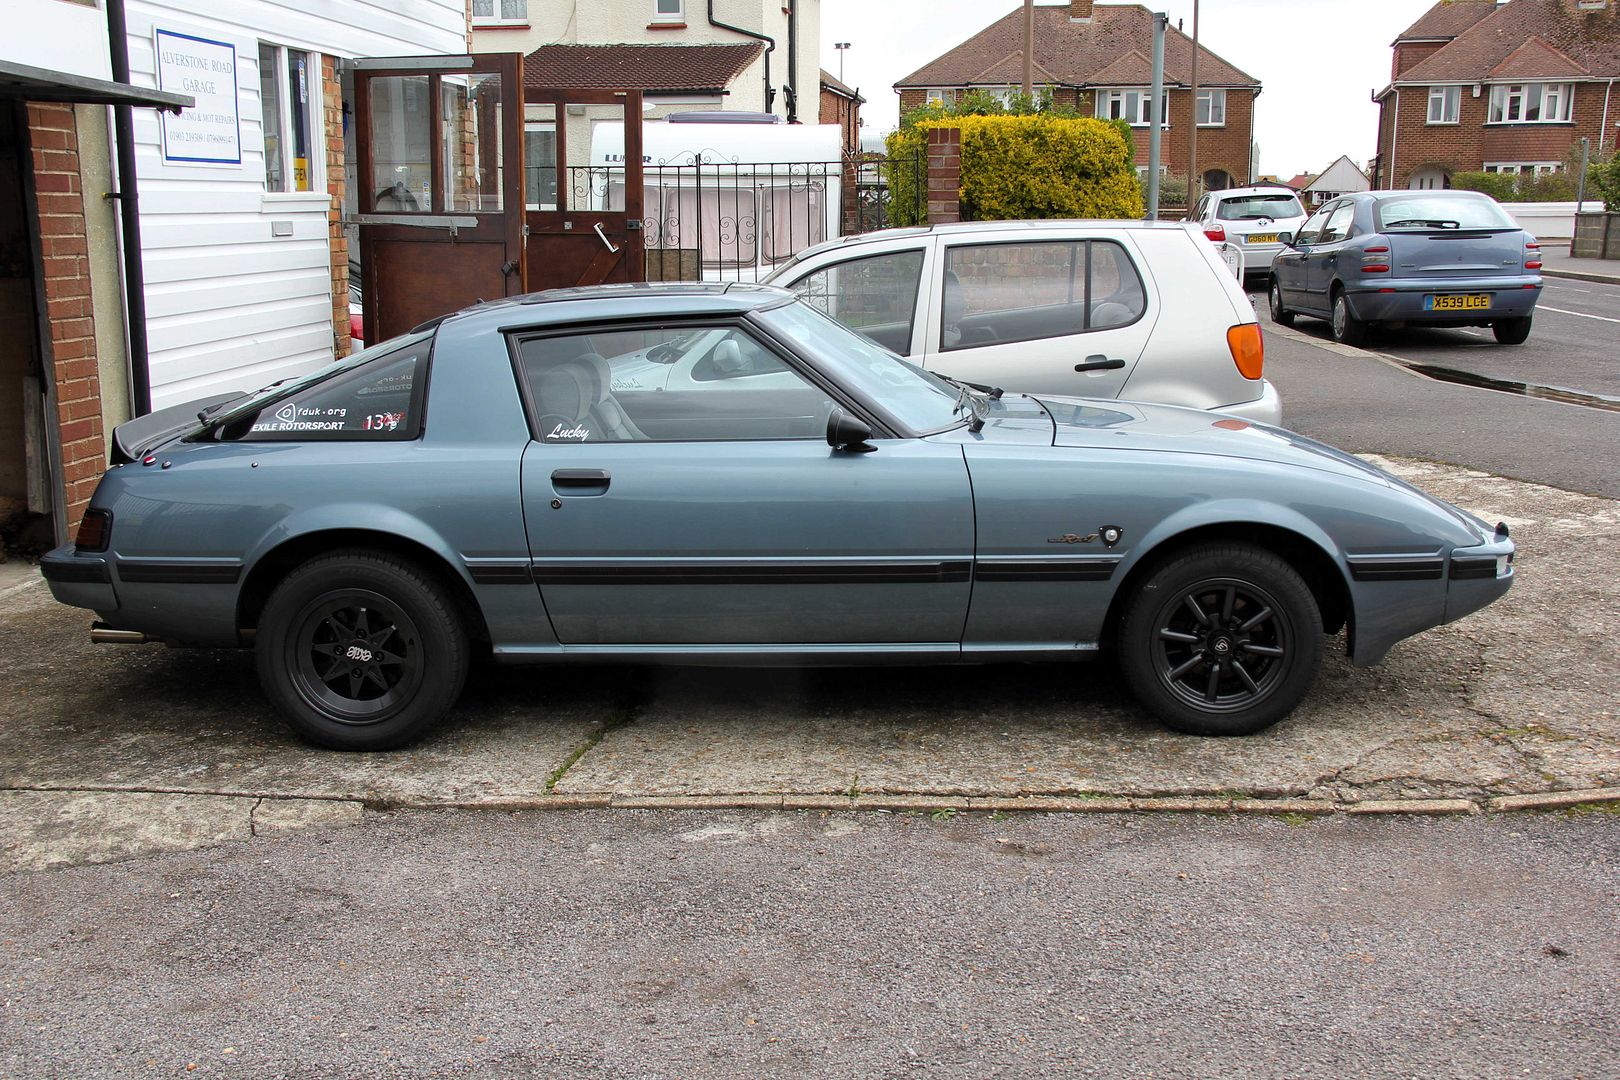
Anyway, side repeaters. I've become something of an authority on side repeaters in my quest to lose the giant tango-hued things :x Lets face it, nothing tango-coloured ought be suffered to come near an RX-7 ;) Trouble is, apart from UK FBs and FCs, no other car on the planet seems to have the same side repeaters, and I couldn't find anyone doing clear or smoked replacements. So the only option was to replace them with something else. Trouble with that is, once you remove the horrid stockers, you're left with this;

Image

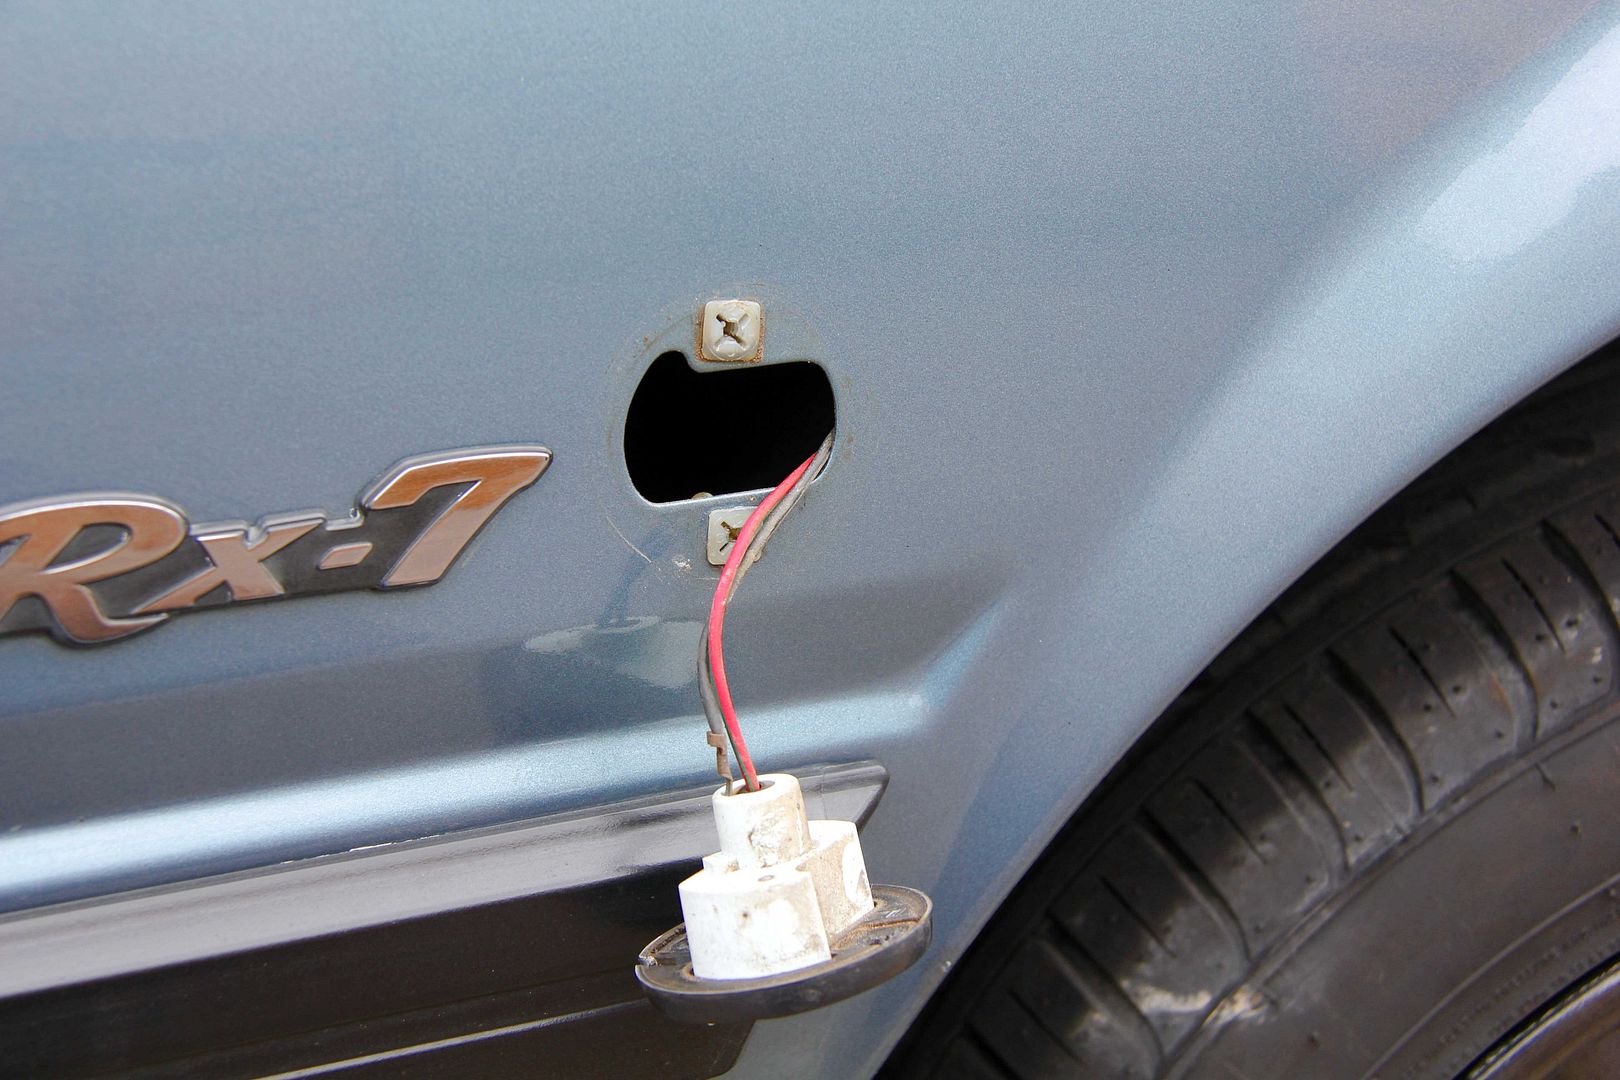
Which is hardly condusive to easy replacement, even if you could find a mounting that fitted in the cut-out you're left with the two screw holes. Plating and painting would be one option, but not for me; too overkill and as always, too hard to put back to stock if necessary. So, let me take you on a little journey into my world of borderline autistic levels of OCD and mania..... :oops:

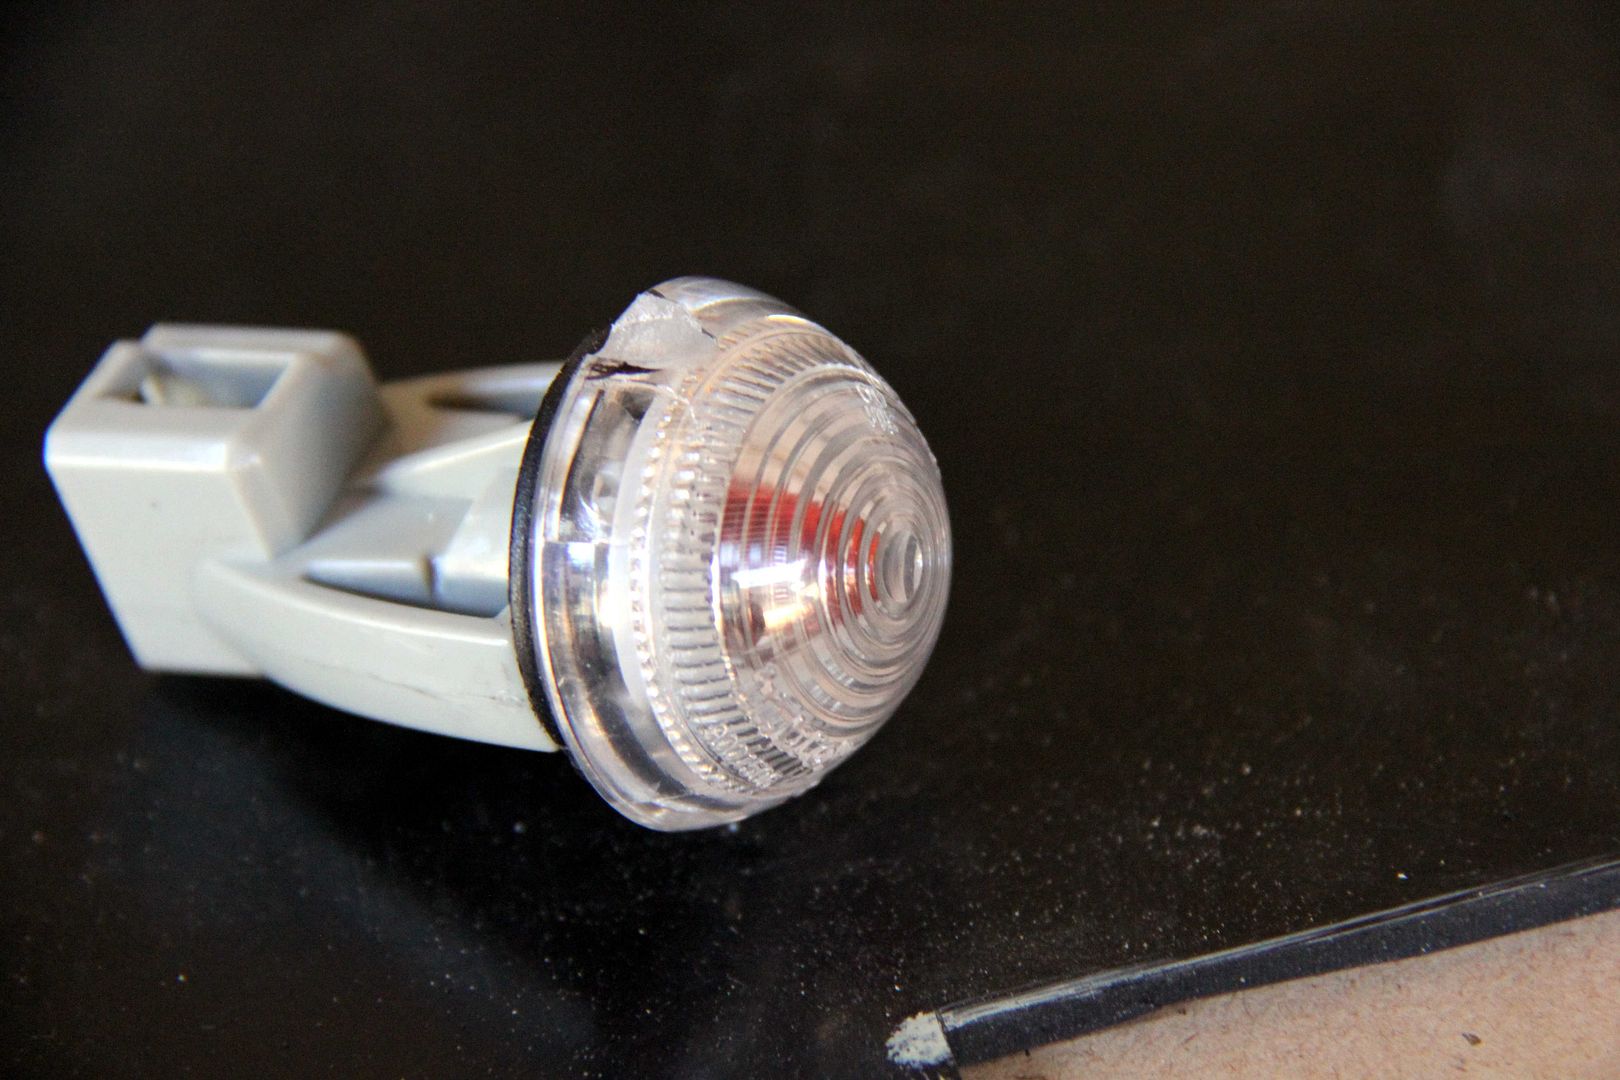
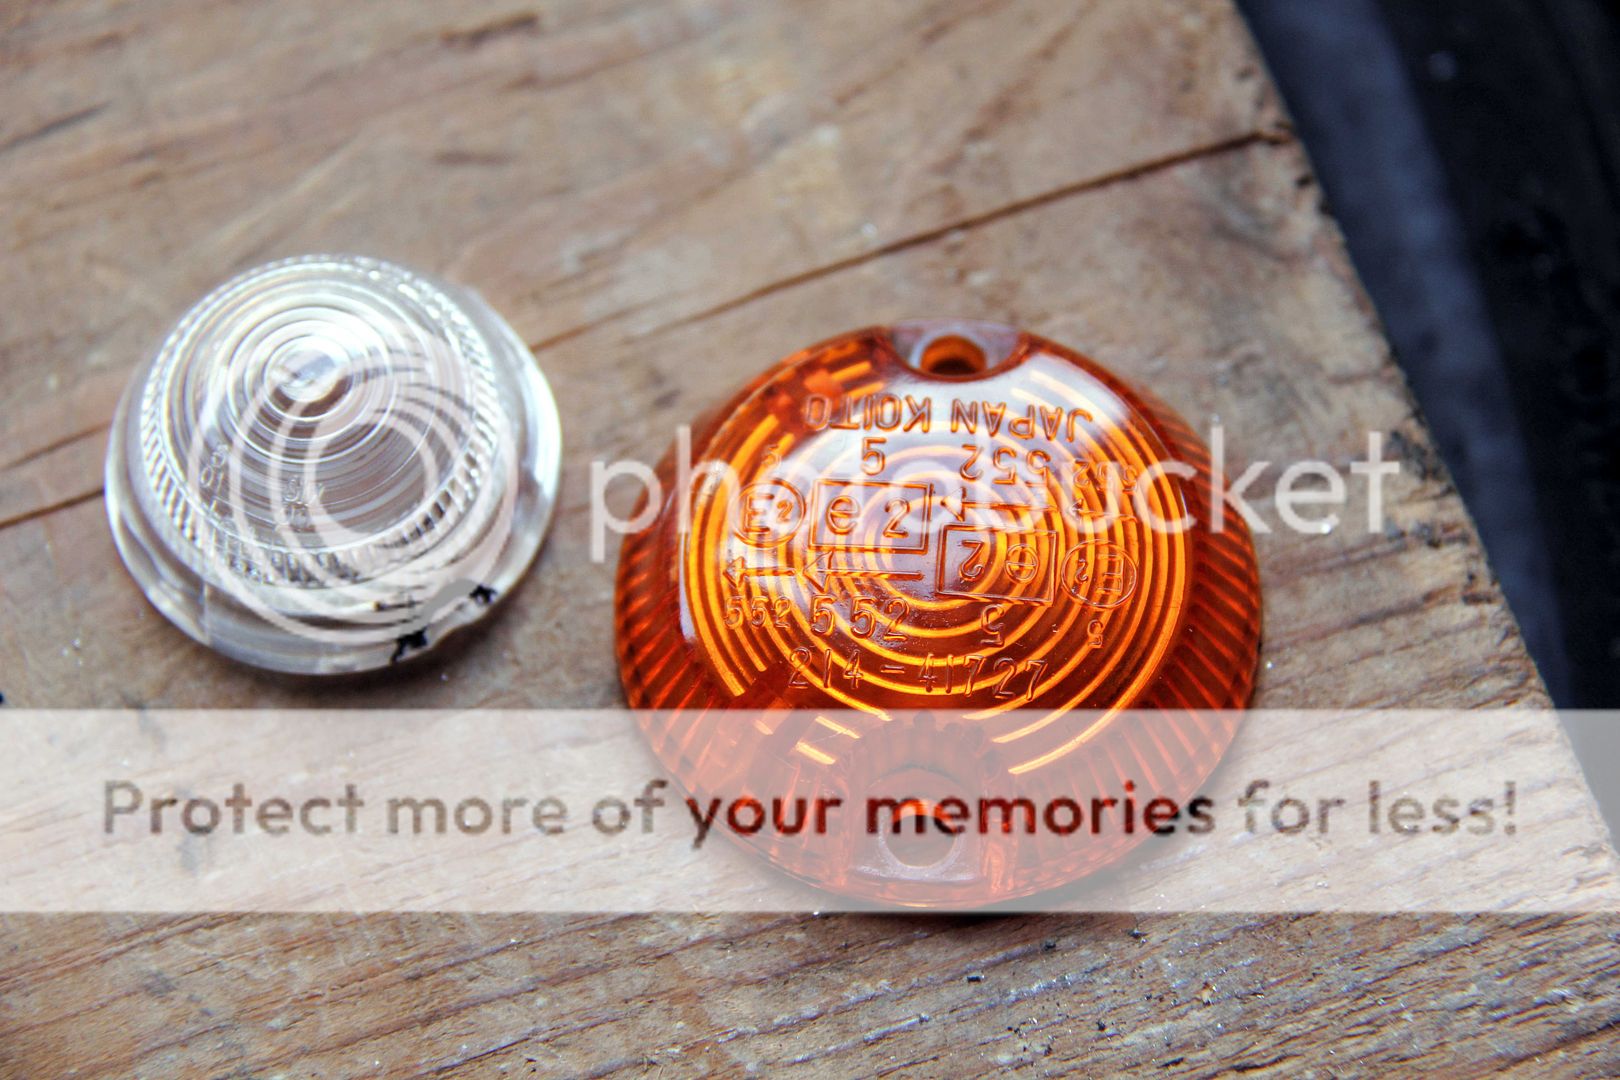
First thing was to source the smallest side repeaters I could find (round ones anyway, old Ford 'scorts had little square ones, but that'd look pony). Came up with some Fiat Seicento ones. Only firm I could find doing clear ones was in Germany, so they're EU-approved, TUV approved and probably built to higher standard than anything else on the car lol. The ones on Cinquecentos are smaller, really tiny, but no-one does clear ones. Guess not many people Max-up Cinqs :roll: So we have this to work with;
Image

Obviosuly, a plate is now needed to mount them and cover the wreckage Mazda saw fit to drill through the wing. I was gonna do it in alloy cos it's easy to work with and light, but would look cack in sliver, so I'd have to paint it and then it'd scratch... and look cack. Eventually settled on carbon fibre cos it's also easy to work, light, looks cool, etc. Genuine stuff, not Farbon, either
Image

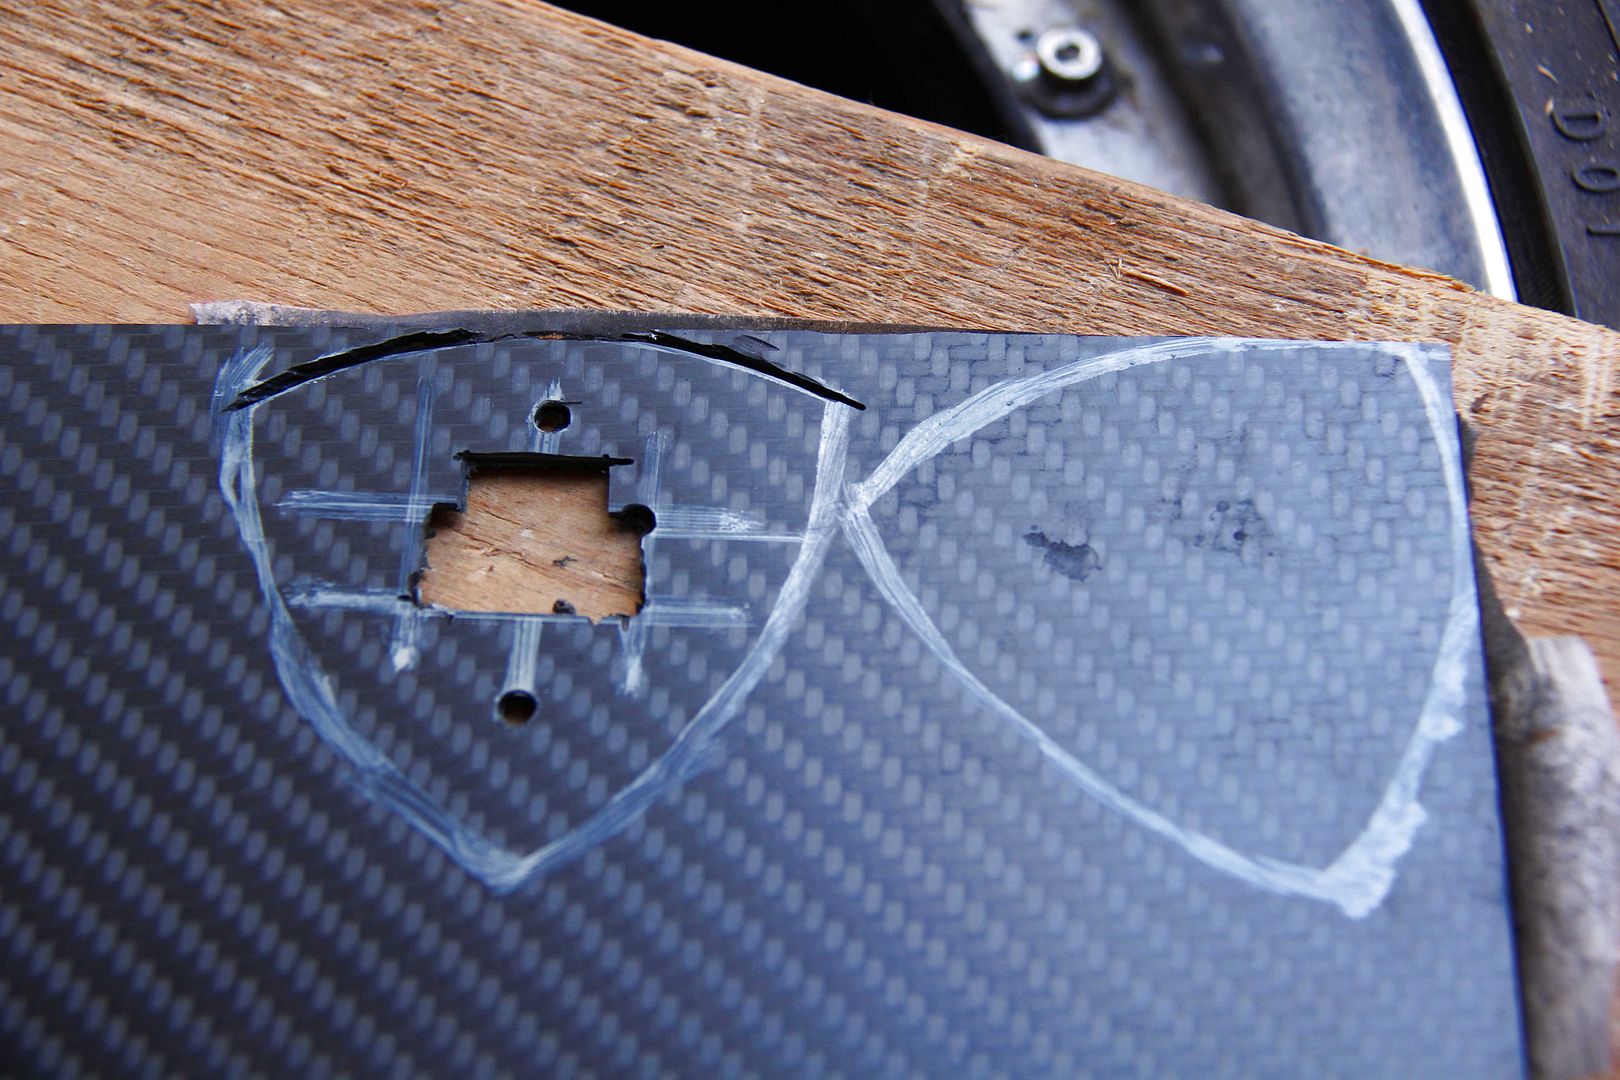
Can you tell what it is yet lol. The shape was an obvious choice, really. Sorta homage to the Spirit R badge stylee and all that. Requires a steady hand cutting out...
Image

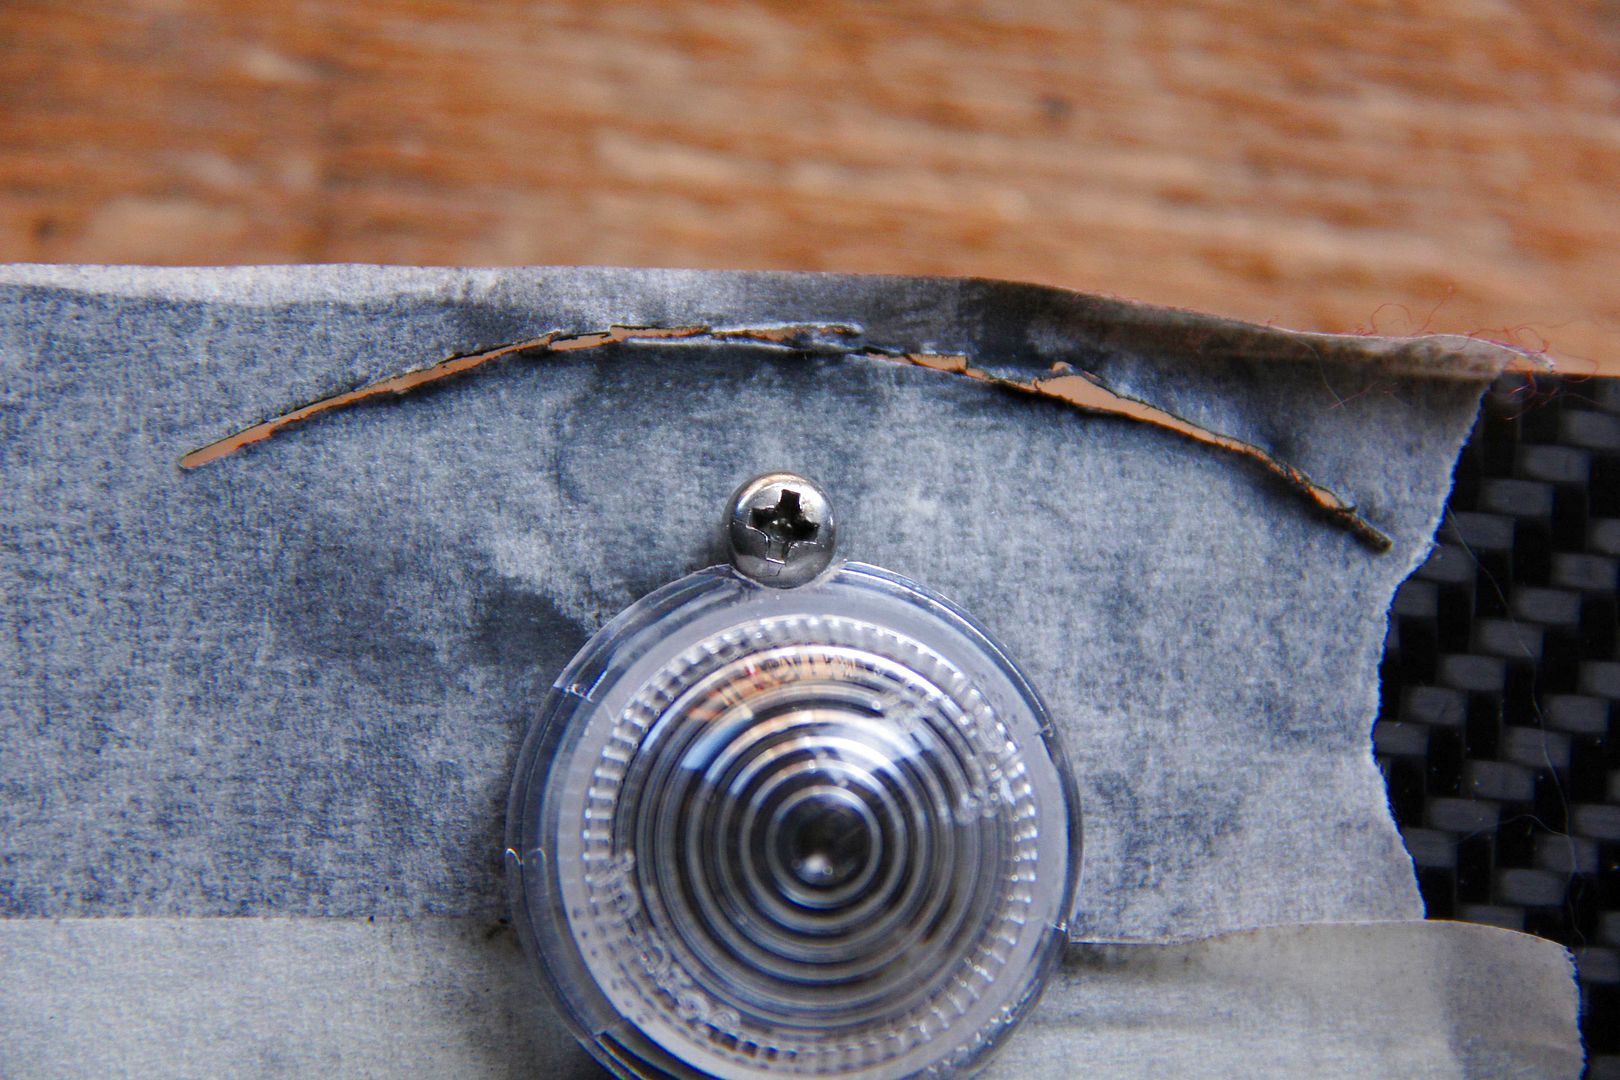
Next thing was to relieve the lenses a little. They almost fitted between the screw holes for the originals, but not quite. Bugger!
Image

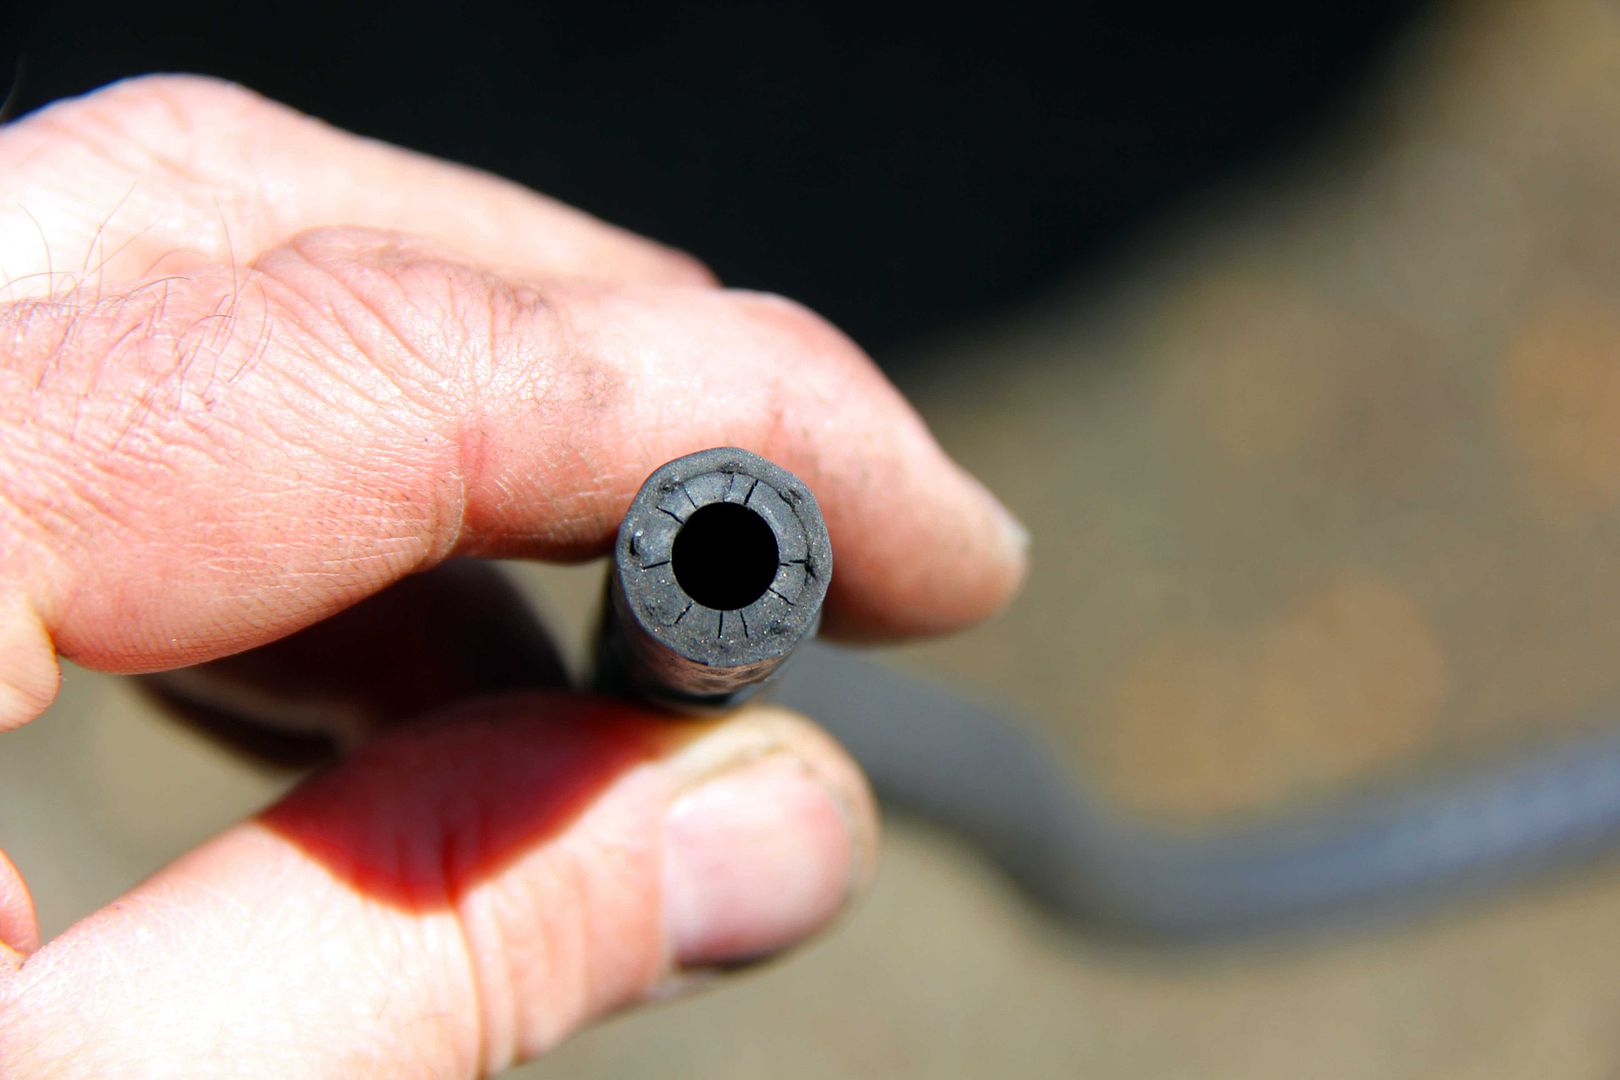
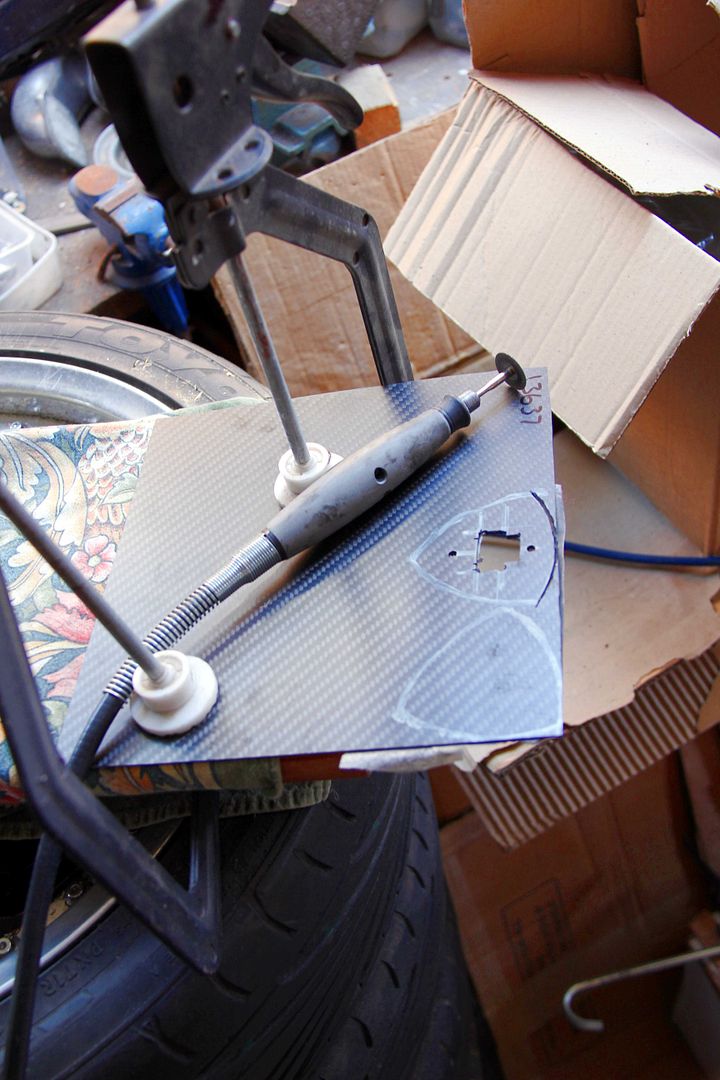
God knows what the home enthusiast did before Dremels, lol. Actually, I remember perfectly well what we did and it involved a hella lot of faffing around with hacksaws and files :( Still, a bit of Dremel action later...
Image

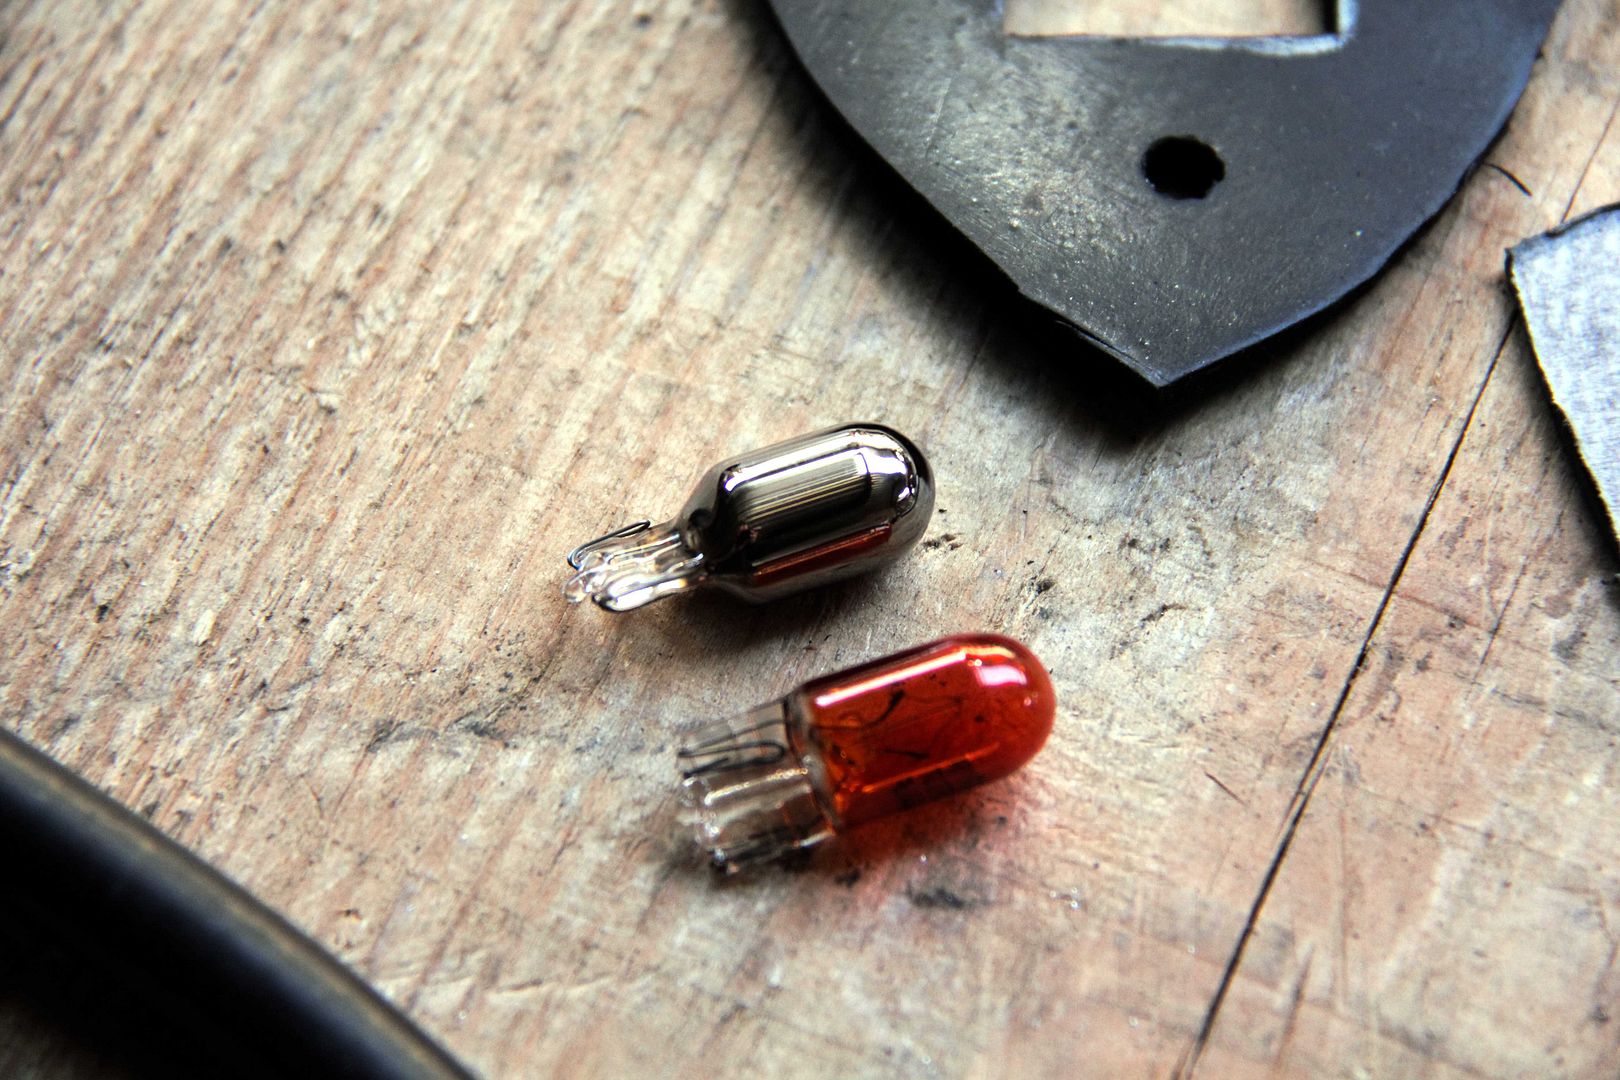
Then of course the German-supplied orange bulbs had to be sacked out in favour of nice chrome ones in order to avoid the fried-hegg look
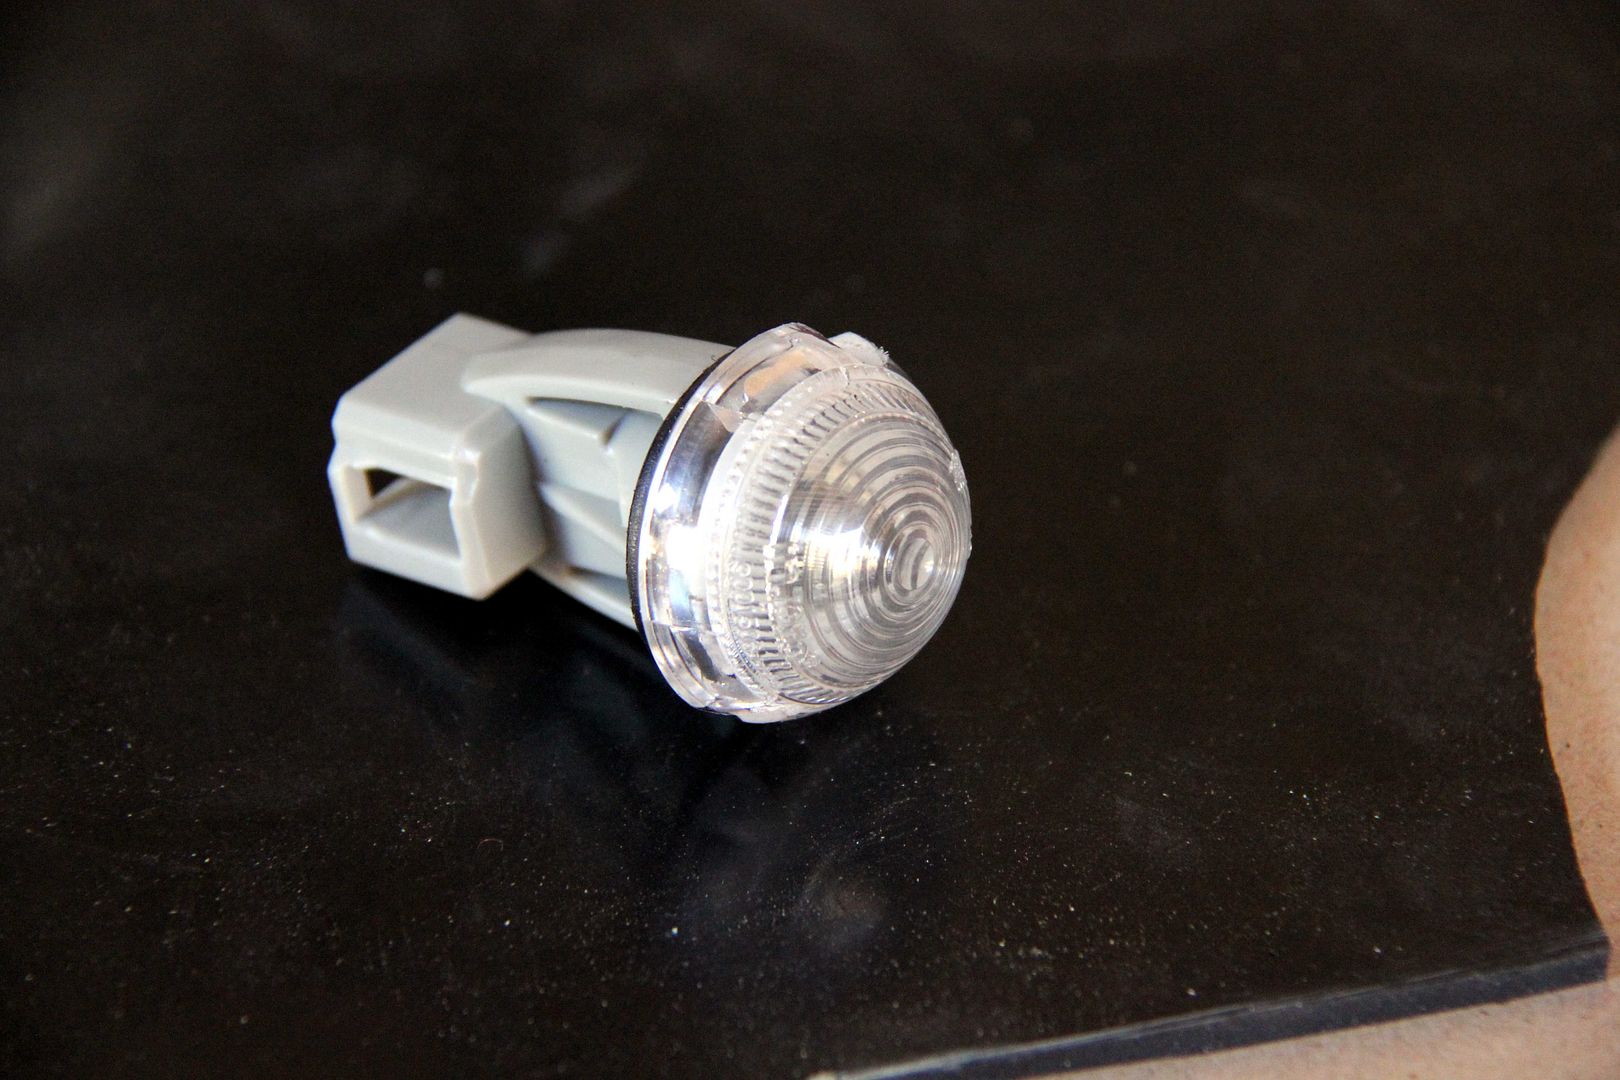
Image

Much better
Image

Then in order to keep the wing waterproof and stop rust getting in behind, a gasket was needed. Now I had one plate made up it was easy to use as a template for everything else. A good quality rubber sheet 3mm thick made for perfect gasket material. Hey, everyone should have rubber sheets easy to hand ;)
Image

Then the final touches; a spot of countersinking and some silver enamel, just to add a bit of detail and make it look like these were designed to be there, not just a random-shaped lump of carbon glued to the wing
Image

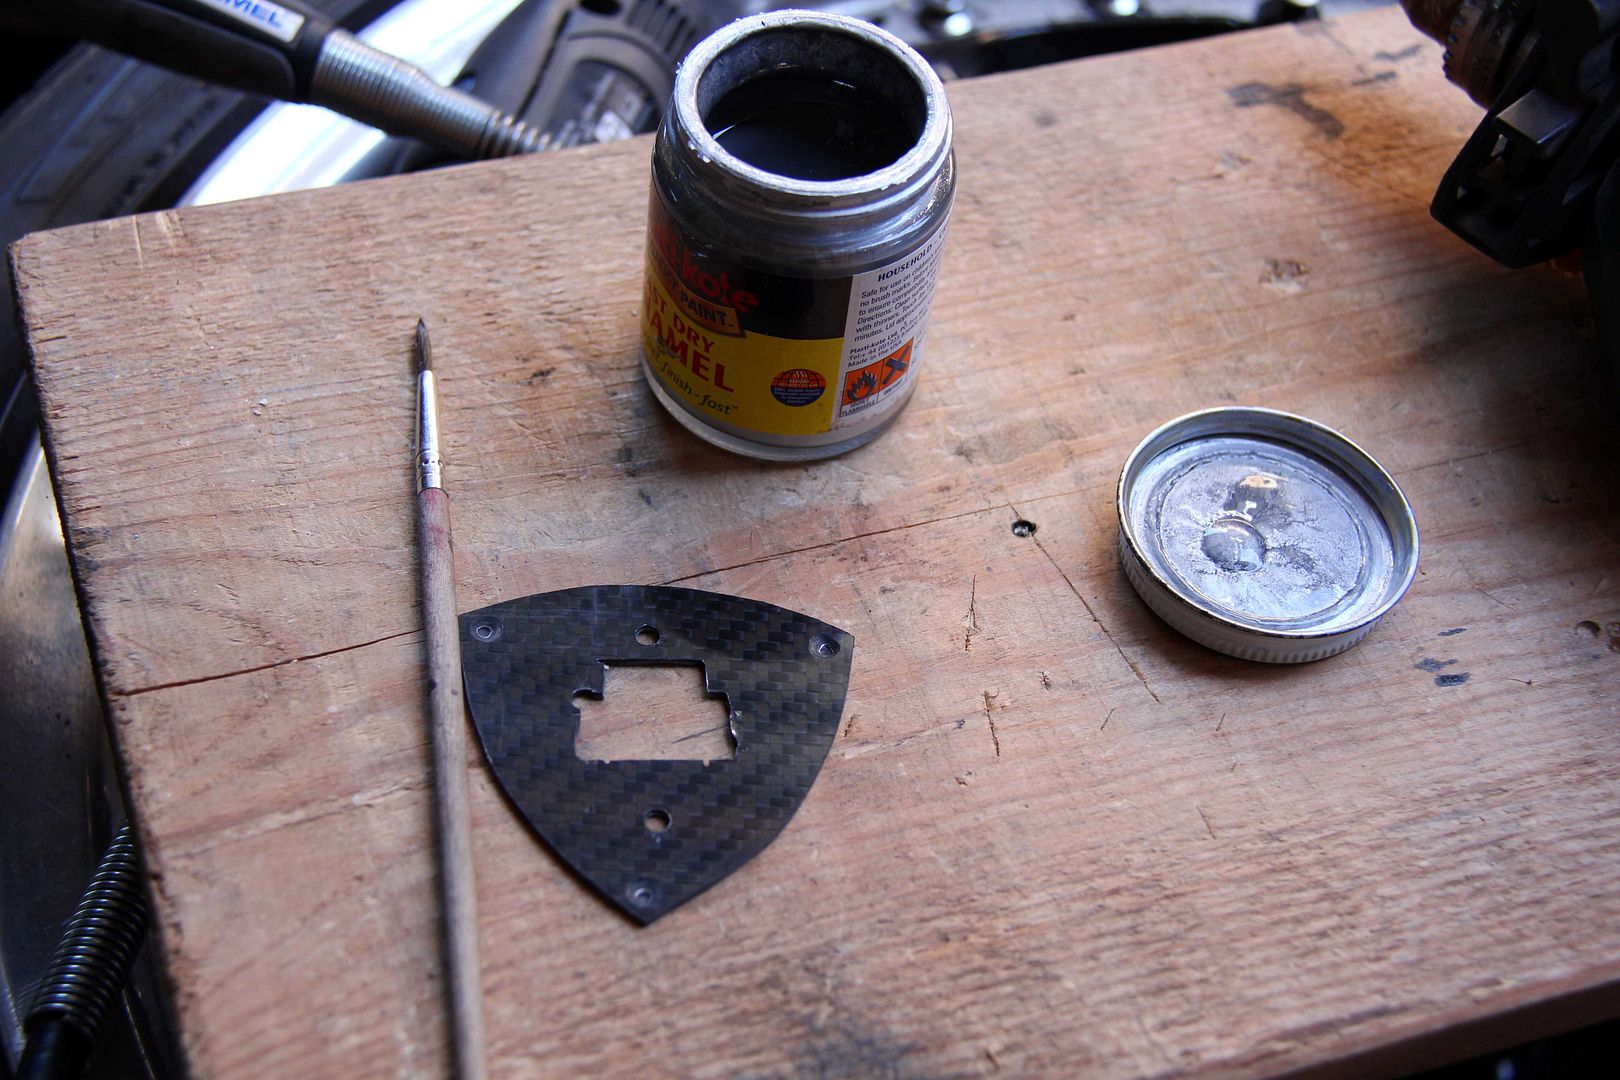
and some black on the screwheads to try and invisible-ise them and stop it getting too cluttered and busy
Image

...and Boom!
Image

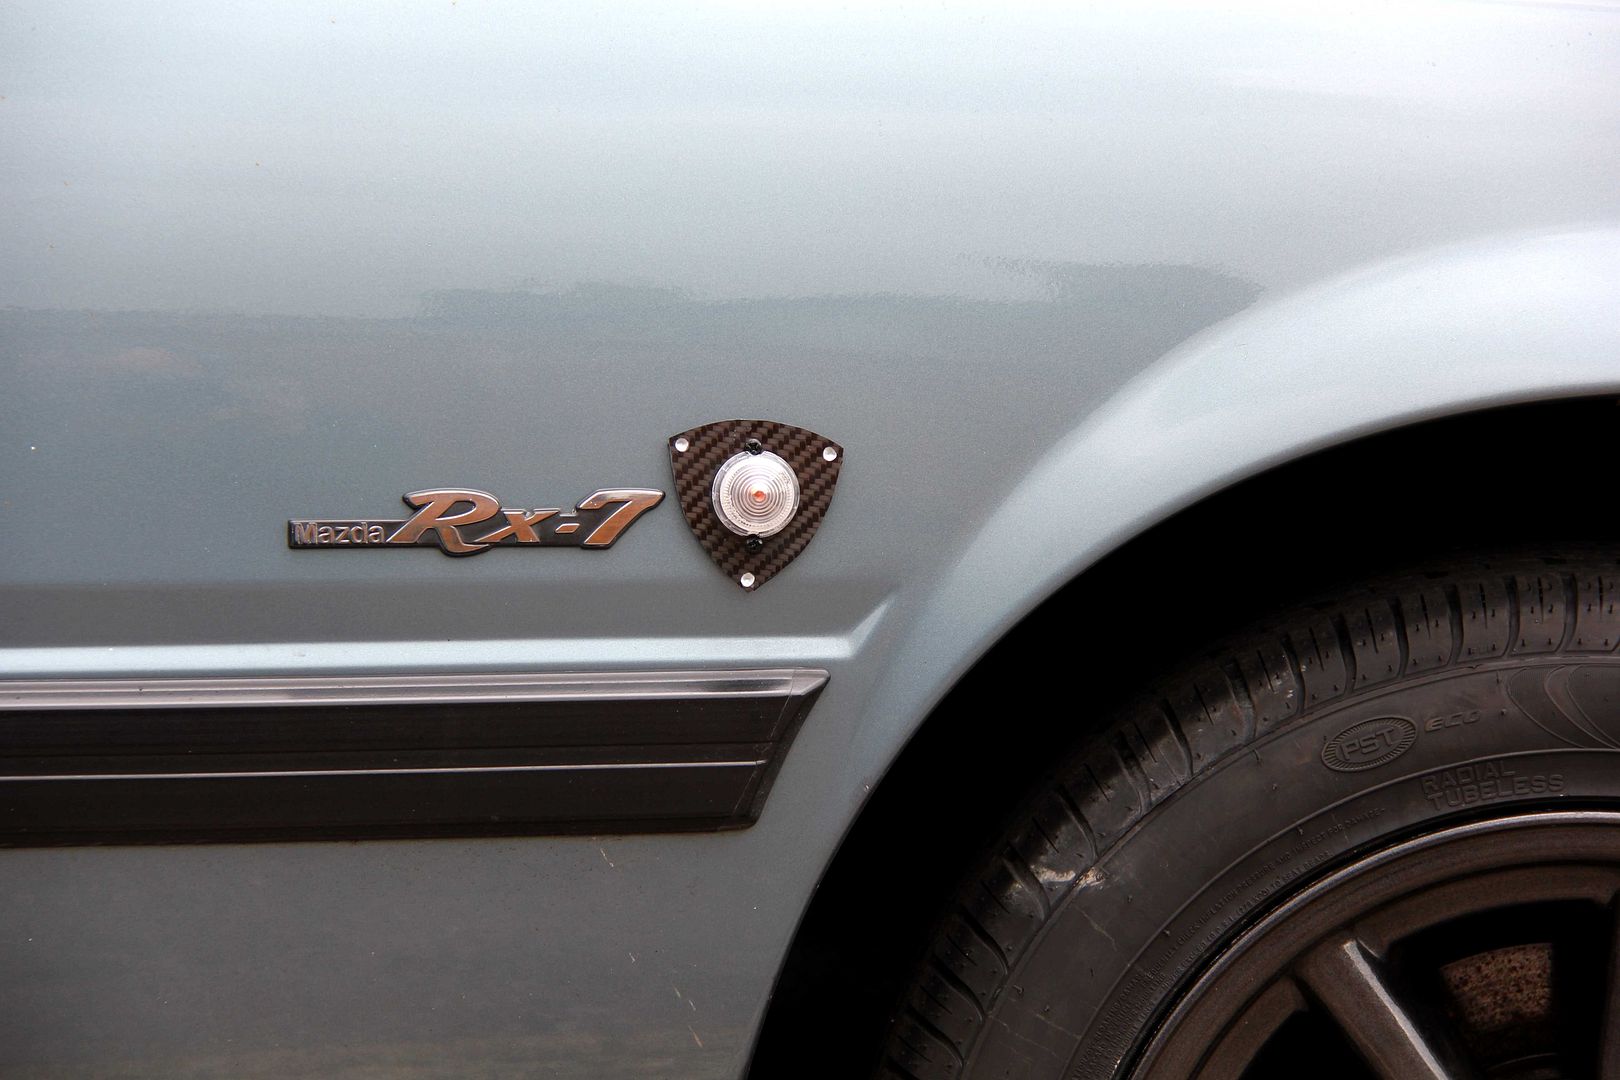
rotor-shaped bespoke side repeaters that (hopefully) look much better than the horrid stock orange ones, and more importantly, maybe look like they were meant to be there all along
Image

Maybe it seems a slightly obsessive length to go to over such a little thing, but in actual fact it only took an afternoon and a lot of it was measuring carefully a few times before cutting the first template out. After that, it was peasy. And I've got some carbon rotor side repeaters, and you haven't 8-) . So I win :lol:
Image
User avatar
ian65
Admin
Admin
Posts: 6402
Joined: Wed Mar 30, 2011 12:11 am
Has thanked: 315 times
Been thanked: 376 times

Re: Lucky's Series 3

Post by ian65 »

that's some serious dedication to cut out the rototr surrounds there Nik..... cars looking darker and more moody by the day.
Are you going to do anything with the back light clusters..... clearer lenses a la Lexus lights? Doing the JDM rear light mod would look good IMO.

1999 Jaguar XJR V8 Supercharged

1992 Peugeot 205 1.9 GTI
2003 Mercedes SLK 200 Kompressor
Lucky
VIP User
VIP User
Posts: 2685
Joined: Mon Nov 07, 2011 8:30 pm
Location: Worthing, UK
Been thanked: 5 times

Re: Lucky's Series 3

Post by Lucky »

I've thought about it, Ian. I dunno if I'm brave enough to do it to my one and only set though :oops: I plan on getting a spare set first in case it all goes horribly Pete Tong
User avatar
myatt1972
VIP User
VIP User
Posts: 1565
Joined: Thu Mar 31, 2011 10:54 am
Location: Staffordshire Moorlands
Has thanked: 40 times
Been thanked: 37 times

Re: Lucky's Series 3

Post by myatt1972 »

Sorry but they dont work for me, I want to squeeze them like a boil! :?
On the plus side I can donate you some rear lights to play with :D
Keith...
Lucky
VIP User
VIP User
Posts: 2685
Joined: Mon Nov 07, 2011 8:30 pm
Location: Worthing, UK
Been thanked: 5 times

Re: Lucky's Series 3

Post by Lucky »

myatt1972 wrote:Sorry but they dont work for me, I want to squeeze them like a boil! :?
Yow! Gross :o Fair play, they do stick out a bit further than I'd like. I still think they're better than they were, and everyone's entitled to an opinion of course
myatt1972 wrote: On the plus side I can donate you some rear lights to play with :D
That's more like it :lol: How much, dude?
User avatar
myatt1972
VIP User
VIP User
Posts: 1565
Joined: Thu Mar 31, 2011 10:54 am
Location: Staffordshire Moorlands
Has thanked: 40 times
Been thanked: 37 times

Re: Lucky's Series 3

Post by myatt1972 »

Free to a good home and because I feel bad for comparing your repeaters to a boil :oops:
If you could cover the postage that will do for me or you are more than welcome to pick them up.
Keith...
TOOL
VIP User
VIP User
Posts: 2598
Joined: Thu Sep 01, 2011 10:30 am
Location: Switzerland
Been thanked: 24 times

Re: Lucky's Series 3

Post by TOOL »

No side repeaters JDM style ;)
Back in the UK for the summer, maybe longer......
User avatar
MelloYello
VIP User
VIP User
Posts: 1151
Joined: Wed Jun 01, 2011 8:42 pm
Location: London, England.
Has thanked: 22 times
Been thanked: 52 times

Re: Lucky's Series 3

Post by MelloYello »

TOOL wrote:No side repeaters JDM style ;)
Image
Lucky
VIP User
VIP User
Posts: 2685
Joined: Mon Nov 07, 2011 8:30 pm
Location: Worthing, UK
Been thanked: 5 times

Re: Lucky's Series 3

Post by Lucky »

TOOL wrote:No side repeaters JDM style ;)
That's no help, is it? I'd just have a set of two little and one great big holes in the wing :?
myatt1972 wrote:Free to a good home and because I feel bad for comparing your repeaters to a boil :oops:
If you could cover the postage that will do for me or you are more than welcome to pick them up.
That's very kind of you, Keith. But you don't have to feel bad about being cruel to my side repeaters lol, I'm not that thin-skinned :lol: Let me know what you reckon will cover the post, if you could and I'll paypal or bank transfer it, whichever you'd prefer. I think the eight-hour round trip for collection might be a bit much :(
Lucky
VIP User
VIP User
Posts: 2685
Joined: Mon Nov 07, 2011 8:30 pm
Location: Worthing, UK
Been thanked: 5 times

Re: Lucky's Series 3

Post by Lucky »

Well, I managed to dodge the drops enough to get some work done today. Fitted Uncle Era's oil pressure relief doodad, for which I'm suitably grateful, thanks again dude :) Bit of a worry trying to persuade the hose over the end now I know how pathetically brittle they are, I would have felt a proper tit asking for another one. :oops:

I also changed the fuel lines for some nice new braided ones. Probably just as well, check out the state of the old ones :shock:

Image

Gadzooks! :o When Noah plumbed in the diesels on the Ark he used some of this fuel line. Anyway, well shot of that and the new ones don't seem inclined to leak (yet) so hopefully my death in a blazing fireball is deferred for a while at least. Trouble with changing old crappy black stuff for new shiny bits is now I made a clean spot. Where will it end? :lol: Oh, I fitted a quality genuine imitation MazdaSpeed(ish) oil filler cap as well. Just because I can

Image

Finally, I got a copy of the new CAR magazine courtesy of the editor. It's a good article, very positive towards Mazda rotaries, and certainly makes ol' Safka look da bomb

Image

Oh, yes 8)
Post Reply

Return to “RX7 Rides and projects”