Hi Pete
Thanks for that suggestion. Yes I have removed the rust from the pulleys and repainted them. I noticed when I was starting the car every now and again that the belt was wearing.
Lots done this week so far.
Engine bay and contents cleaned using nylon brush and vacuum cleaner followed by soap and water and solvent when required.
Radiator and Starter motor removed so front engine mount can be removed and cleaned and painted and front of engine cleaned.
Heater return pipe removed. New hoses ordered from Mazda and pipe painted
Wiring arranged and wrapped
Rust on passenger door removed and temporarily primed
Front cross member and engine mounts cleaned and painted
fuel injection piping, fuel rail and pressure regulator cleaned and painted
Turbo exhaust manifold reinstalled.
Turbo reinstalled
More photos to follow later but here are some now.
Nice clean and shiny
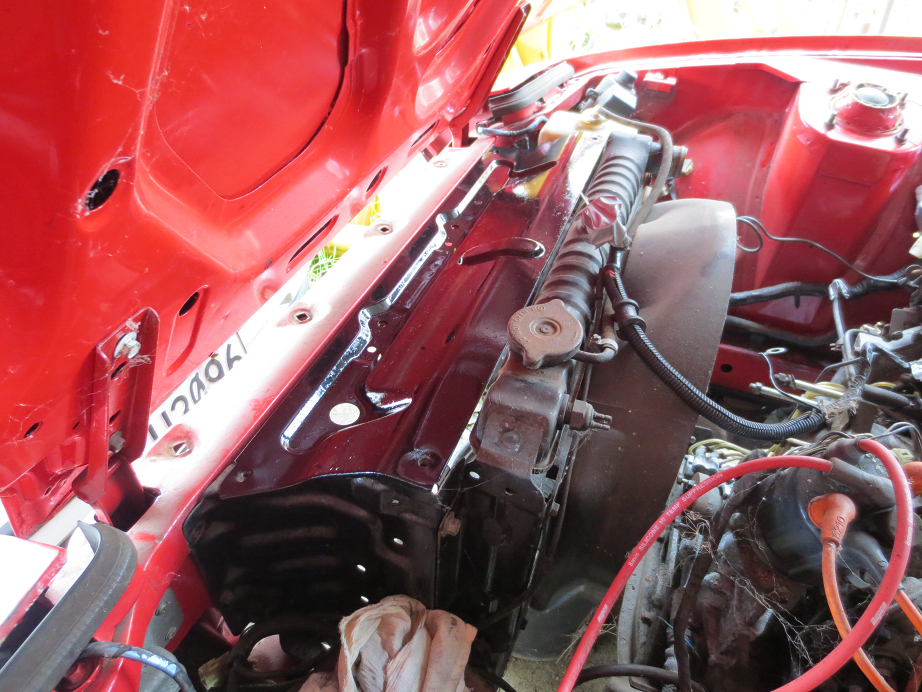
- Bright and shiny
- rad_suppt.png (1.24 MiB) Viewed 7387 times
Braided hoses. Spot the one I replaced in 1996. Rubber in these was good but they look bad. Still available from and ordered from Mazda. Return pipe cleaned, painted and reinstalled.
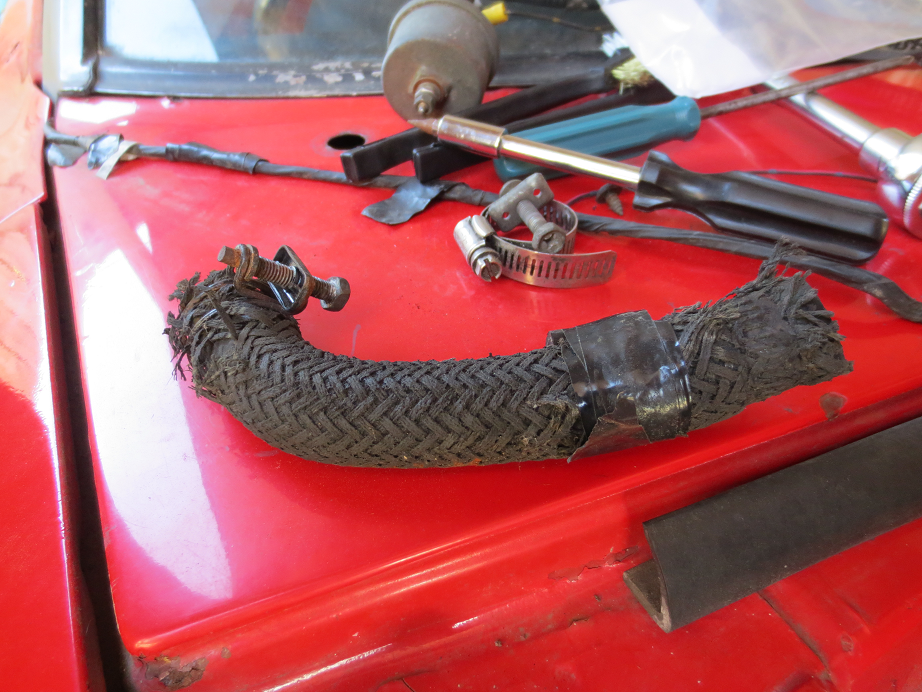
- Will go another round?
- bad_heater_hose.png (1.18 MiB) Viewed 7387 times
Turbo manifold.
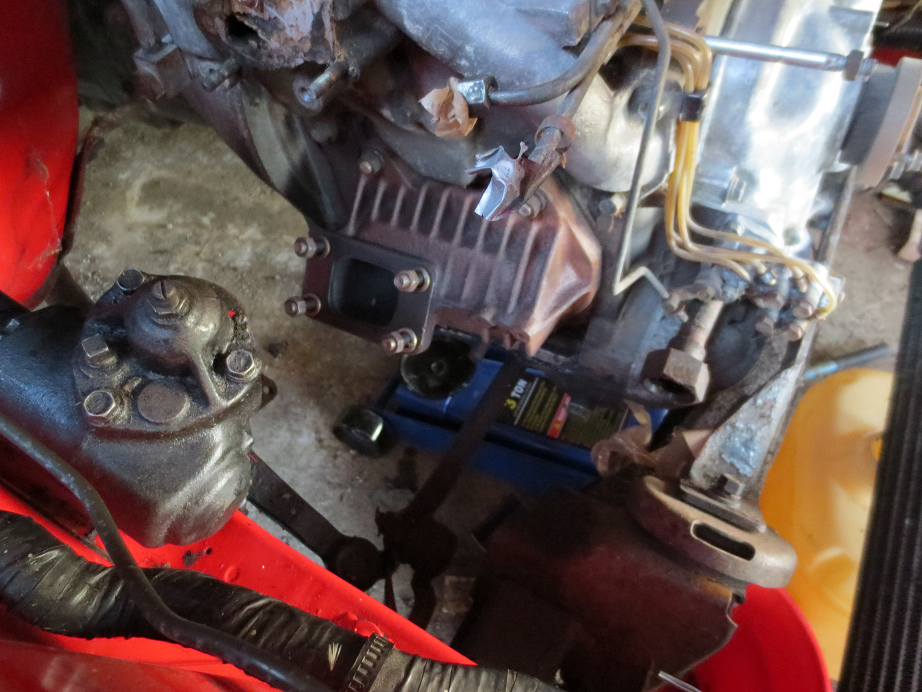
- Heavy but well made
- turbo_manifold_installed.png (1.16 MiB) Viewed 7387 times