Red RX7 Resurrection

Restoring, modifying, fettling or just enjoying your RX7 ? Share it with us here...
seaglen
Posts: 46
Joined: Tue Feb 11, 2014 10:48 am
Location: Auckland, New Zealand

Re: Red RX7 Resurrection

Post by seaglen »

BTW

If the 12a doesn't work out I have a backup engine sitting in storage that will do the job. I got this for a series 4 I sold before I completed. Its a Jap import series 5 motor I bought around 1997 its been in the garage with the red car. h[b[
The names Plan B .... 13B
13b_fron1ok.jpg (161 KiB) Viewed 6785 times
Chud
VIP User
VIP User
Posts: 933
Joined: Fri Apr 01, 2011 7:35 am
Location: North Dorset, UK
Has thanked: 3 times
Been thanked: 111 times

Re: Red RX7 Resurrection

Post by Chud »

Well, what are you waiting for? 8-)
instagram: tymboooo

1980 series 1 RX7 x2
1983 series 2 RX7
1975 RX3 Coupe
1956 VW split screen kombi
1966 Porsche 912
TOOL
VIP User
VIP User
Posts: 2598
Joined: Thu Sep 01, 2011 10:30 am
Location: Switzerland
Been thanked: 24 times

Re: Red RX7 Resurrection

Post by TOOL »

There's plenty of series 5 turbo motors floating about on this forum. Between me, Ramon and Tim we must have 10, I reckon.
Back in the UK for the summer, maybe longer......
seaglen
Posts: 46
Joined: Tue Feb 11, 2014 10:48 am
Location: Auckland, New Zealand

Re: Red RX7 Resurrection

Post by seaglen »

Some progress. As I'm painting the brake master cylinder and booster I intend to reco the brake cylinder at least at this stage.

located a reco kit on Amazon for $24 + $7 postage to NZ . AC Delco 18G1250 which according to the Mazda parts book is correct for the car I got the booster from. Also ordered a spray gun so I can fill and prime that rust. This weekend I will have time to get the turbo off and see what the next step on the engine is. Have had a tight deadline at work, no fun. I also want to get the engine bay cleaned and see what needs repainting.
Brake parts good
Brake parts good
ac_delco_brakse_mstr.jpg (24.52 KiB) Viewed 6759 times
TOOL
VIP User
VIP User
Posts: 2598
Joined: Thu Sep 01, 2011 10:30 am
Location: Switzerland
Been thanked: 24 times

Re: Red RX7 Resurrection

Post by TOOL »

I looks right, but depends if they've given you the right diameter.
Back in the UK for the summer, maybe longer......
seaglen
Posts: 46
Joined: Tue Feb 11, 2014 10:48 am
Location: Auckland, New Zealand

Re: Red RX7 Resurrection

Post by seaglen »

I almost forgot one item I'll have to include for the certification.

It will be item 54a. To comply with the Low Volume Vehicle Cerification rules here in NZ as the 12a Turbo produces more than 35% more power than the stock motor (105 HP for the 1978) I'll need to fit a driveshaft loop. You cant claim the the motor was fitted to the 1983-85 Rx7s as they were a different model. The only difference I can find is that the driveshaft bolts attaching to the diff are in from back to front instad of front to back as in the series 1. Also the flange on the diff the driveshaft mates to is smaller. Otherwise all parts are common. Still the driveshafts I have are likely to be as old as the car. This stuff isnt getting any newer so there is a sound safety aspect to the rule. These are ususally between $NZ50 ans $NZ70 here for a good thick item.
Chunky piece of kit
Chunky piece of kit
226171328_full.jpg (11.33 KiB) Viewed 6746 times
seaglen
Posts: 46
Joined: Tue Feb 11, 2014 10:48 am
Location: Auckland, New Zealand

Re: Red RX7 Resurrection

Post by seaglen »

OK, finally some real spanner turning. Put the car up on stands and installed the gearbox mount properly. I didn't have one when I put the car together so just bolted directly to cross mount..
Before and after
Before and after
gearbox_mount_both_small.jpg (274.47 KiB) Viewed 6731 times
Raised the gearbox quite a bit and gave extra space to get turbo off. Still needed to undo the from engine mount and raise the car on the drivers side. At last it came out. Easier to put back in, can remove O2 sensor and heat shield.
Finally!
Finally!
exhaust_ports.jpg (175.94 KiB) Viewed 6731 times

As documented turbine side of turbo is small. Smaller than earlier model. Good spoolup but poor top end and limited for high boost applications.
compact but deadly!!
turbo.jpg (169.67 KiB) Viewed 6731 times
Now to put the camera in the engine!!!
seaglen
Posts: 46
Joined: Tue Feb 11, 2014 10:48 am
Location: Auckland, New Zealand

Re: Red RX7 Resurrection

Post by seaglen »

Inside of engine looks good on camera. Its quite hard to assess condition until you get used to looking for the transitions between sides, seals etc. Following are vidcaps.
apex, rotor, rotorhousing and side housing.
vidcap2.jpg (34.48 KiB) Viewed 6731 times

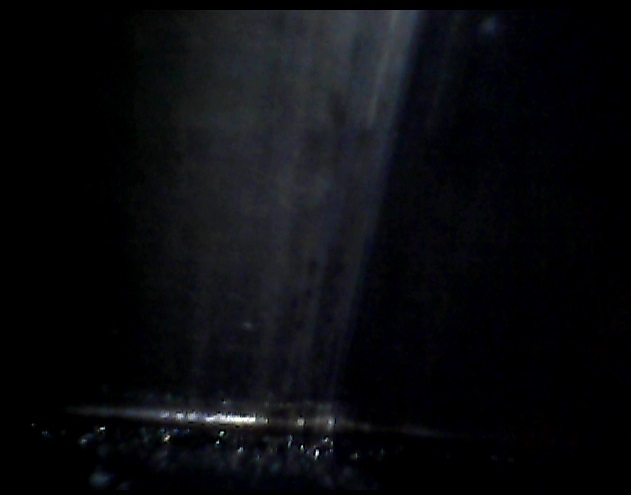
This one shows the apeax seals as the bright shiny line, you can see it reflecting in the shiny side housing. Camera is about 300 mm inside engine on spark plug side looking up.
side, rotor housing transition
vidcap3.jpg (40.19 KiB) Viewed 6731 times

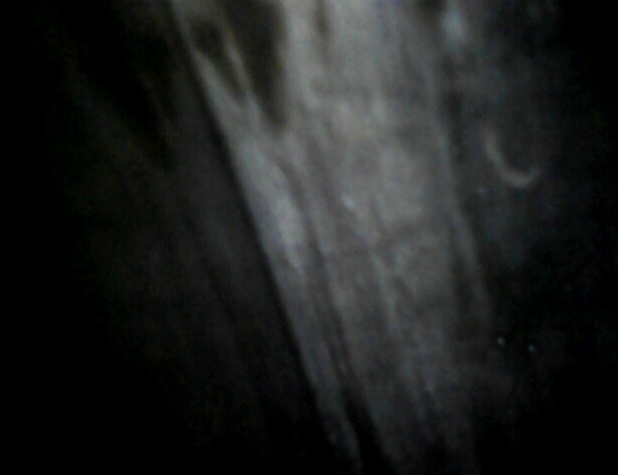
This is the transition between the rotor housing and side housing. Looks good , no corrosion on edges. Oil/fuel mix makes assessing surface of rotor housing difficult.

I think for now I'm gong to start the engine, But I'll do a water jacket pressure test. If the water jacker holds 12psi for 12 hours I'll start the engine.

Now to tidy up the turbo with a bit of paint and a polish before reinstalling and clean the engine bay.
seaglen
Posts: 46
Joined: Tue Feb 11, 2014 10:48 am
Location: Auckland, New Zealand

Re: Red RX7 Resurrection

Post by seaglen »

Sealing Airflow Meters

You may at some point need to open an airflow meter to determine for example if the variable resistor around the idle position is worn.

Keeping dirt and moisture out is a must so the module must be resealed. Luckily it appears that the older airflow meters at least are simply sealed with contact adhesive or a very similar hotmelt of some kind.

Certainly using contact adhesive to reseal the meter gives an almost identical result.

There will be a slight crack around the seal where you have opened the meter. To reseal a meter firstly remove all of the old sealer from the aluminium meter box and the plastic cover.
Open seam, cleaning gap
open_clean_meter.jpg (300.15 KiB) Viewed 6714 times
Then get a suitable solvent/rubber based contact adhesive in a tube. Start at one corner and apply a smooth continuous bead around the seam until you fill in the gap and get a smooth result all the way around. Clean any excess.
Sealing the meter and the finished item
airflow_seal_sealed.jpg (200.91 KiB) Viewed 6714 times
Leave to dry before cleaning or painting meter
TOOL
VIP User
VIP User
Posts: 2598
Joined: Thu Sep 01, 2011 10:30 am
Location: Switzerland
Been thanked: 24 times

Re: Red RX7 Resurrection

Post by TOOL »

I'm not sure how much you can tell from those pics up the ports. Pretty hard to make anything out.

you can't see the spark plug area either, which is a must I would say.
Back in the UK for the summer, maybe longer......
Post Reply

Return to “RX7 Rides and projects”