Re: Lucky's Series 3
Posted: Mon Feb 13, 2017 12:01 pm
There were a load of things wrong with the FD to be honest. Some arose simply from neglect... it's such a complicated bloody thing that some things get overlooked just because they're such a pain in the arse to get to. The cause of the lungful of oil smoke was simply that the turbo drain hose had got scorched where it was touching one of the block studs. Just enough for it to weep a bit, but on full booooooost and then shutoff at the end of the Silverstone straight, it was enough for it to pressurise and splurt a load of oil out... which then made its way back onto the downpipe. It's now a gurt bigbraided stainless pipe with AN-8 fittings!
The reason it wouldn't run was (mostly) plugs. Which was no surprise really; I discovered it had one BUR8, one BUR7 and two RX-8 plugs in it Now, I'd just like to state the bleeding obvious and say it wasn't me who put them in there. I think the last time it was dyno-ed, it shat the plugs (like they do) and there weren't any good spare ones handy so the shop bunged in whatever was available just to get it home and intending to swap in proper ones later. Which then didn't happen presumably cos they were too busy or forgot or whatever. I'm being generous here. Anyway, given that one of the plug electrodes came out when I pulled the boot off, it's a miracle the bloody thing ran at all
Once I found that, I needed to take a long hard look at everything to find out what else might be neglected or overlooked. It's my own fault really, I've tended to let the shop do a lot of work on it purely cos I distrust myself around electronics and wiring and there's so much of it in an FD, but I've learned my lesson and will be doing as much of everything as I possibly can in future
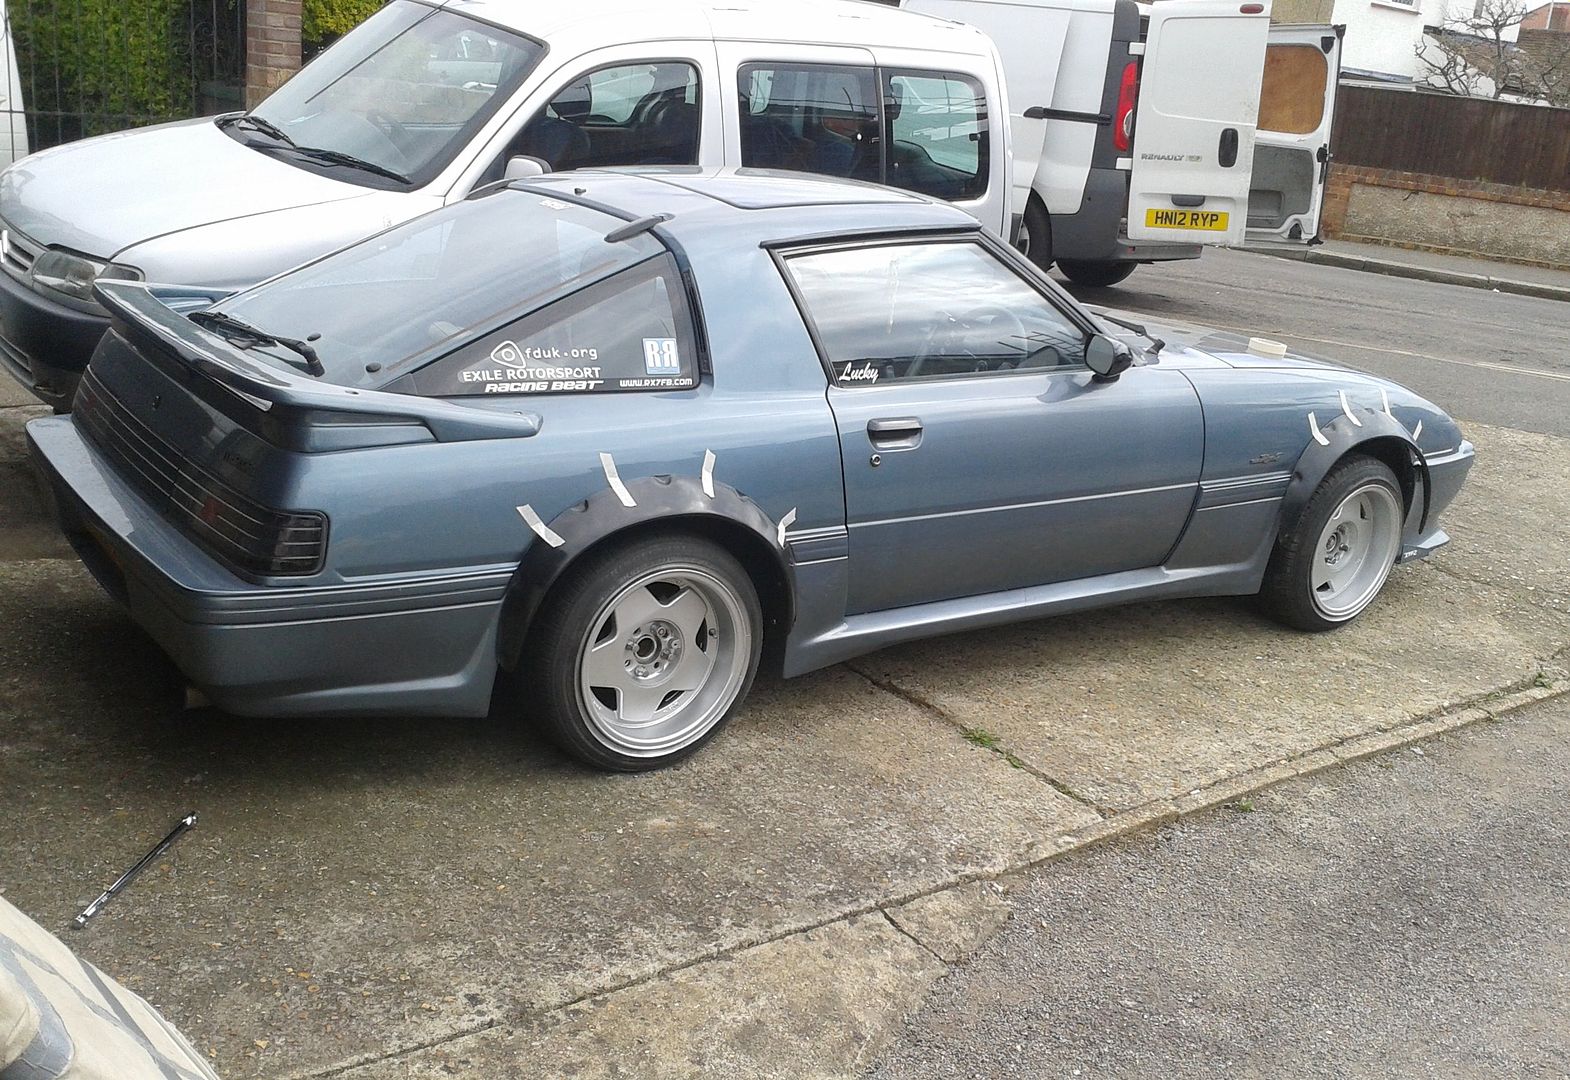
Anyhoo, on with the FB stuff then. So, what was I so unsure about? well, it's got to be wheels, hasn't it? AGAIN
I do like the Compomotives (that's why I bought them, after all) but I've never been quite happy with the dish on them. It's weird, given that they're an offset of +10 I'd expected them to be a lot more dishy than they are. But they're not. All that's happened is that they're a bit of a pain in the arse fitment-wise (and now my lovely new arch liners are in they rub and scrape a bit ) without really giving me the look I was after. So that's a fail/fail then. Anyway, I've been thinking about a change for a while so when some utterly inappropriate wheels popped up for cheaps on RR I thought it was worth a try. Helped that they were a style I've always had a bit of a soft spot for, although arguably several car styling clans would consider it heresy to consider putting them on a Jap wagon...
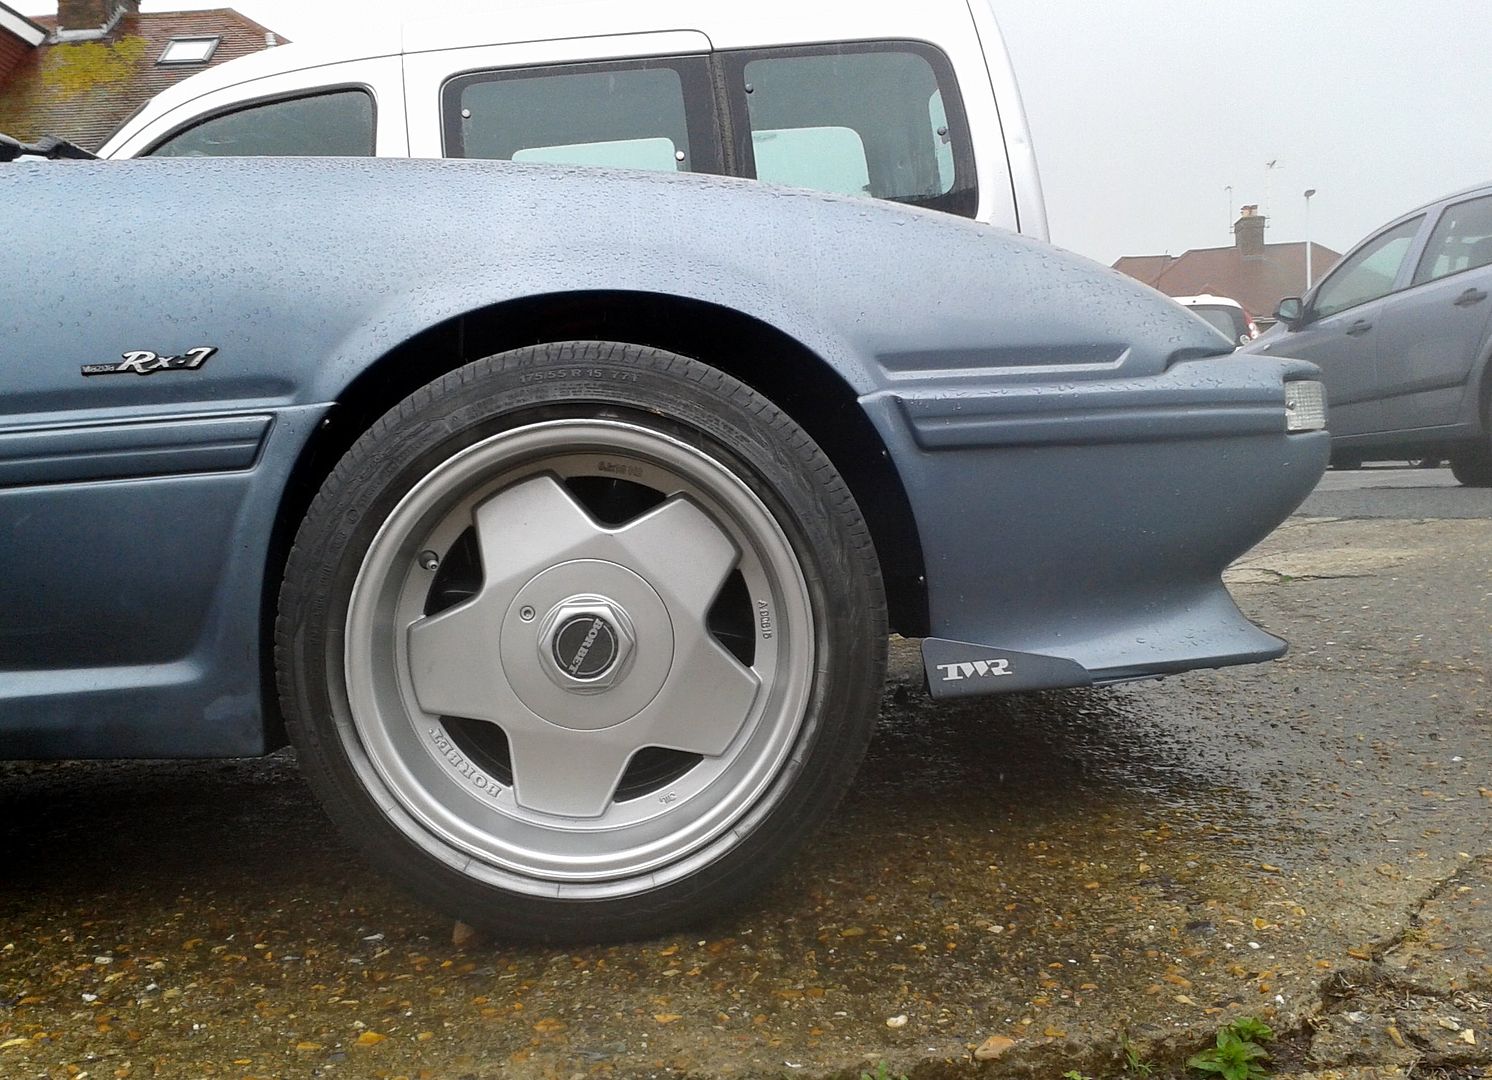
Yes. Borbet As Oh yeah, that's how cool I am. Or really not, depending on your viewpoint
Sooooooo, there were a couple of problems. One being that they were the wrong PCD, being off an MX-5 (which is why they came with daft tiny tyres stretched unpleasantly). Not such a problem as I have a set of 4x100 to 4x114.3 spacers. But that was a problem cos then the offset was increased by the 20mm of the spacers to a fairly manly 0. So yeah, they genuinely weren't going on with stock arches. A solution was trialled...
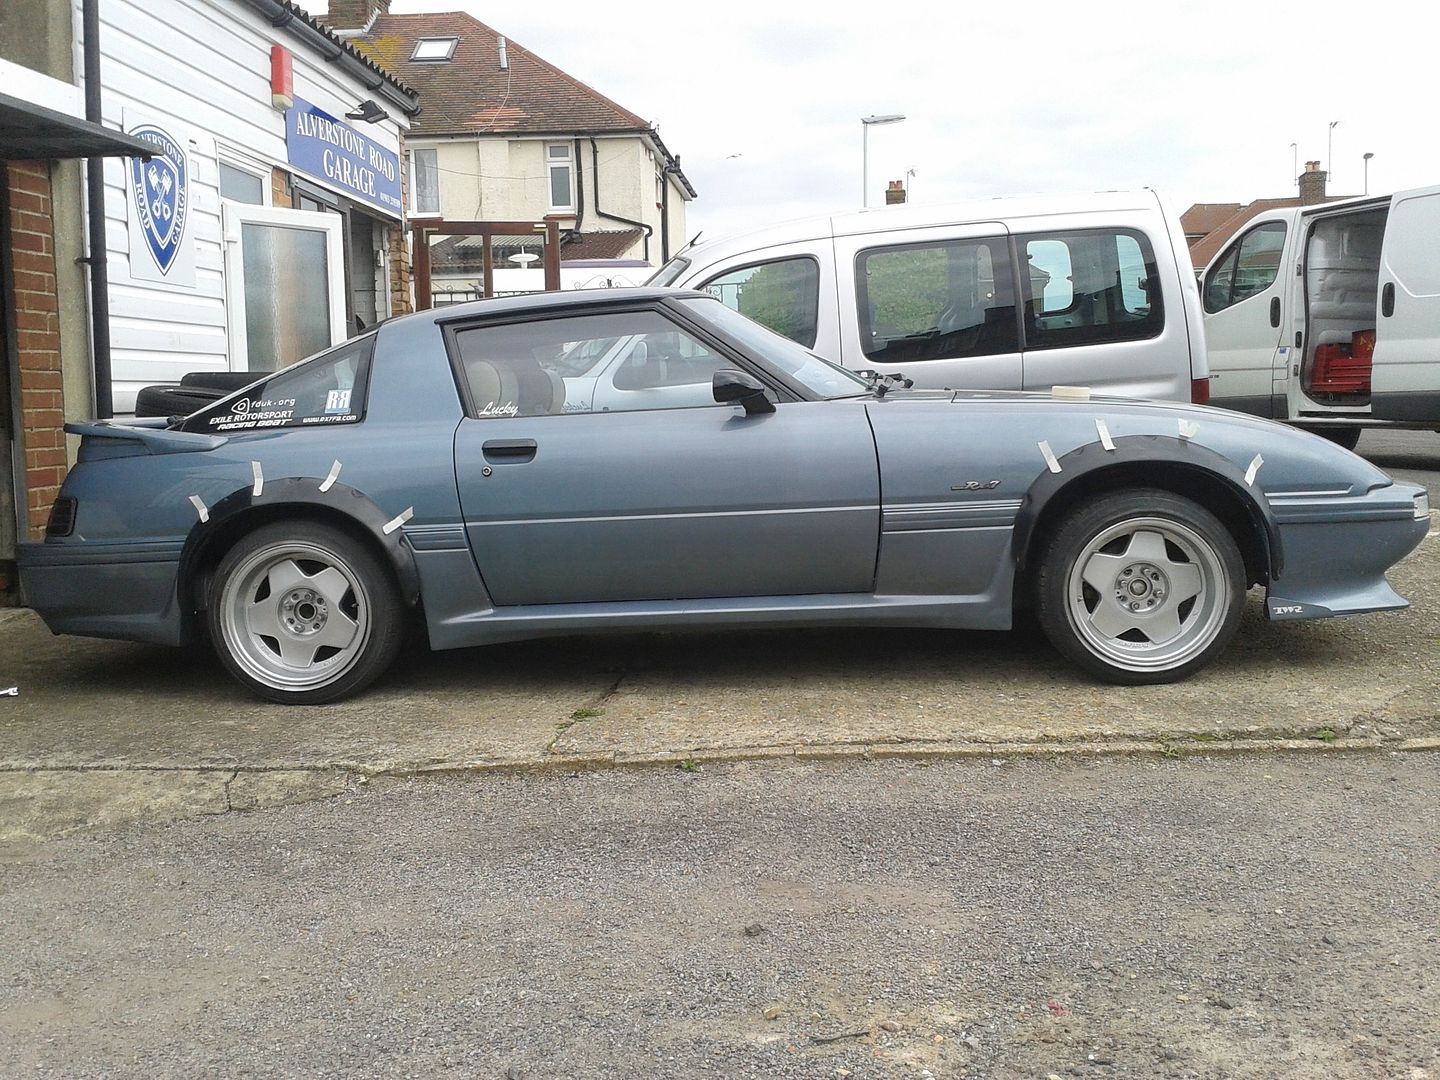
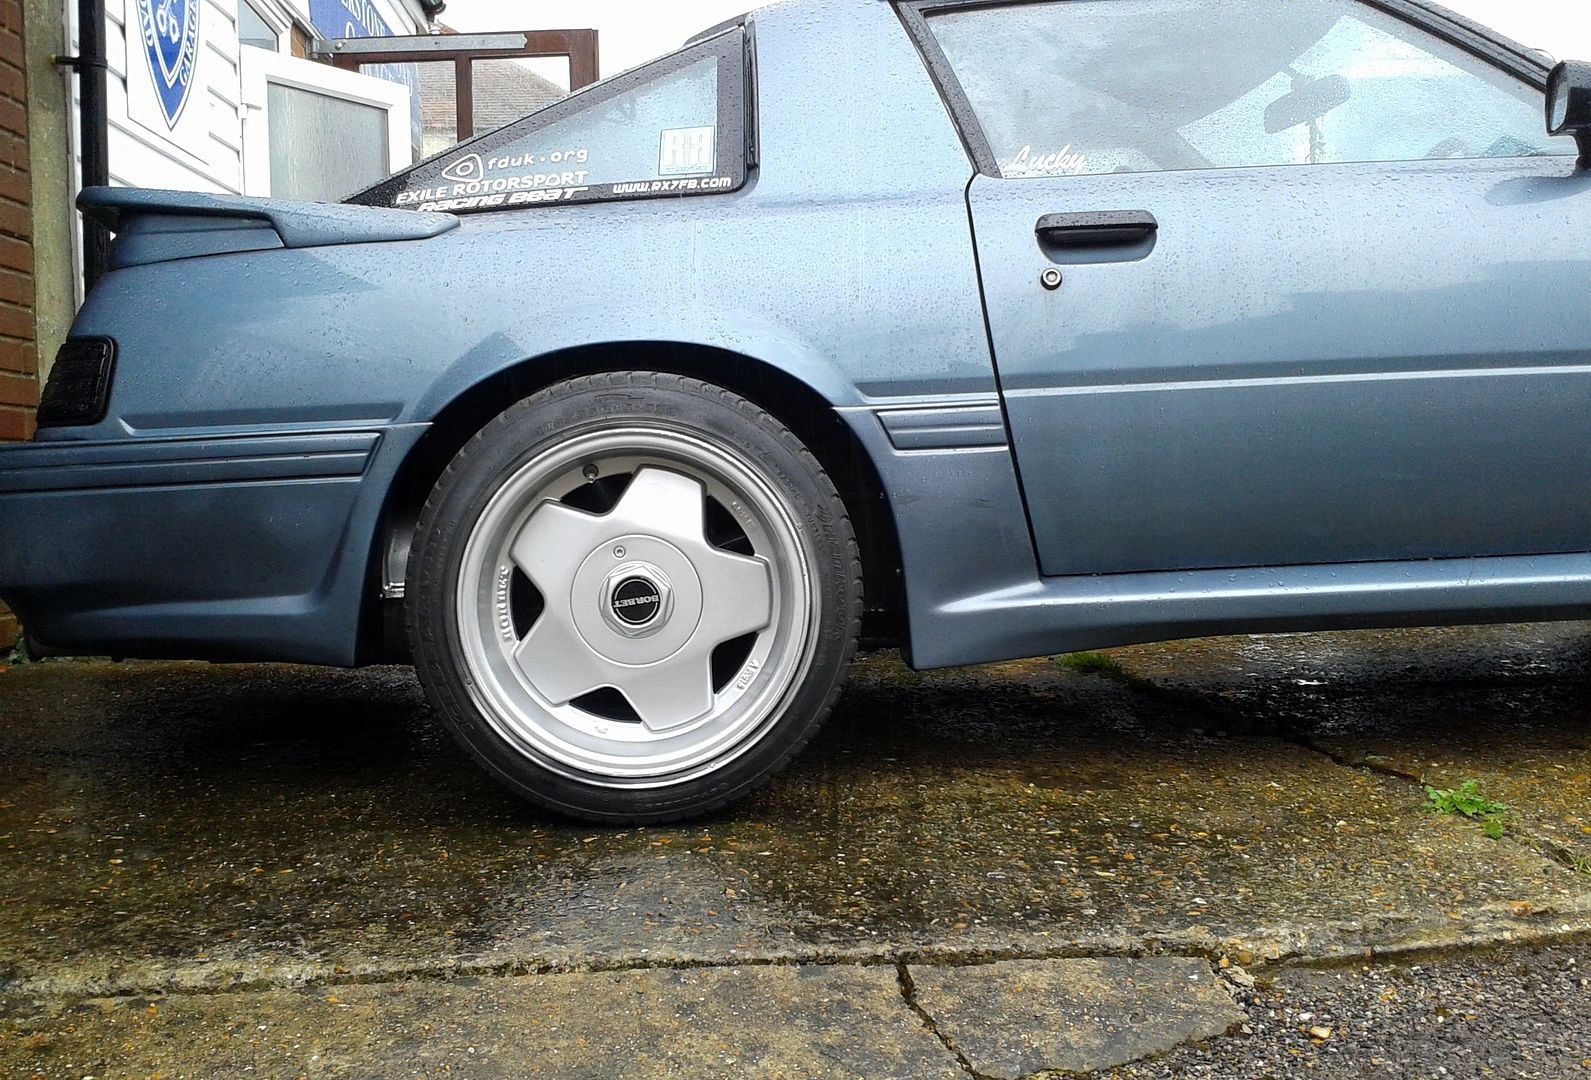
...and that was as far as I got Whilst I love the look of JDM y0-style bubble arches ... Thomas' FB is one of my favourites... and I loved the look of mine with a bit of dish (finally)...
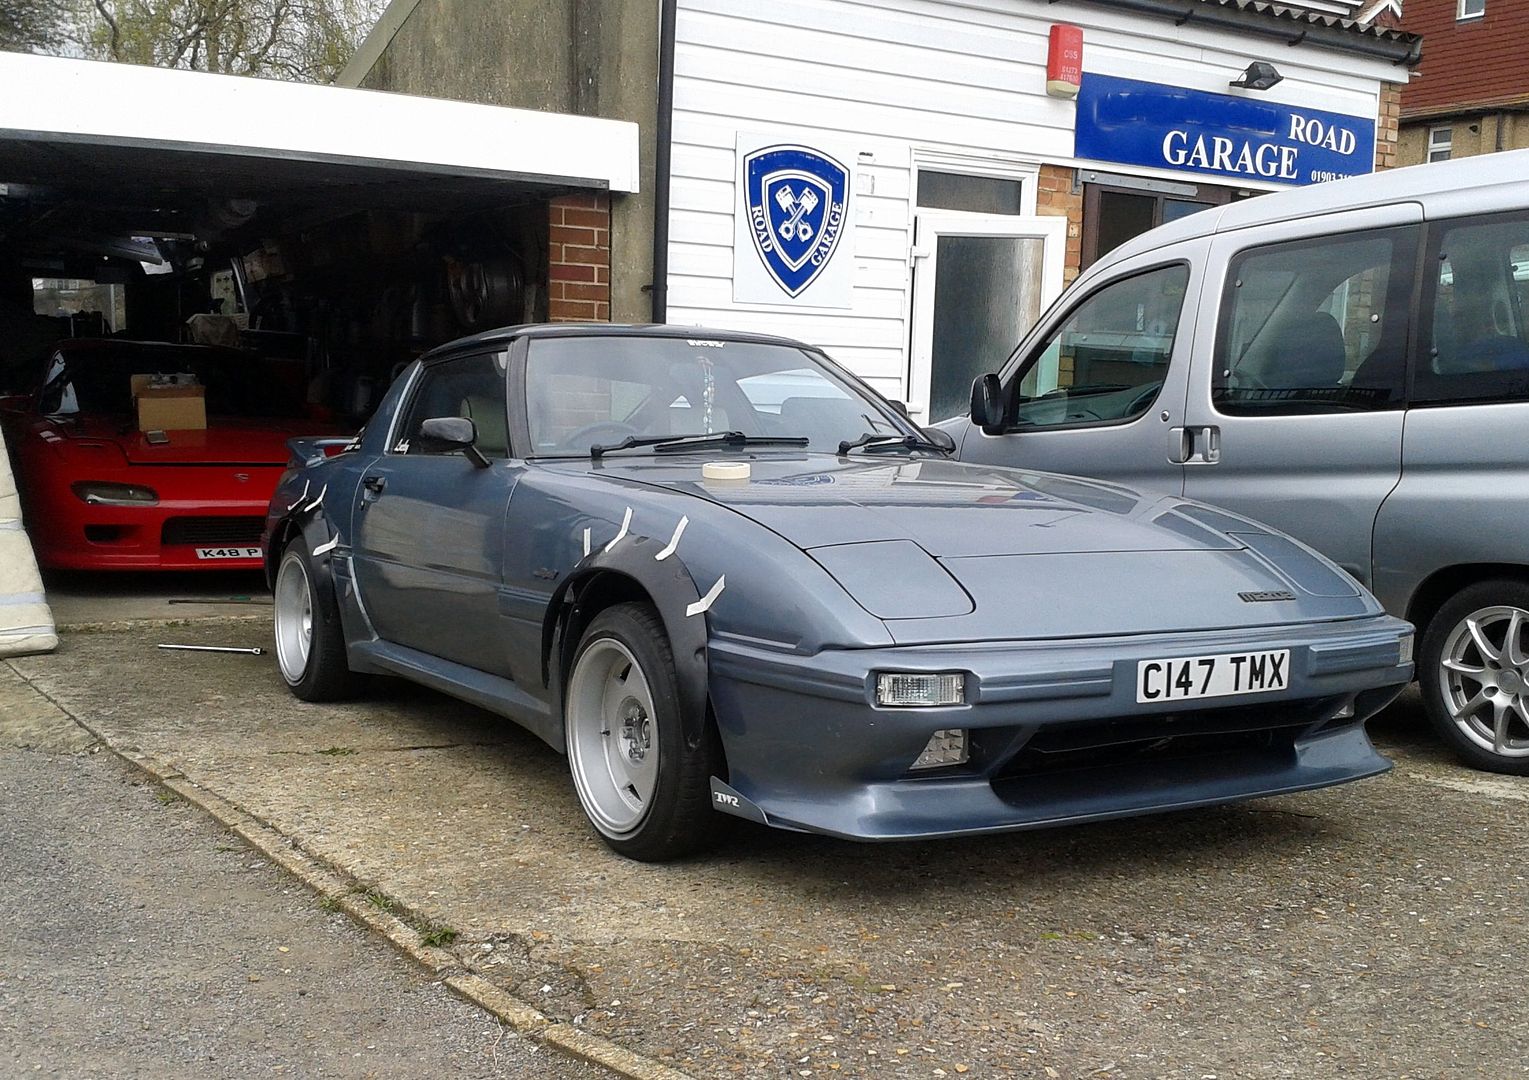
...I really don't know if I can bring myself to carve up a good car. Not so fussed about the front wings because I could source some stock (albeit expensive nowadays) ones if I ever wanted to go back standard. But the rears are obviously major surgery and the car would never be able to go back stock. I know it's my car and I can do what I want to it, and I don't believe in acting like some kind of custodian for future classic collectors... but...
...ahhhhh... just dunno. Unable to make a decision, I put some tyres on them as part of the problem was the silly diddy MX-5 sizes and it was hard to envisage what the car'd look like with proper sized ones on. Then the FD rebuild kicked into higher gear and it was months before I thought about the Borbets again... only to realise the tyres were the wrong size. Dunno if I got my maths wrong or the tyre shop put the wrong size on... whichever it's probably far too late to get them exchanged now and I dunno if I want to splurt another 200+ quid on tyres for wheels that may never go on anyway. So for now you can file me under indecisive
and that's ironic really, because a perfect excuse presented itself to start hacking the car up. Remember how I suggested my hasty rust treatment bodges would come back to haunt me? Oh, come on, it was only in the previous post!. Yeah, well. MOT time came around. I figured it might fail on the rear light conversion I'd done. What I wasn't expecting was it to fail on what at first glance looked like a relatively inconspicuous rust hole that I didn't even know was there since it was hidden underneath and partially behind the skirts
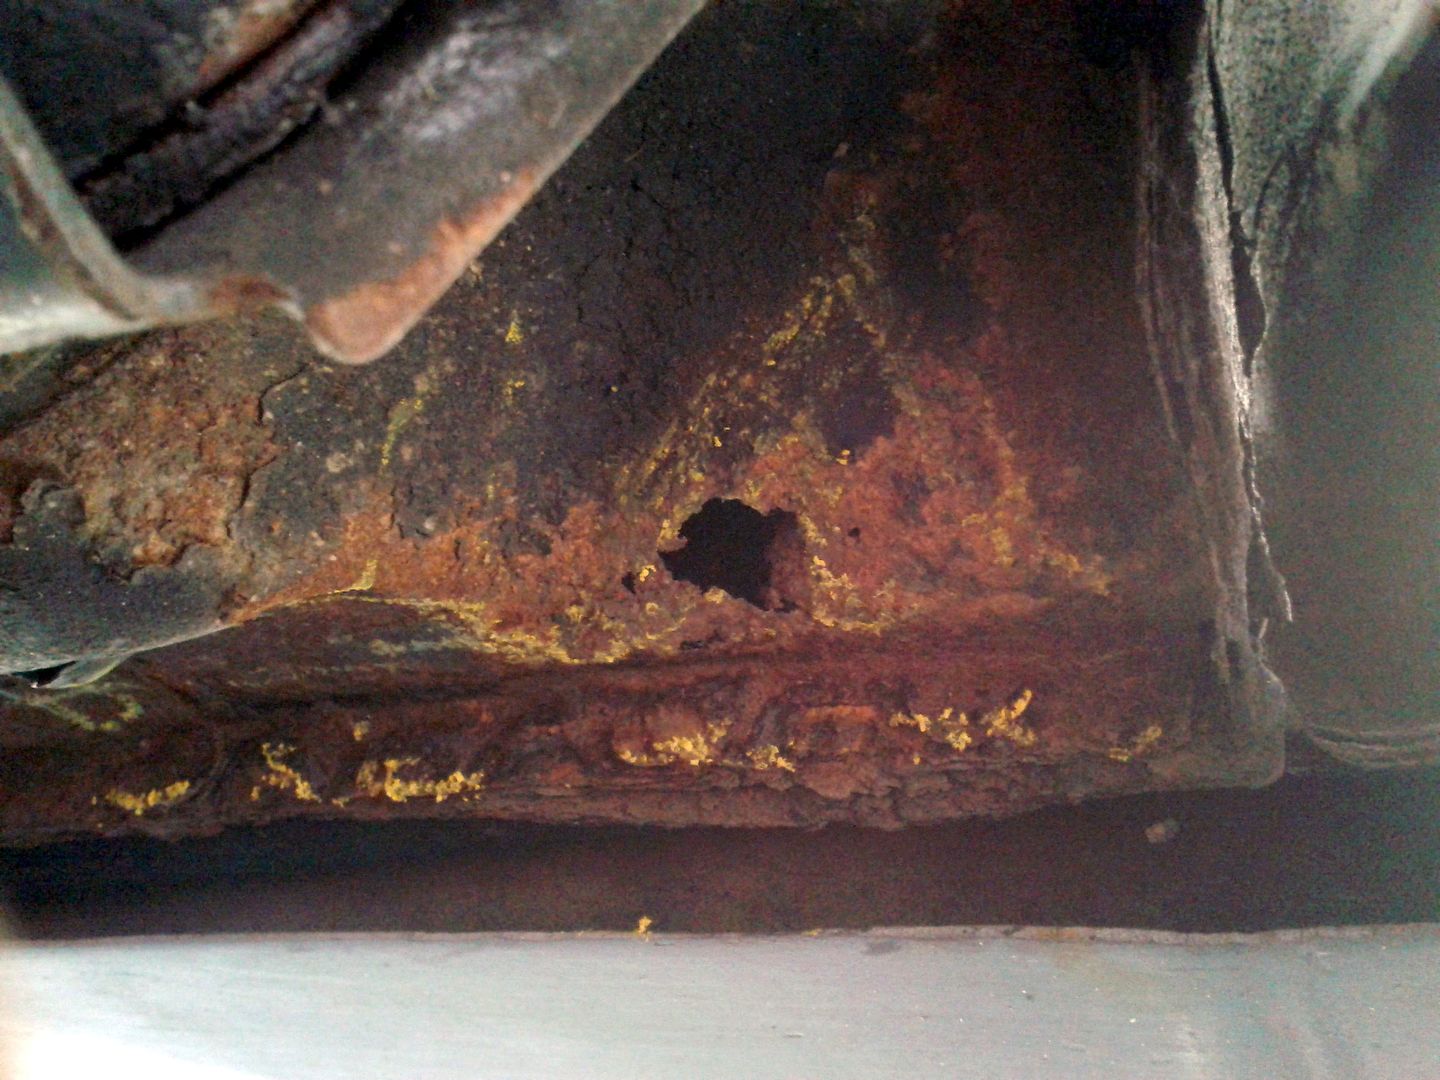
There was a matching one on either side. Yep, the sills had gone through As they do. To add insult to injury, the front wing I thought I'd managed to stop the rot in had re-tumoured too. A bit of screwdriver pokeage revealed
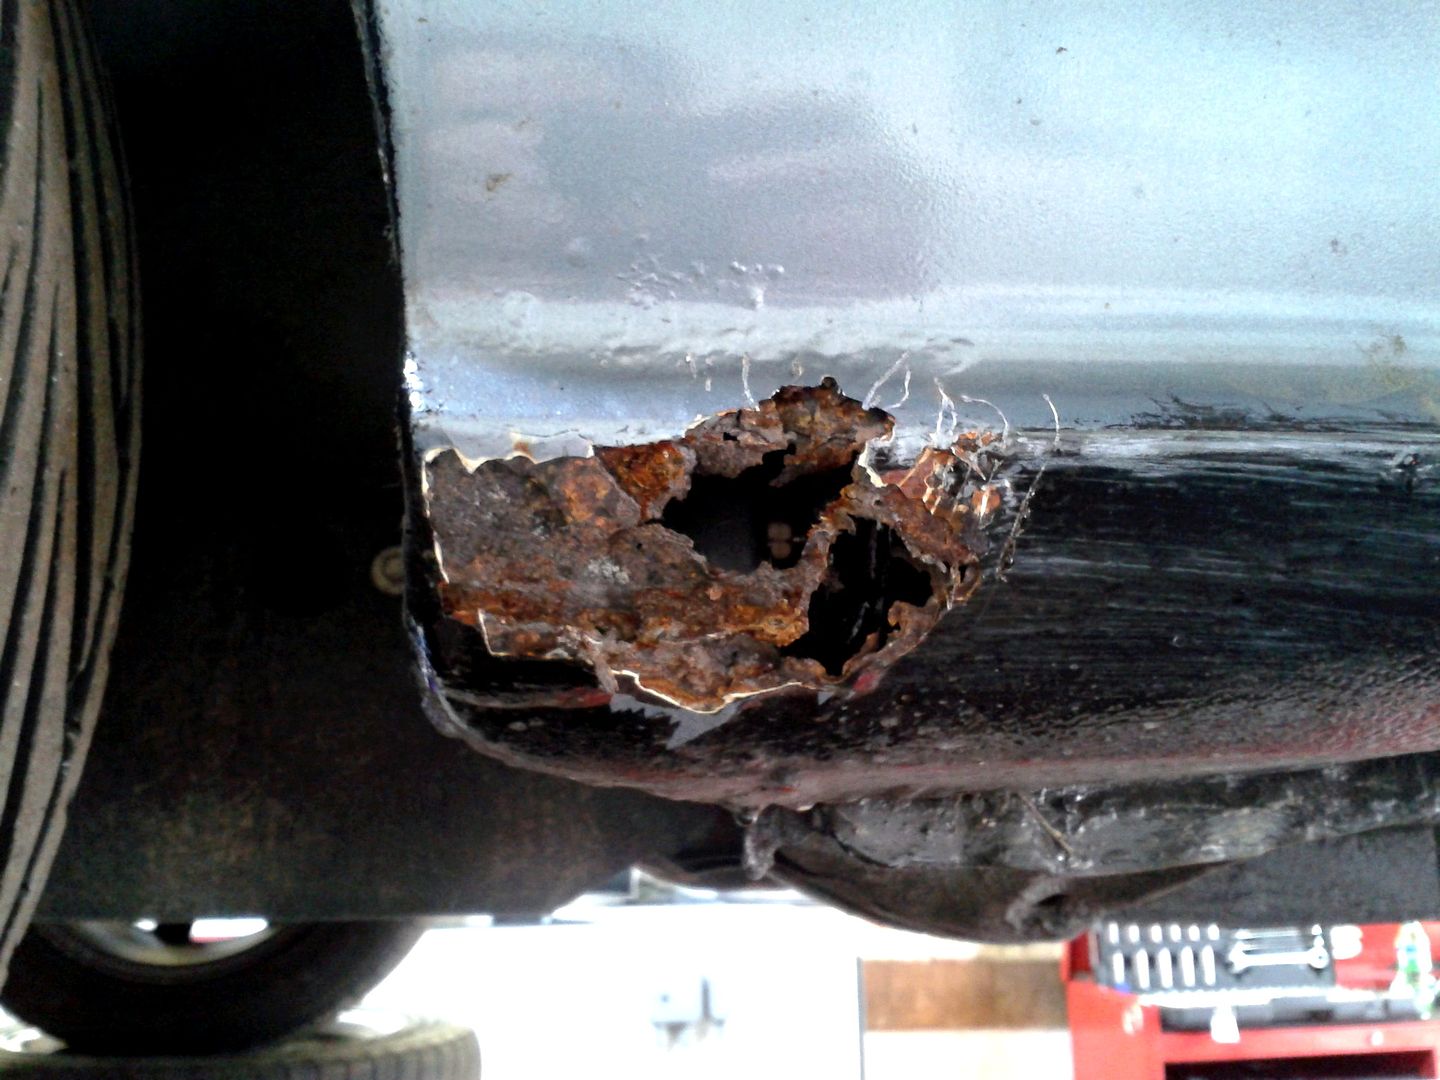
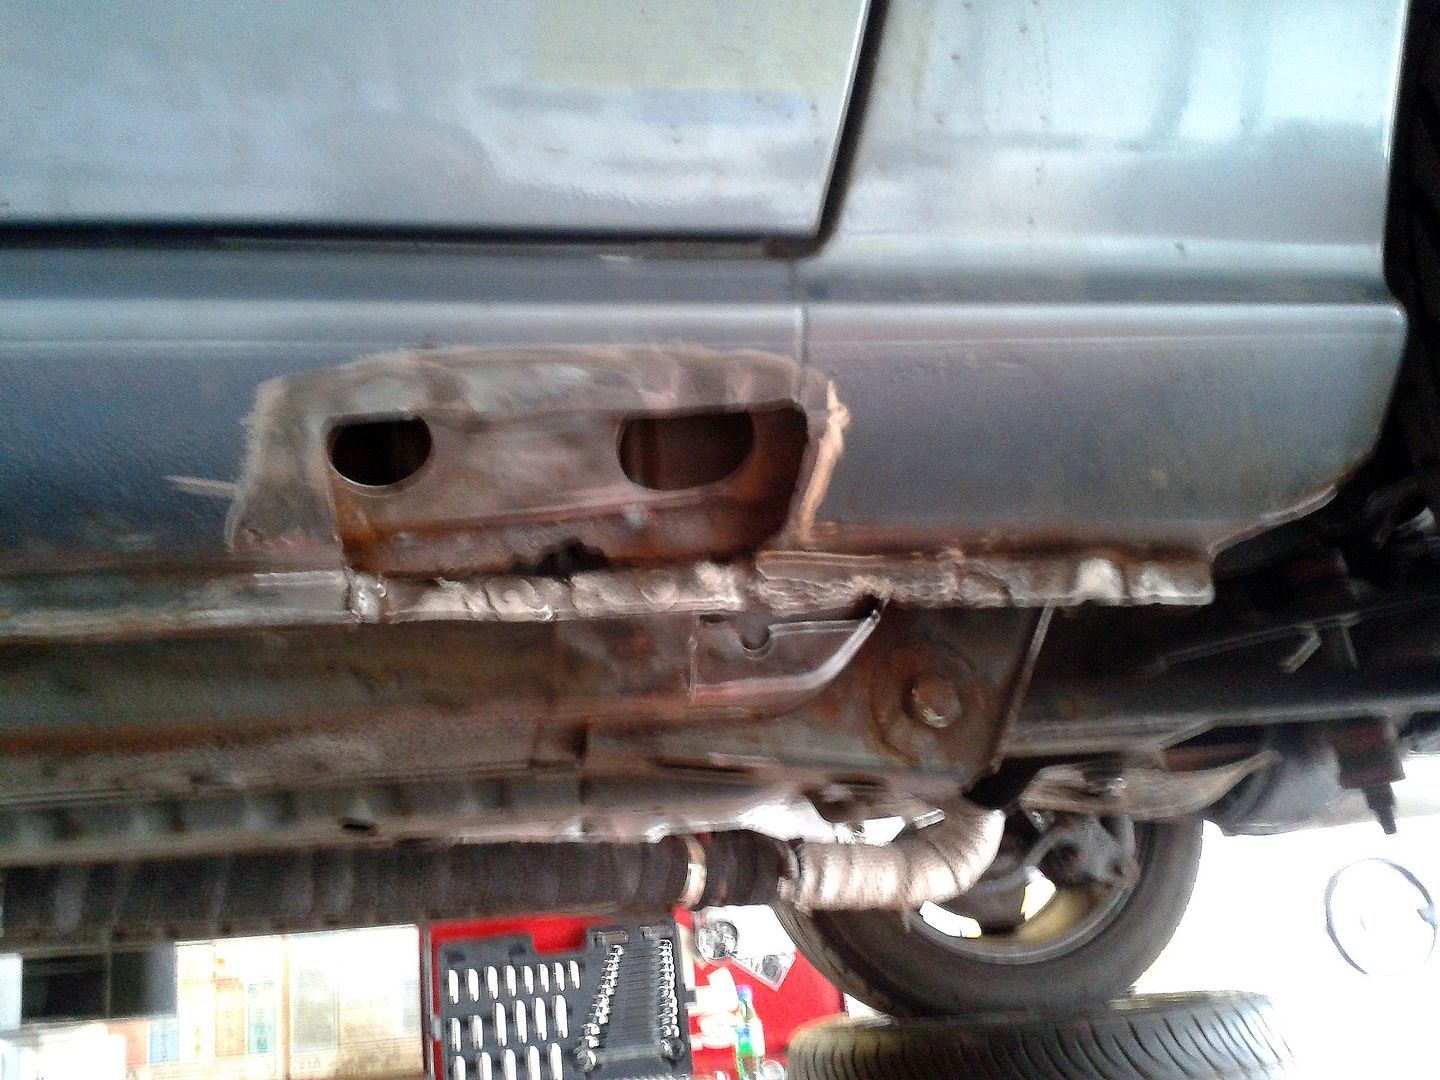
Anyway, the sills were the real worry. The deeper we cut, the uglier it got. Sorry for the awful phone cam pics
Well, it needed to be done. This is the osrt of thing I don't mind getting an MOT fail for; from the tiny rust holes about the size of a 1p piece, all this horror was revealed
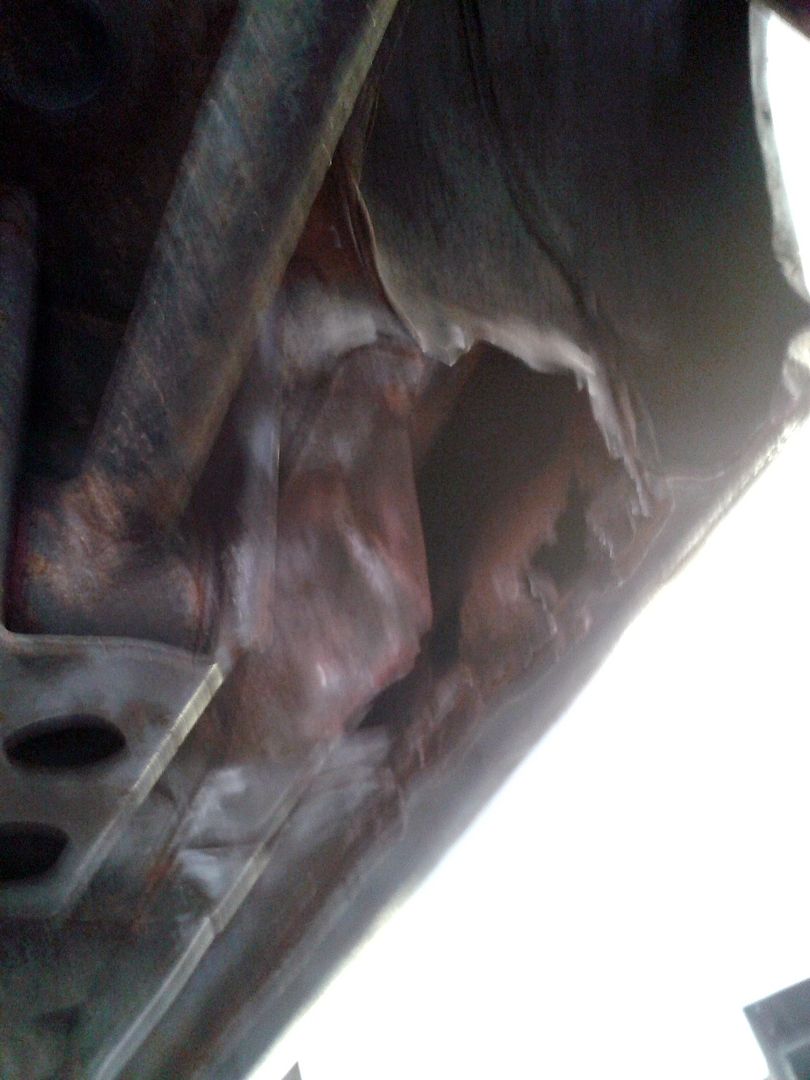
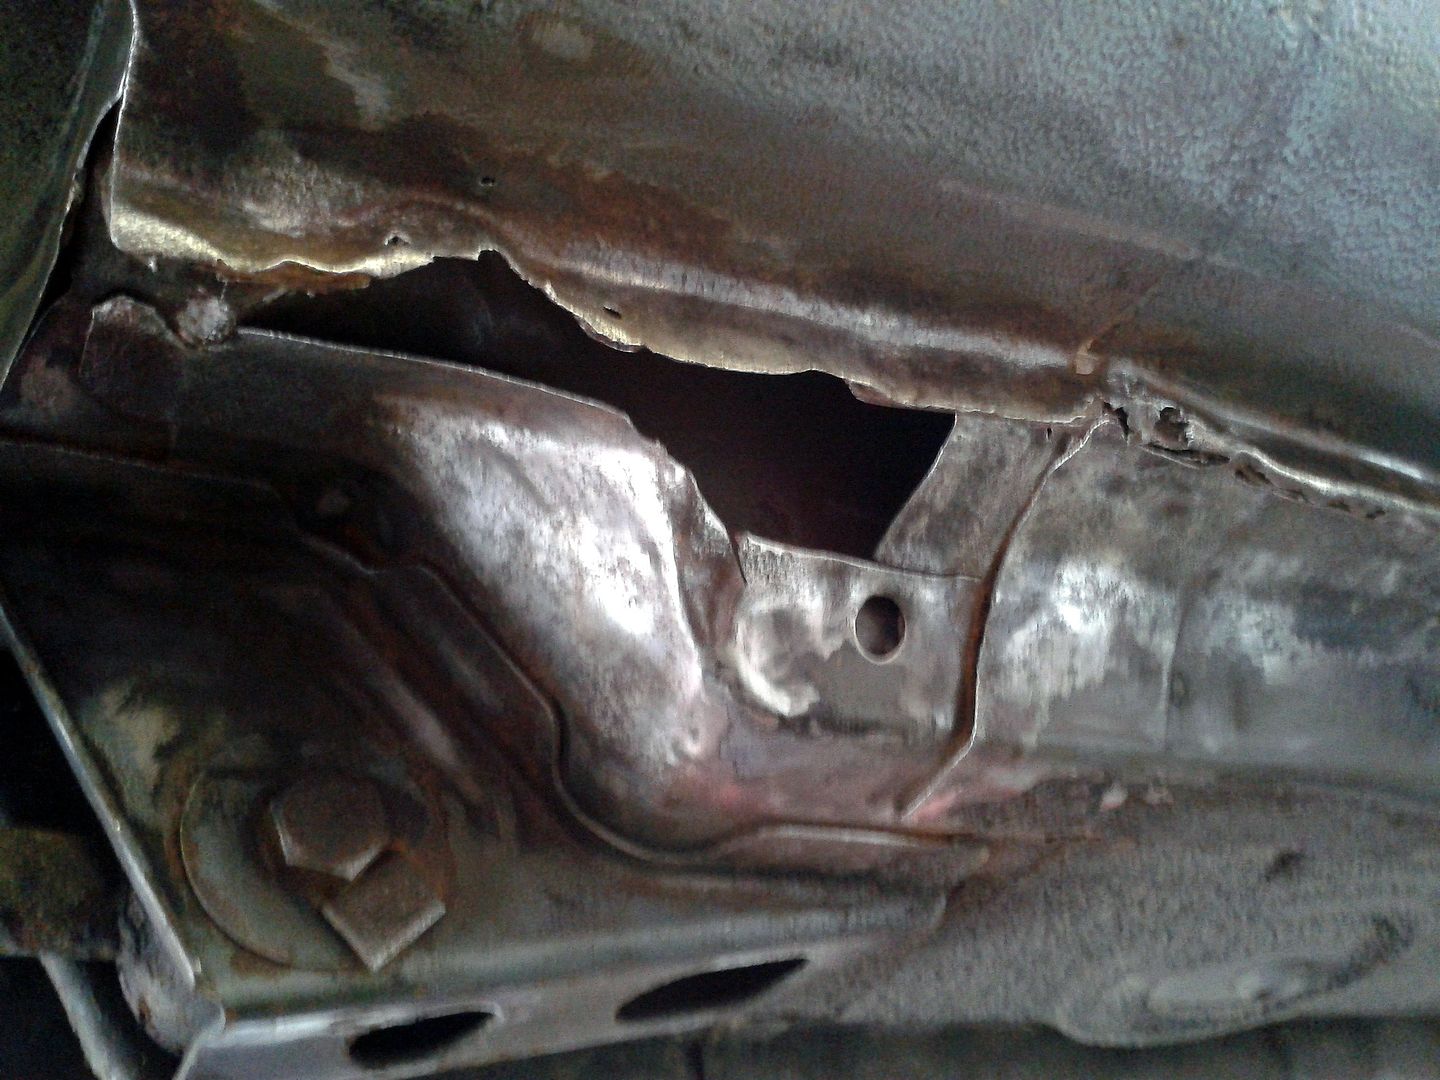
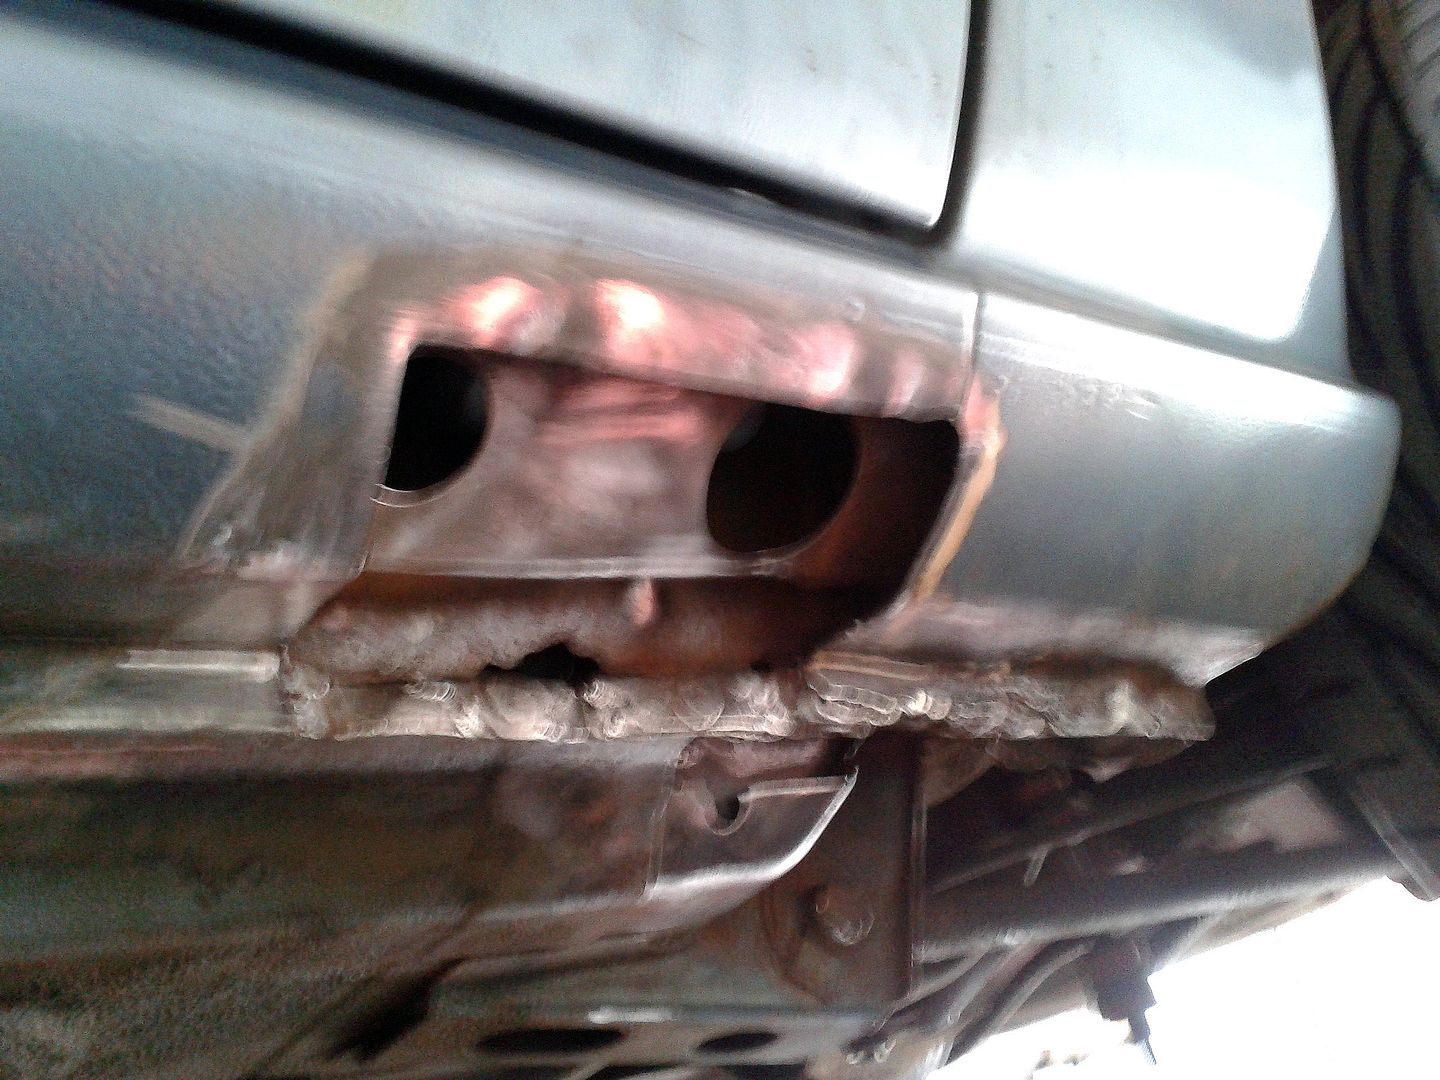
and you genuinely wouldn't have known it was there until the rear part of the sill snapped right off. To be fair to the guys at Super 7, they did a great job of hacking out all the cancer and making up repair panels. I don't know if official panels are available but having struggled to even find bolt-on wings I a) doubt it and b) don't want to pay for it so the shop's fabrication skills seemed the best option. They did it in record quick time, too, at my request as I was stuck with no transport for the duration. So quickly I missed most of it. I visisted to check progress and it was rather depressingly like this
and within a week (and £700) it was all back up together and all I had to do was invest in some waxoyl. Oh, and get the original tail-lights out of the garage for the MOT. Yep, told you he'd fail it on the LED ones
So that was really 2016 for my FB. Not much to report, still got an abortive attempt to change the wheelage to conclude and a weeks' worth of open-heart surgery. Since then she's been back happily on the daily grind in snow, fog and gales. Here she is sharing woes with an Ian-spec wedgey Mister Two

Ate a set of plugs the other day, but I suppose you have to allow her that and one de-flood a year is forgiveable, given how I've had to neglect her
The reason it wouldn't run was (mostly) plugs. Which was no surprise really; I discovered it had one BUR8, one BUR7 and two RX-8 plugs in it
Once I found that, I needed to take a long hard look at everything to find out what else might be neglected or overlooked. It's my own fault really, I've tended to let the shop do a lot of work on it purely cos I distrust myself around electronics and wiring and there's so much of it in an FD, but I've learned my lesson and will be doing as much of everything as I possibly can in future
Anyhoo, on with the FB stuff then. So, what was I so unsure about? well, it's got to be wheels, hasn't it? AGAIN
I do like the Compomotives (that's why I bought them, after all) but I've never been quite happy with the dish on them. It's weird, given that they're an offset of +10 I'd expected them to be a lot more dishy than they are. But they're not. All that's happened is that they're a bit of a pain in the arse fitment-wise (and now my lovely new arch liners are in they rub and scrape a bit

Yes. Borbet As

Sooooooo, there were a couple of problems. One being that they were the wrong PCD, being off an MX-5 (which is why they came with daft tiny tyres stretched unpleasantly). Not such a problem as I have a set of 4x100 to 4x114.3 spacers. But that was a problem cos then the offset was increased by the 20mm of the spacers to a fairly manly 0. So yeah, they genuinely weren't going on with stock arches. A solution was trialled...

...and that was as far as I got

...I really don't know if I can bring myself to carve up a good car. Not so fussed about the front wings because I could source some stock (albeit expensive nowadays) ones if I ever wanted to go back standard. But the rears are obviously major surgery and the car would never be able to go back stock. I know it's my car and I can do what I want to it, and I don't believe in acting like some kind of custodian for future classic collectors... but...

...ahhhhh... just dunno. Unable to make a decision, I put some tyres on them as part of the problem was the silly diddy MX-5 sizes and it was hard to envisage what the car'd look like with proper sized ones on. Then the FD rebuild kicked into higher gear and it was months before I thought about the Borbets again... only to realise the tyres were the wrong size. Dunno if I got my maths wrong or the tyre shop put the wrong size on... whichever it's probably far too late to get them exchanged now and I dunno if I want to splurt another 200+ quid on tyres for wheels that may never go on anyway. So for now you can file me under indecisive
and that's ironic really, because a perfect excuse presented itself to start hacking the car up. Remember how I suggested my hasty rust treatment bodges would come back to haunt me? Oh, come on, it was only in the previous post!. Yeah, well. MOT time came around. I figured it might fail on the rear light conversion I'd done. What I wasn't expecting was it to fail on what at first glance looked like a relatively inconspicuous rust hole that I didn't even know was there since it was hidden underneath and partially behind the skirts

There was a matching one on either side. Yep, the sills had gone through

Anyway, the sills were the real worry. The deeper we cut, the uglier it got. Sorry for the awful phone cam pics

Well, it needed to be done. This is the osrt of thing I don't mind getting an MOT fail for; from the tiny rust holes about the size of a 1p piece, all this horror was revealed

and you genuinely wouldn't have known it was there until the rear part of the sill snapped right off. To be fair to the guys at Super 7, they did a great job of hacking out all the cancer and making up repair panels. I don't know if official panels are available but having struggled to even find bolt-on wings I a) doubt it and b) don't want to pay for it so the shop's fabrication skills seemed the best option. They did it in record quick time, too, at my request as I was stuck with no transport for the duration. So quickly I missed most of it. I visisted to check progress and it was rather depressingly like this


and within a week (and £700) it was all back up together and all I had to do was invest in some waxoyl. Oh, and get the original tail-lights out of the garage for the MOT. Yep, told you he'd fail it on the LED ones
So that was really 2016 for my FB. Not much to report, still got an abortive attempt to change the wheelage to conclude and a weeks' worth of open-heart surgery. Since then she's been back happily on the daily grind in snow, fog and gales. Here she is sharing woes with an Ian-spec wedgey Mister Two

Ate a set of plugs the other day, but I suppose you have to allow her that and one de-flood a year is forgiveable, given how I've had to neglect her


