It was at this point, bloated with success, I made a heinous error of judgement. Ever since I'd had the car, the rear washer system had never worked. I'd taken it off at one point to make access to the spoiler mounts inside the rear deck easier, and never put it back on since there was no real point. Now I had a spare motor that I knew was good because it was working when I'd taken it out a few days ago and it seemed that I could use this to help troubleshoot the rear system, maybe get it working. Poor deluded fool, little did I know what a mission this was going to become!
For those who don't know, the rear washer on an FB is a sort of sloppy colostomy bag thing that hangs from a couple of brackets on the underneath of the rear deck. It has a motor clipped into a fold of the bag using those little brass split-pins they used to use in the olden days on lawyers' paperwork. It's inexcusably bad, really, but better than nothing, I guess
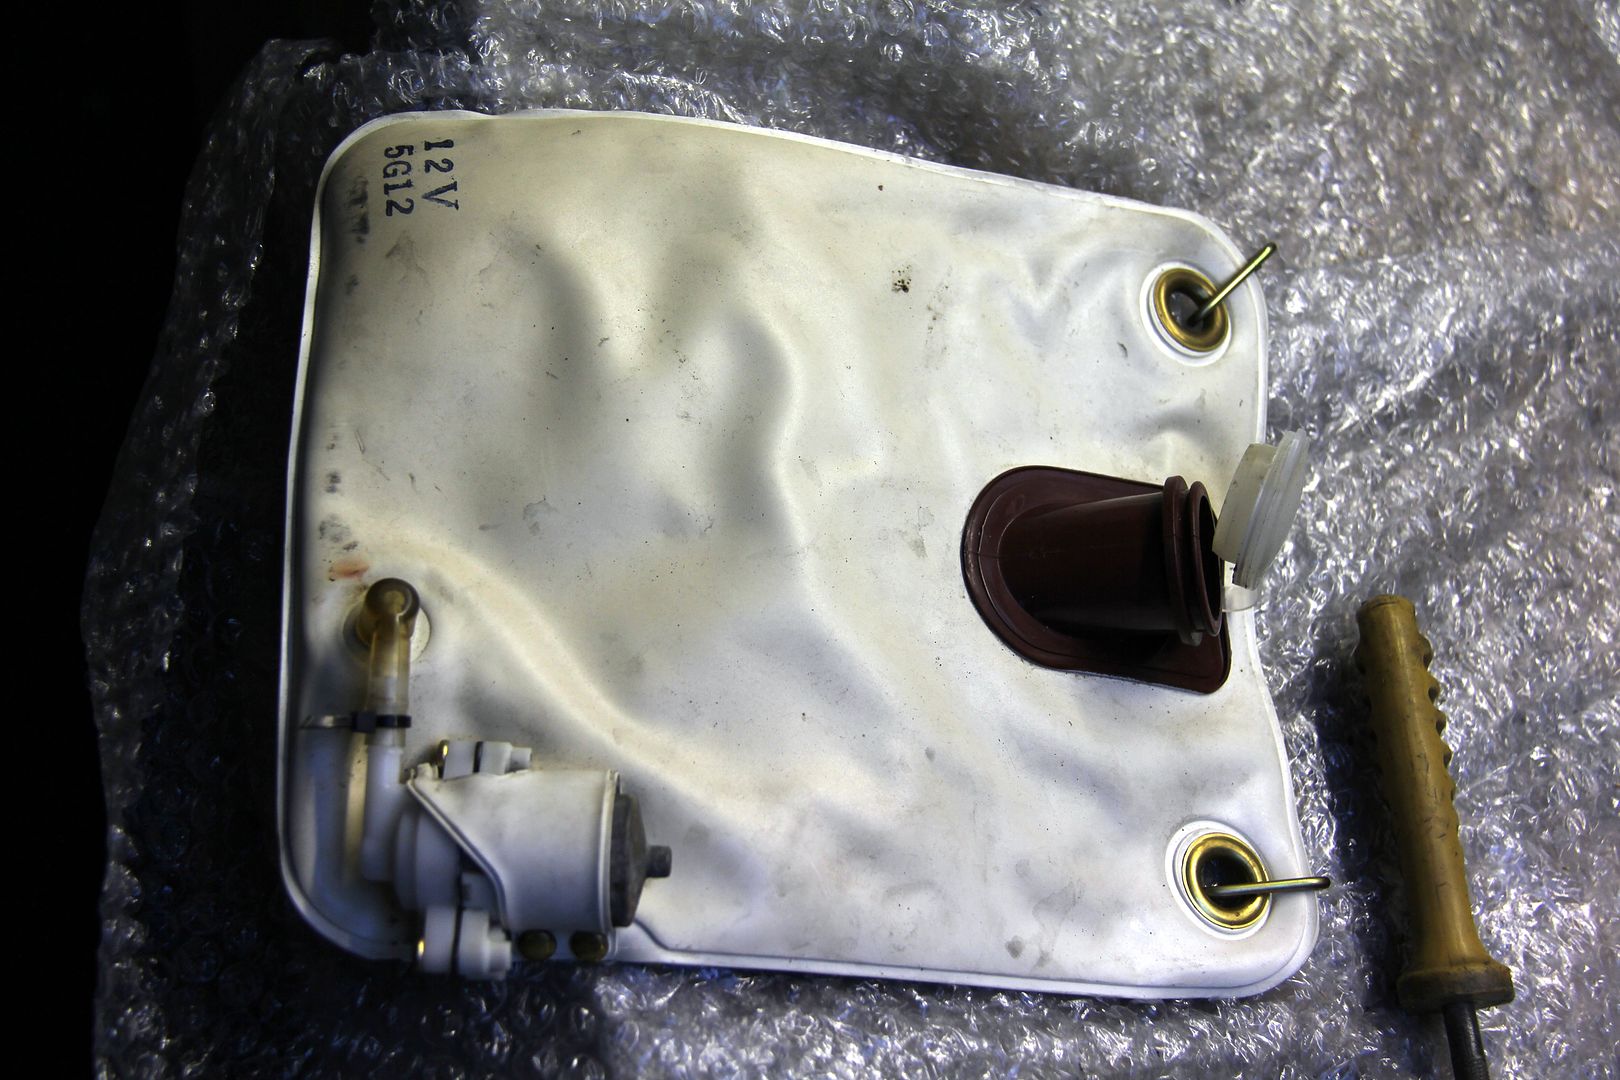
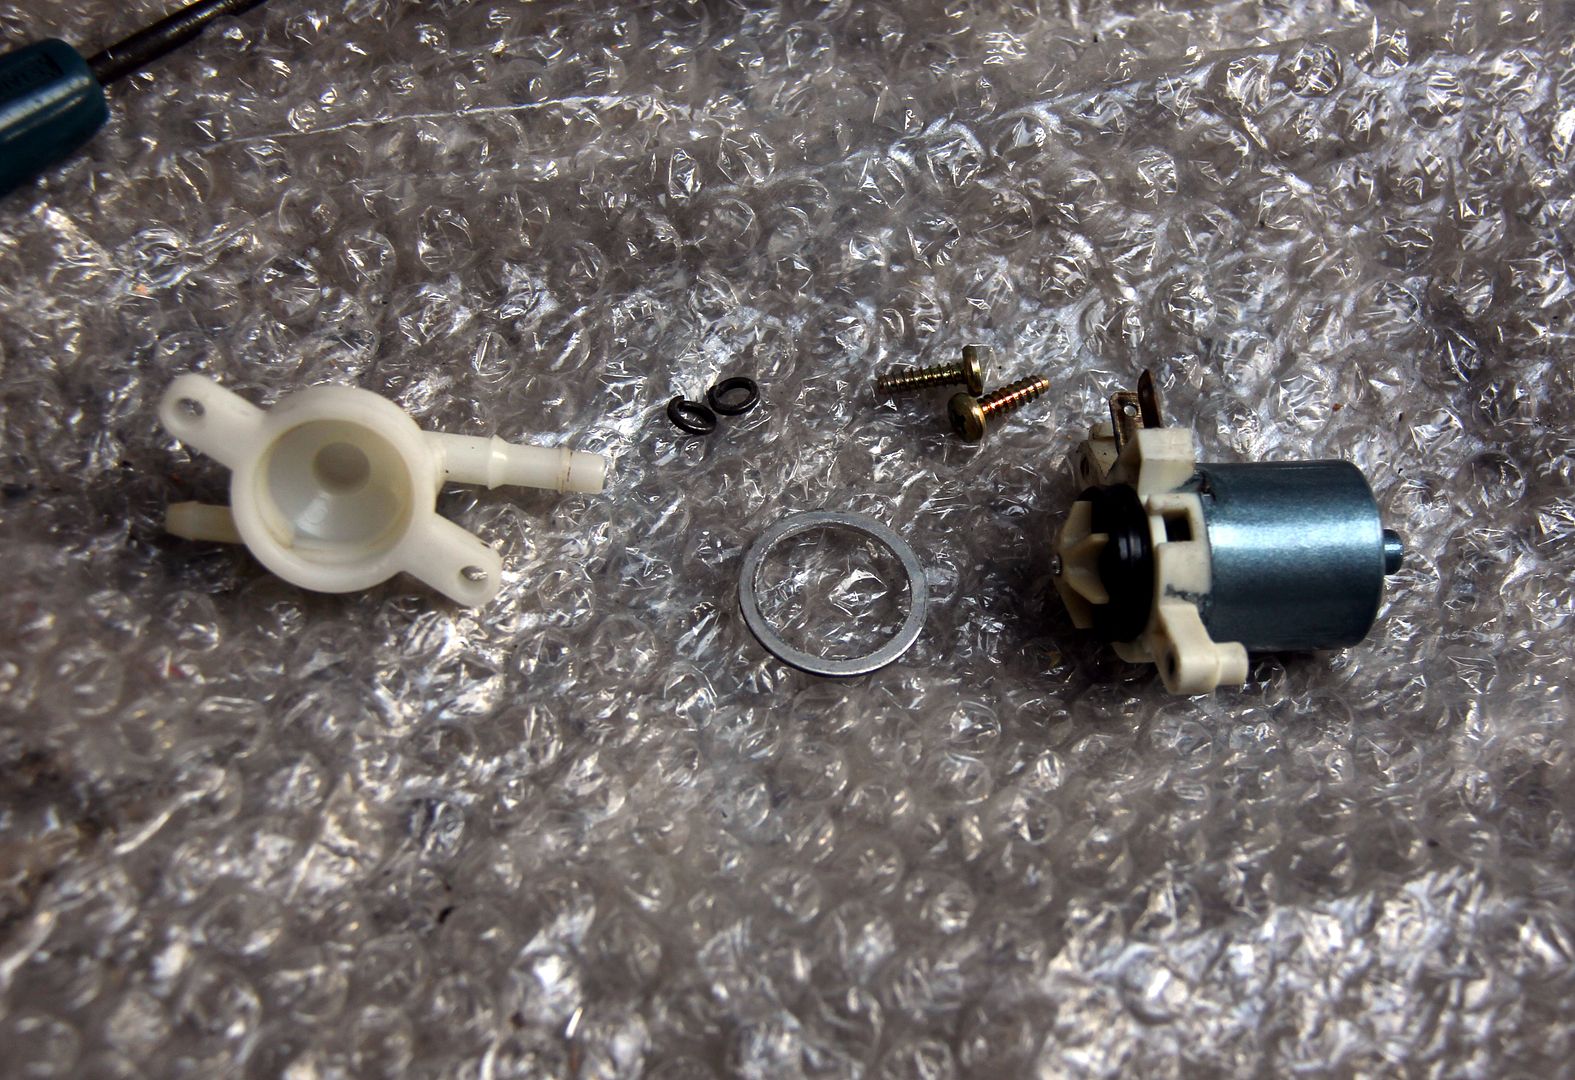
So I plugged in the old motor still attached to the bag onto the wiring harness that had just been hanging around behind the rear trim for all these years. Sure enough, it was dead as Elvis. I bunged on the working motor. It didn't work. Dang. I was going to give up there and then; I don't even have a multimeter and electrics are still white man's bad medicine as far as I'm concerned, but in a fit of optimism I took the motor back off and cleaned up all the corroded connectors with some sandpaper. Miracle cure! The motor span lustily, it's little impeller whizzing round. I screwed it into the fittings on the day bag reservoir. It stopped working. WTF! The entire thing was plastic or rubber; even my limited electrical knowledge reassured me it couldn't be a short. By the simple method of faffing around helplessly, I finally figured out that the rubber seal behind the impeller had got soft with age and when the motor was screwed into the plastic inlet/outlet manifold, it would compress the seal enough to wedge the impeller against the housing and stop it spinning. Like, really?
OK, then, some little spacers for the screw mounts and one for the motor itself made from a cored-out Dowty washer, and there was just enough clearance for the motor to spin but the seal to still... well, seal, really.
So I connected up the outlet hose to the washer jet, put some washer fluid in the bag and tried it out. Nothing. The motor span but no fluid came out of the jet. Dang. By now it was getting dark so I left it for the night. When I went back the next day the boot floor was wearing a small slick of washer fluid. Dang, maybe I should have checked that the hose was connected both ends... it was. It was worse than that;
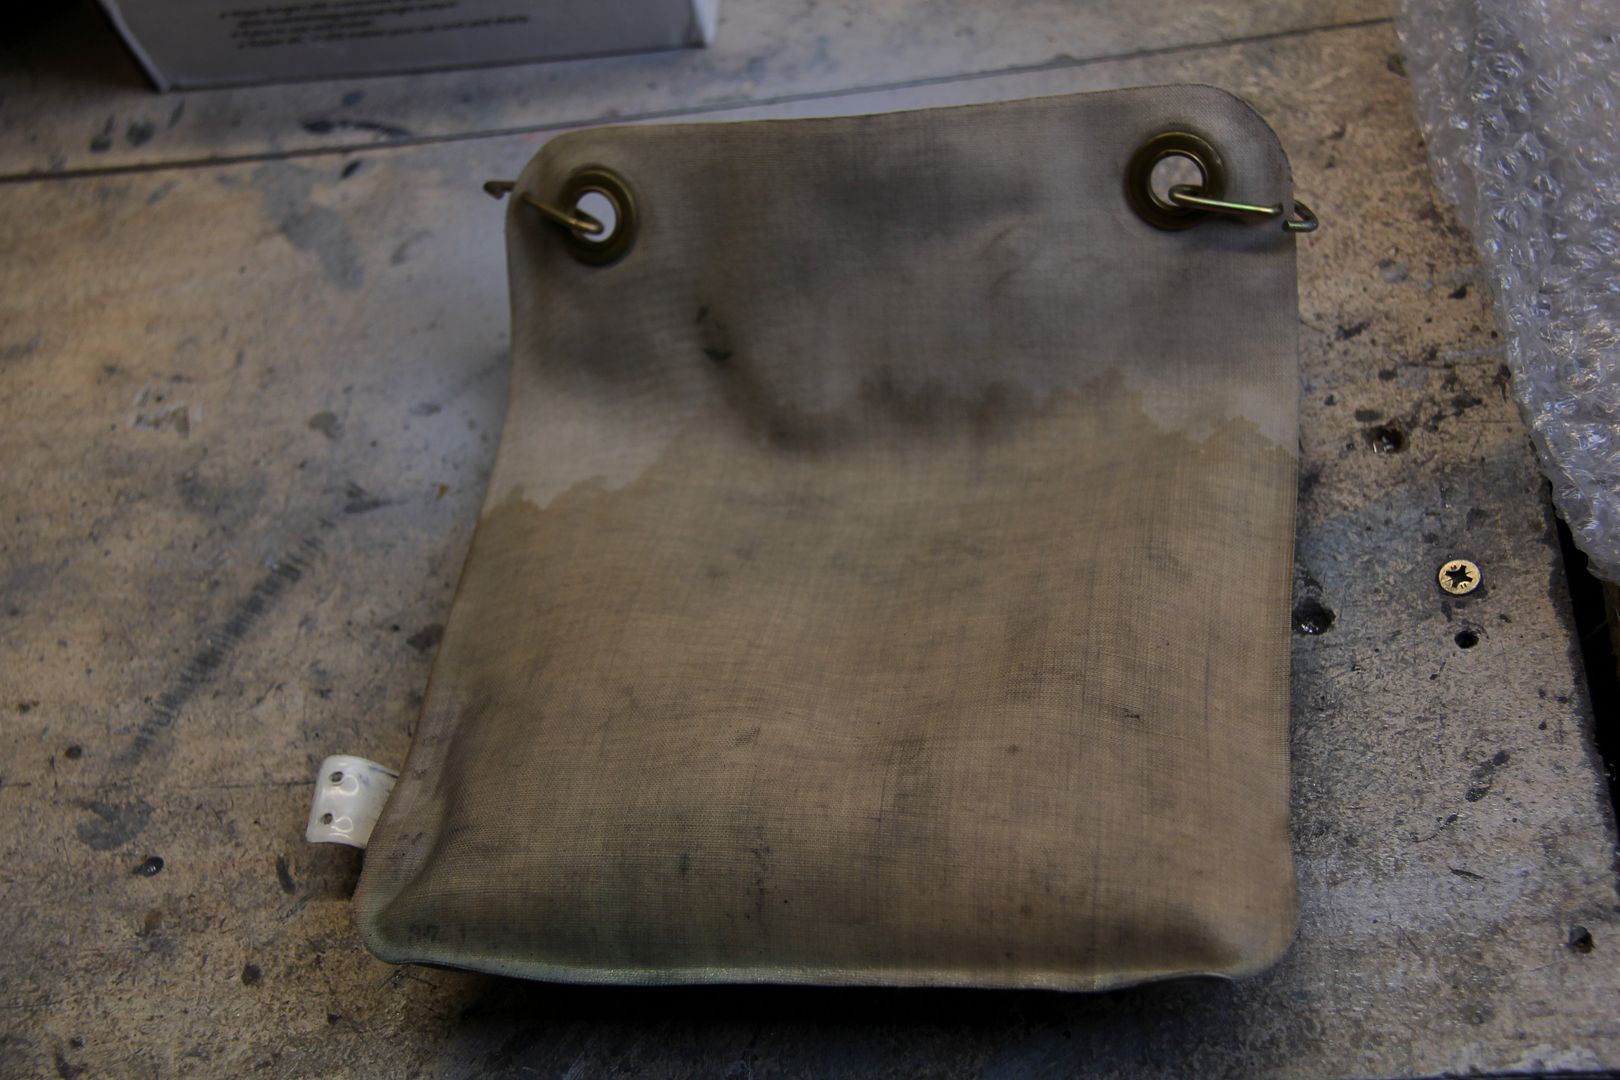
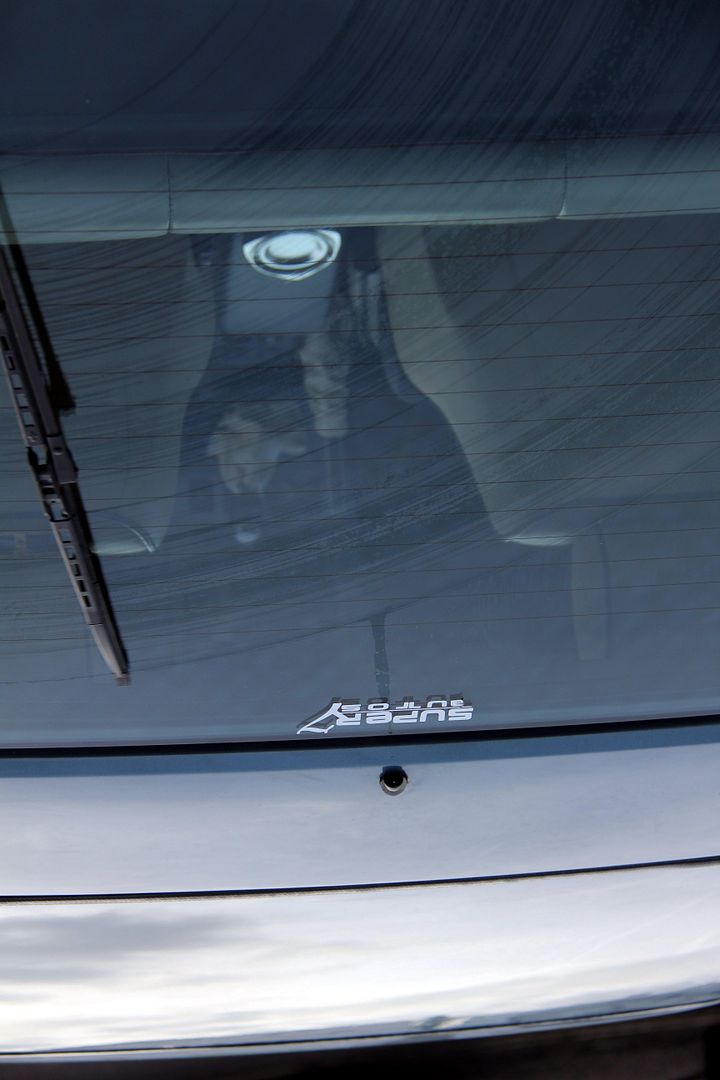
Hmmm. Seems the waterproofing on these colostomy bag things degrades with time. It was leakier than a dig in Olduvai Gorge (Louis and Mary Leakey, archaeologists responsible for the first real hominid palaeontology? No? OK, be like that. Just trying to inject some culture). I had another problem, too. The fluid still wouldn't come out of the washer jet. I removed it to clean it out... which sounds simple but meant removing the rear boot trim, two side panels, the B-pillar trim and the rear half of the headlining to access the full run of the washer hose and the nut securing the jet. Took it into the garage and un-blocked it with a combination of a needle and some solvent. Sure enough, it was properly clagged up. Screwed it back into the roof hole. It snapped in half. Dang.
Seems Mazda (being Mazda and thus doing stuff different to everyone else just for the sake of it) use a rear washer nozzle used on no other vehicles in the civilised world. Or at least, I couldn't find one. Fortunately, Ian on the incomparable
http://www.rx7fb.com/ came to my rescue and sent a replacement in the post. This time, I was super-careful screwing the retaining nut on. I wasn't sure if it was me overtightening the original or the solvent I'd cleaned it with weakening it, but I didn't want a repeat disaster. So I was really careful to do it up only finger-tight and then nip it up a fraction. It snapped.
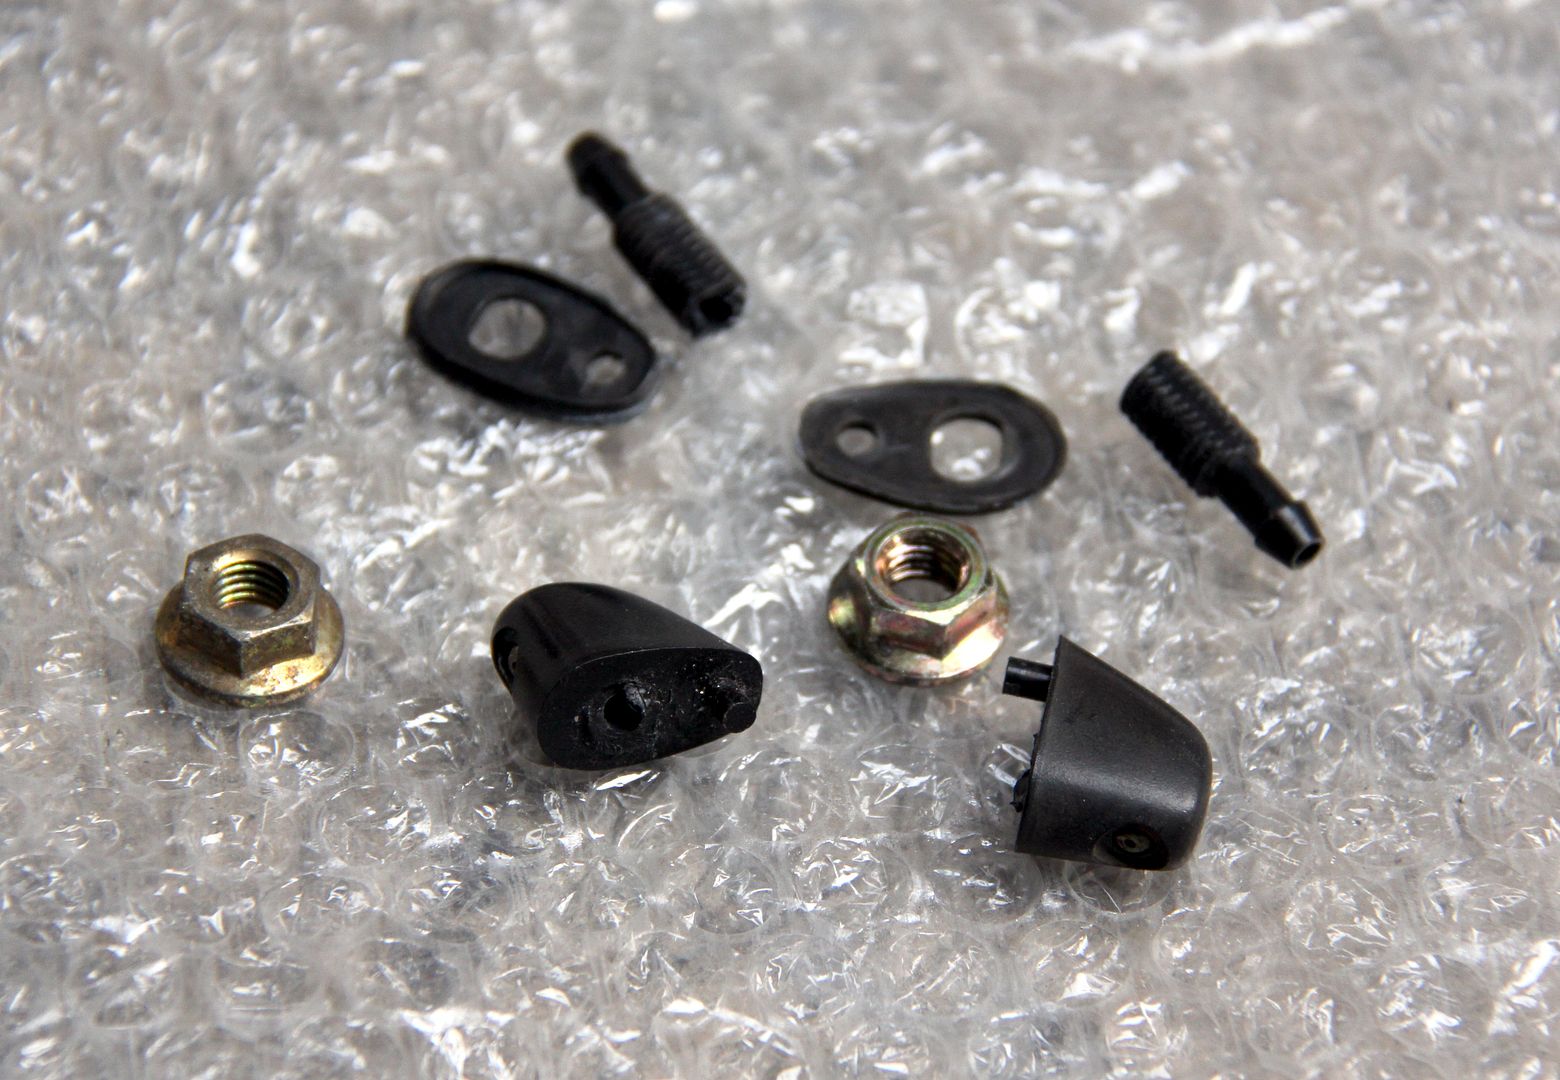
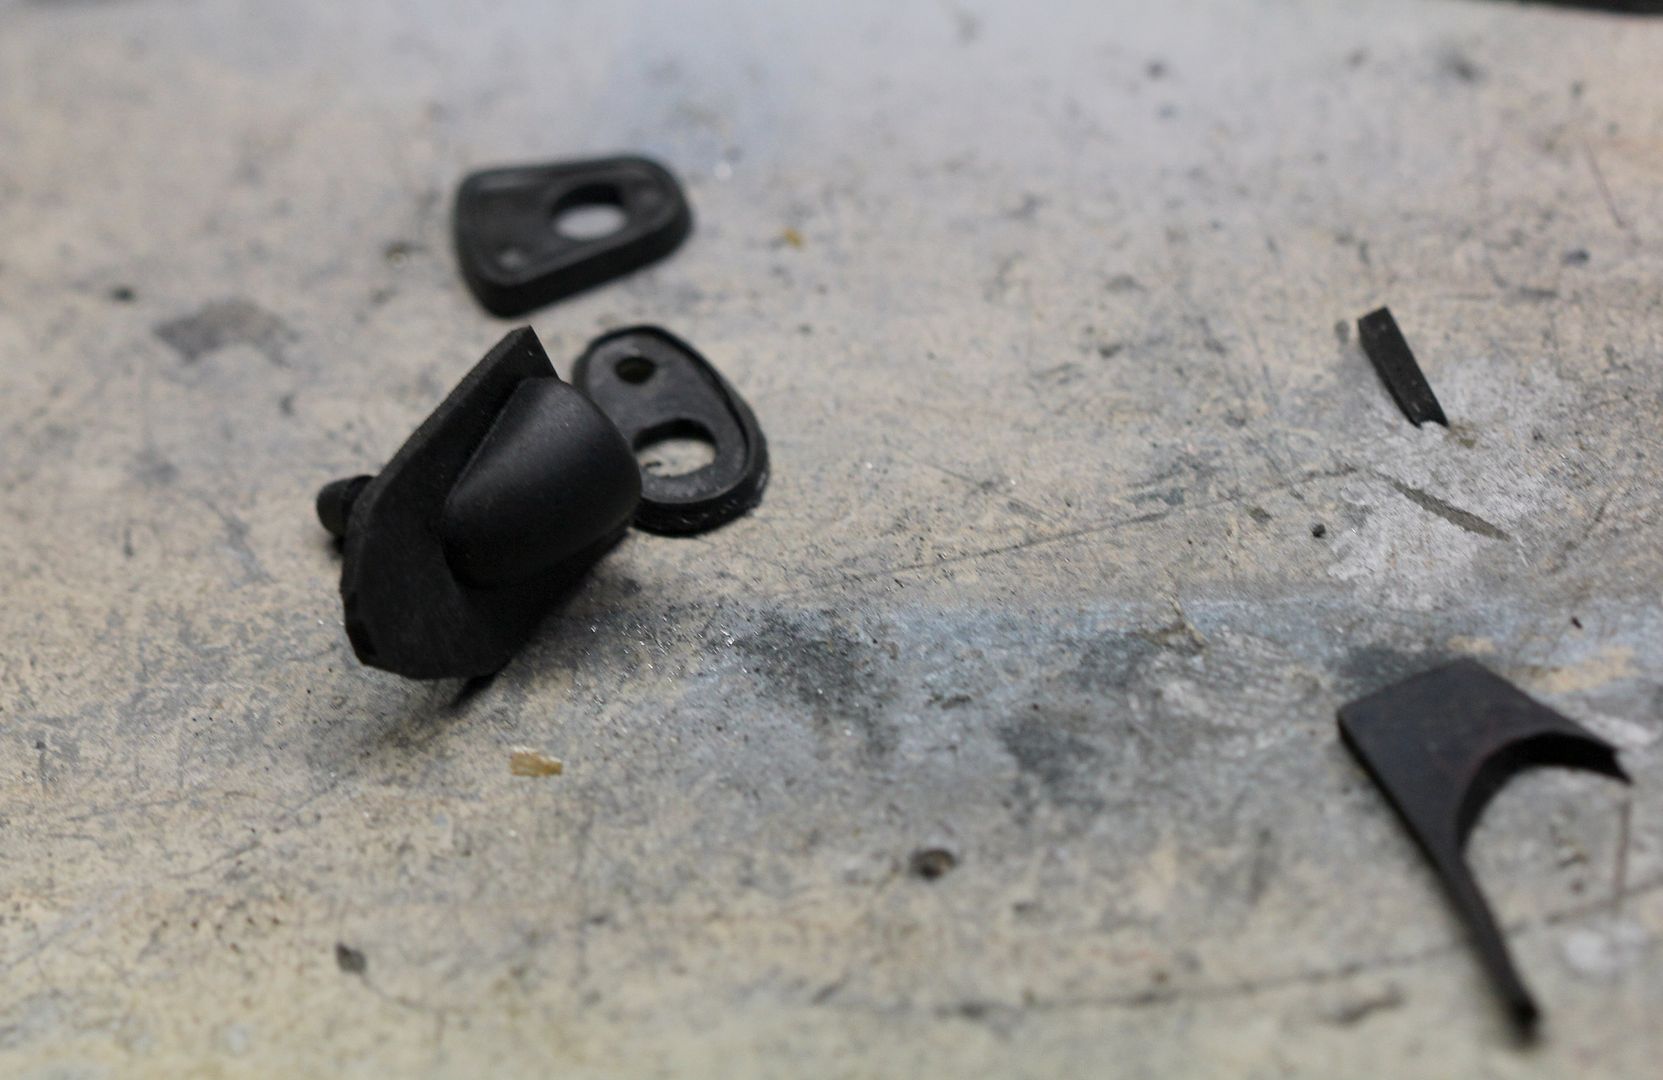
Y'see, the problem is it's an M8 steel flanged nut (oooh, flange. Stop it) that screws onto a plastic thread cut into the actual hose spigot on the jet. That's an unequal fight in anyone's language. Combine that with the age of the washer jet plastic and this is a very real problem. The other issue is that unlike most jets, these ones have the spigot at the "front" and a little locating peg at the "back" to keep it located on its little gasket. All the aftermarket ones have the spigot at the back, and no peg. That meant that to use a new jet, not only would the holes not line up in the roof with the coverage of the gasket, but there'd be a leftover one where the locating peg went. I had to get inventive with the scissors, and as there were no adults to help I just weighed in and did it anyway.
I got a more-or-less the right shape gasket that covered all the holes and fitted a Halfrauds universal jet well enough, and then blorted loads of Sikaflex all over the inside and out to waterproof the living bejebus out of it. Then when it was dry I nipped up the nut really, REALLY carefully. Success!

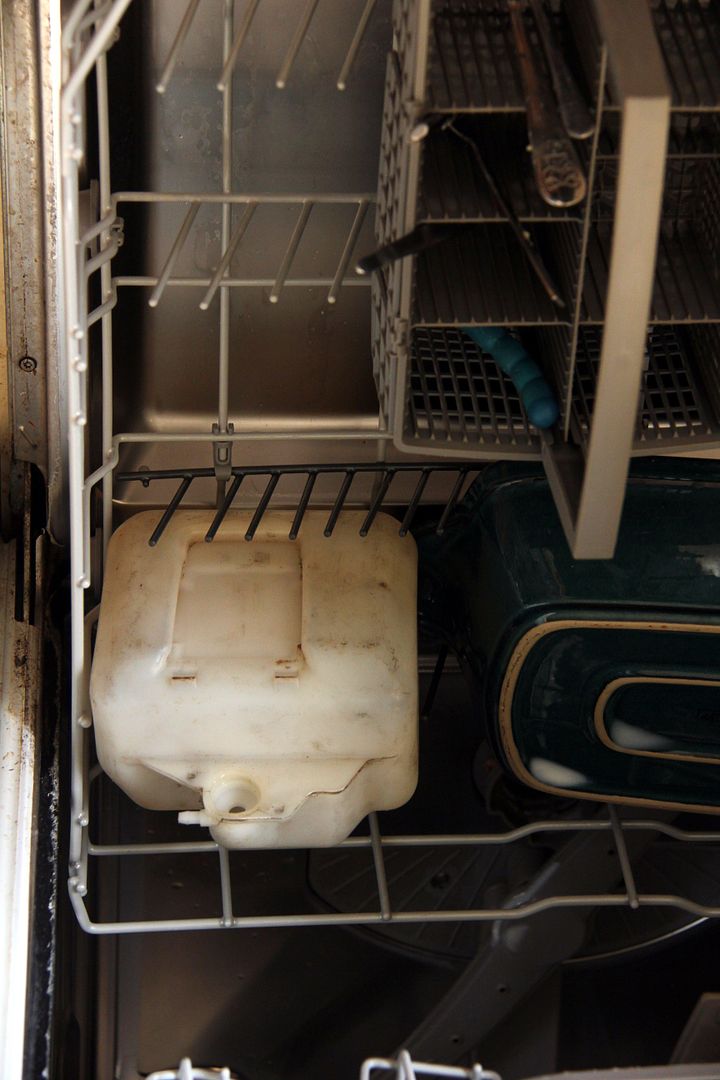
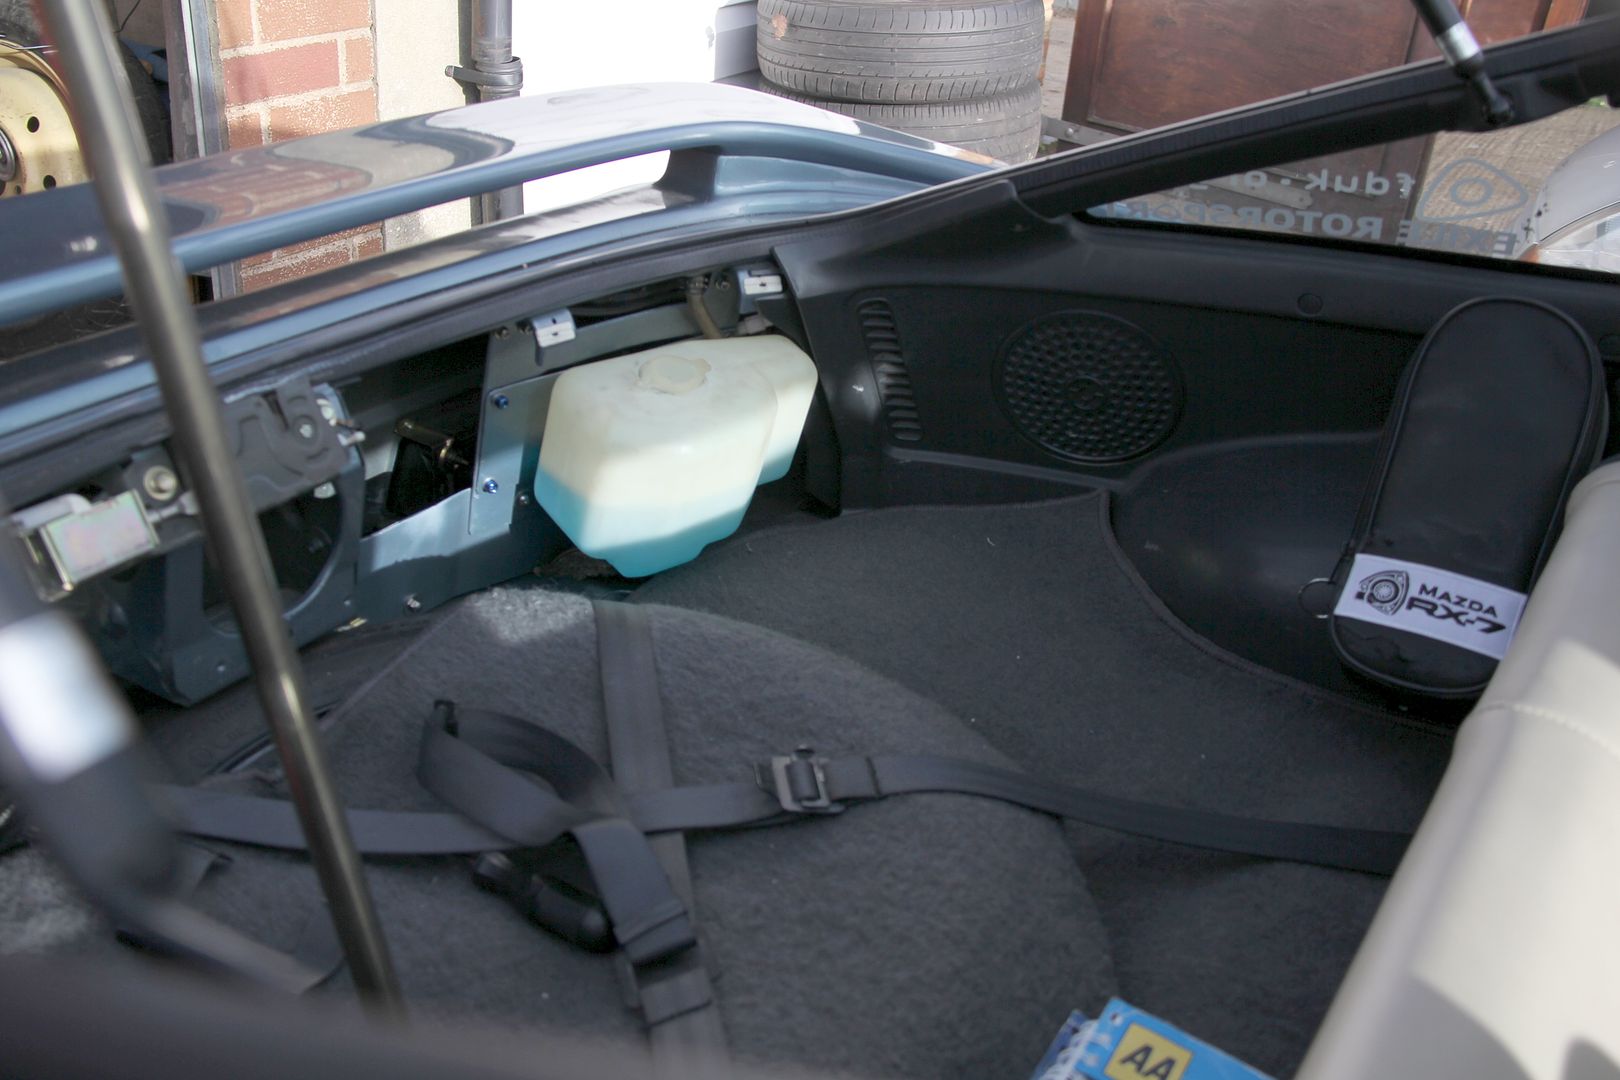
Holy ****, that was hard work. Now, the next problem was I still had a leaky colostomy bag thing. You can get similar ones from aftermarket suppliers such as the aforementioned CBS, but I already knew it's a pretty cack setup so I looked elsewhere. Fortunately, I had a large array of tanks of various sorts in the selection of FB spares I've accumulated. I opted for an earlier model washer bottle because it's smaller than the Series 3 ones, and because the pump I had would still fit. The bonus being there was no need for the spacers on the pump mounts either, the aperture for the impeller being deeper. So I got the opportunity to undergo another car tinkerer's right of passage, that of using the dishwasher to clean up manky old car bits and hoping the waff doesn't notice
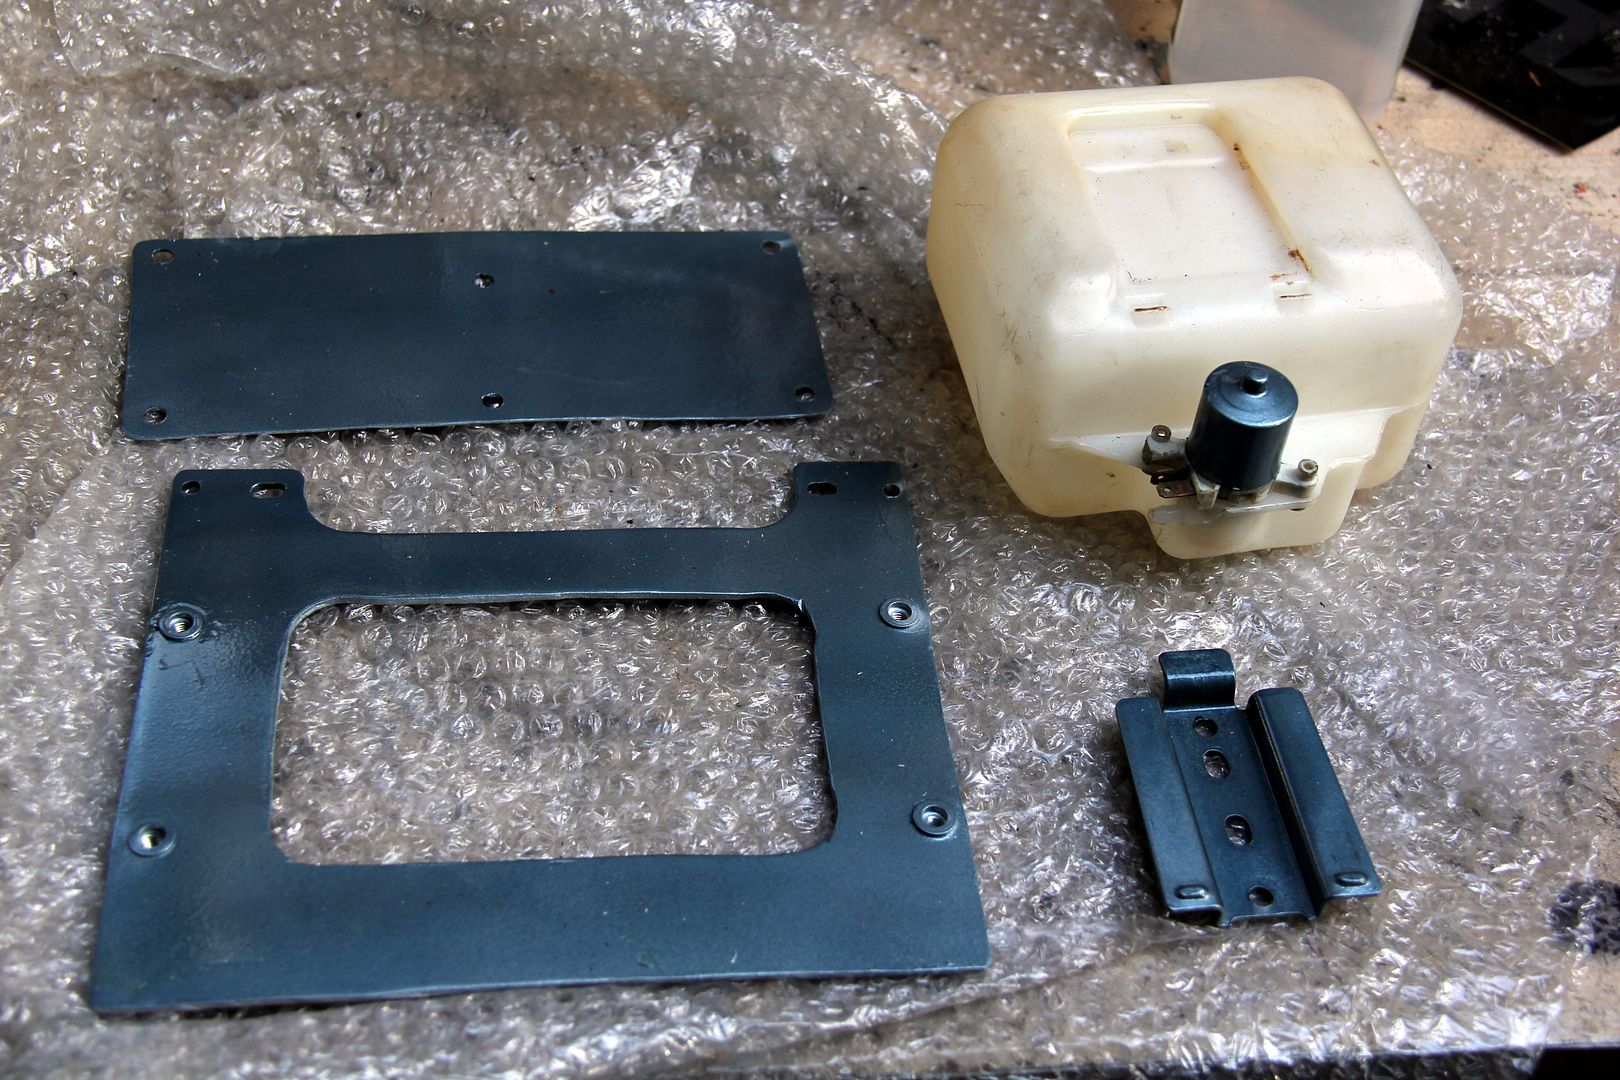
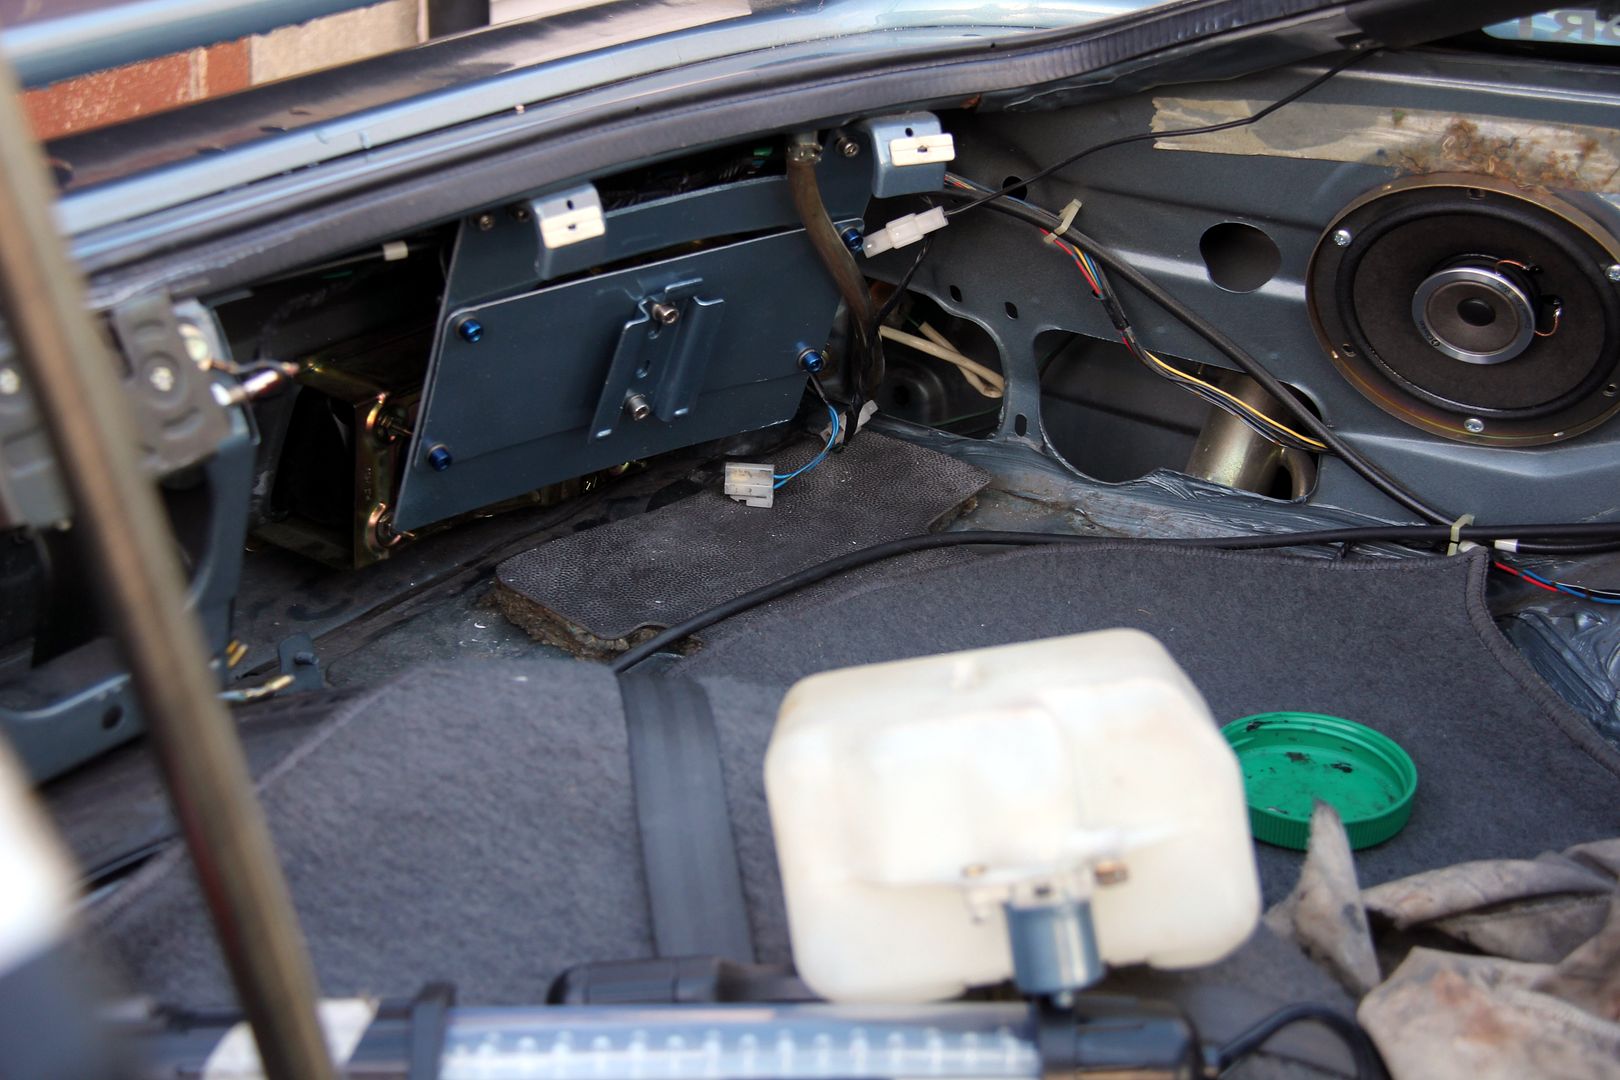
Of course, now I need some kind of bracketry to support the tank, as the old bag just hung from a couple of hooks. I used these mounts as the basis for a big support bracket cut out of alloy plate
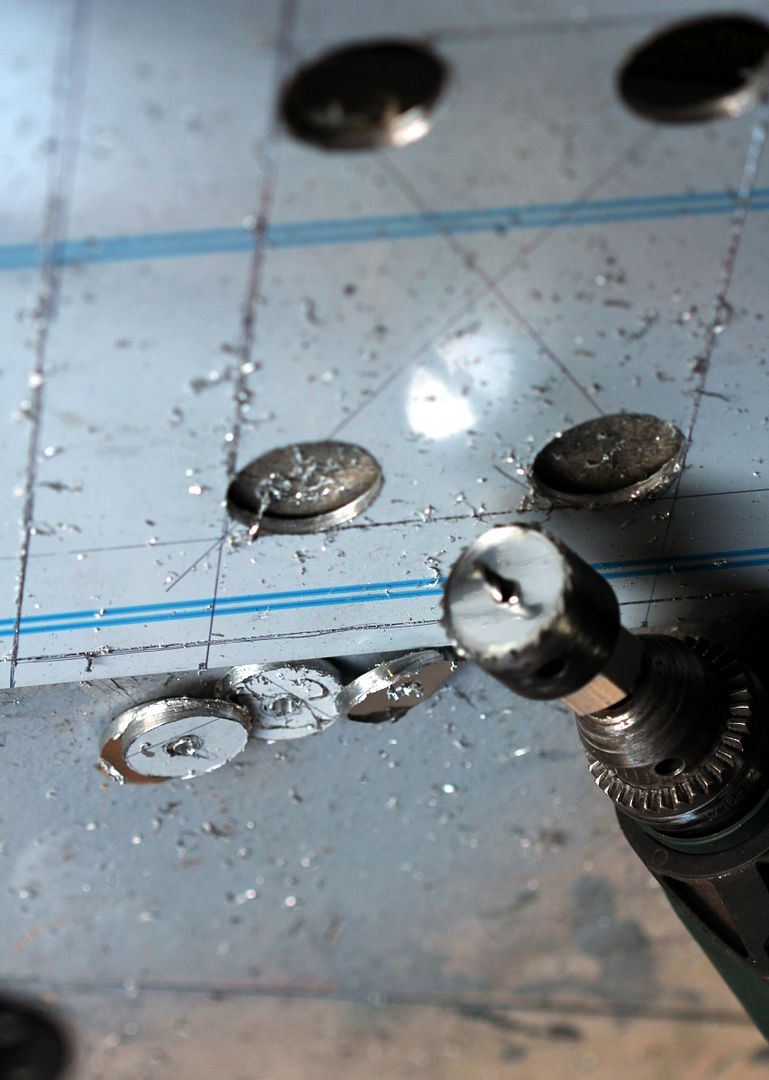
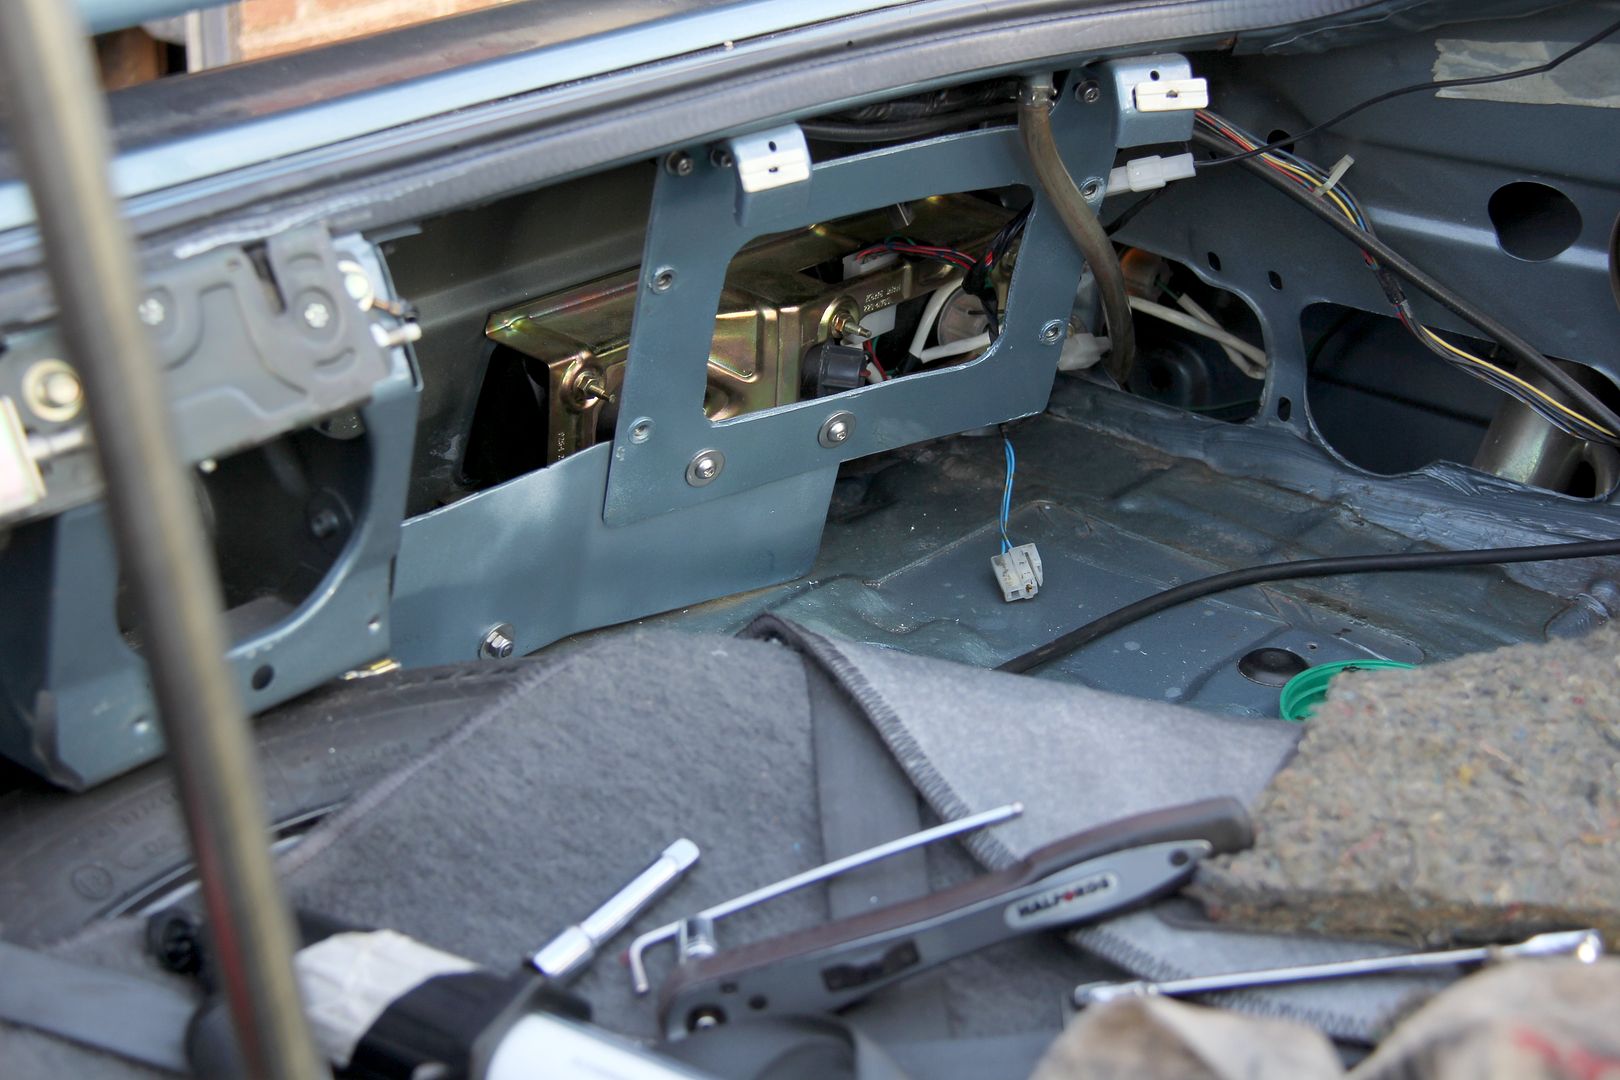
and then the original mount from the engine bay was pressed into service to actually hold the bottle. To join the one to the other, I made a simple alloy plate. This was necessary as the bottle couldn't slide on and off the clips due to the overhang of the rear decklid. With the plate I could put rivnuts into the corner of the mounting bracket, and then just twiddle the plate on or off using easy-to access allen bolts. The actual main bracket would be a right paint to unbolt every time I needed access to, for example, the rear light units, as the bolts that held it on were right up underneath the deck lid and behind the rear trim panel. By introducing apparent complexity with a third bit of bracketry, it'd actually make life easier in the long run! So, after some faffing around with angle grinders and files and a lot of waiting for paint to dry in cold, damp conditions, I ended up with this little kit;
Oh, and this
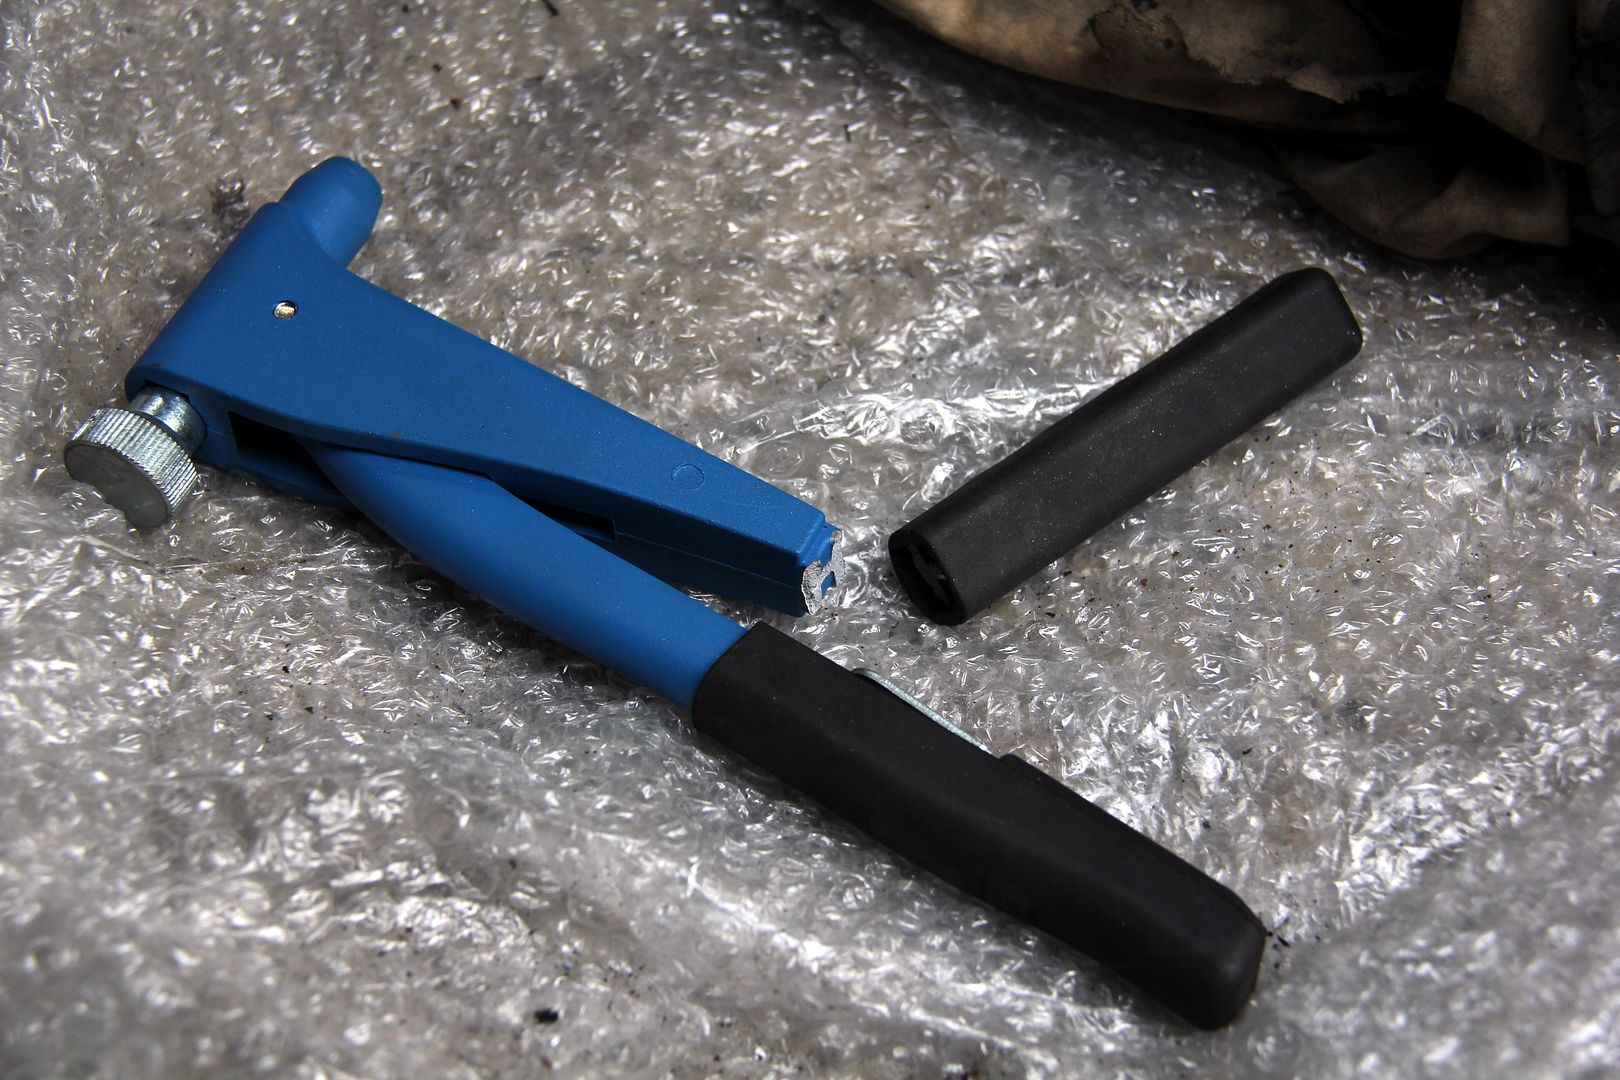
Apparently I don't know my own strength, but even so I was surprised at being able to snap the handle of my rivnut tool clean in half. Dang. Expensive bloody bracket, this one. Maybe stainless M6 rivnuts were a bit overkill...
Anyhoo, we're winning again. I got on with bolting the bracketry into the boot, and surprisingly given my usual sketchy fab skills, it all seemed to fit pretty easy
while I was at it, I got on with some essential periodic maintenance, i.e. cleaning out the boot and sunroof drain tubes. I find a bit of bowden cable left over from the garage door weights is perfect for this. If you haven't done yours recently, do it now. You'll be grateful you did when you see how much gunge comes out!

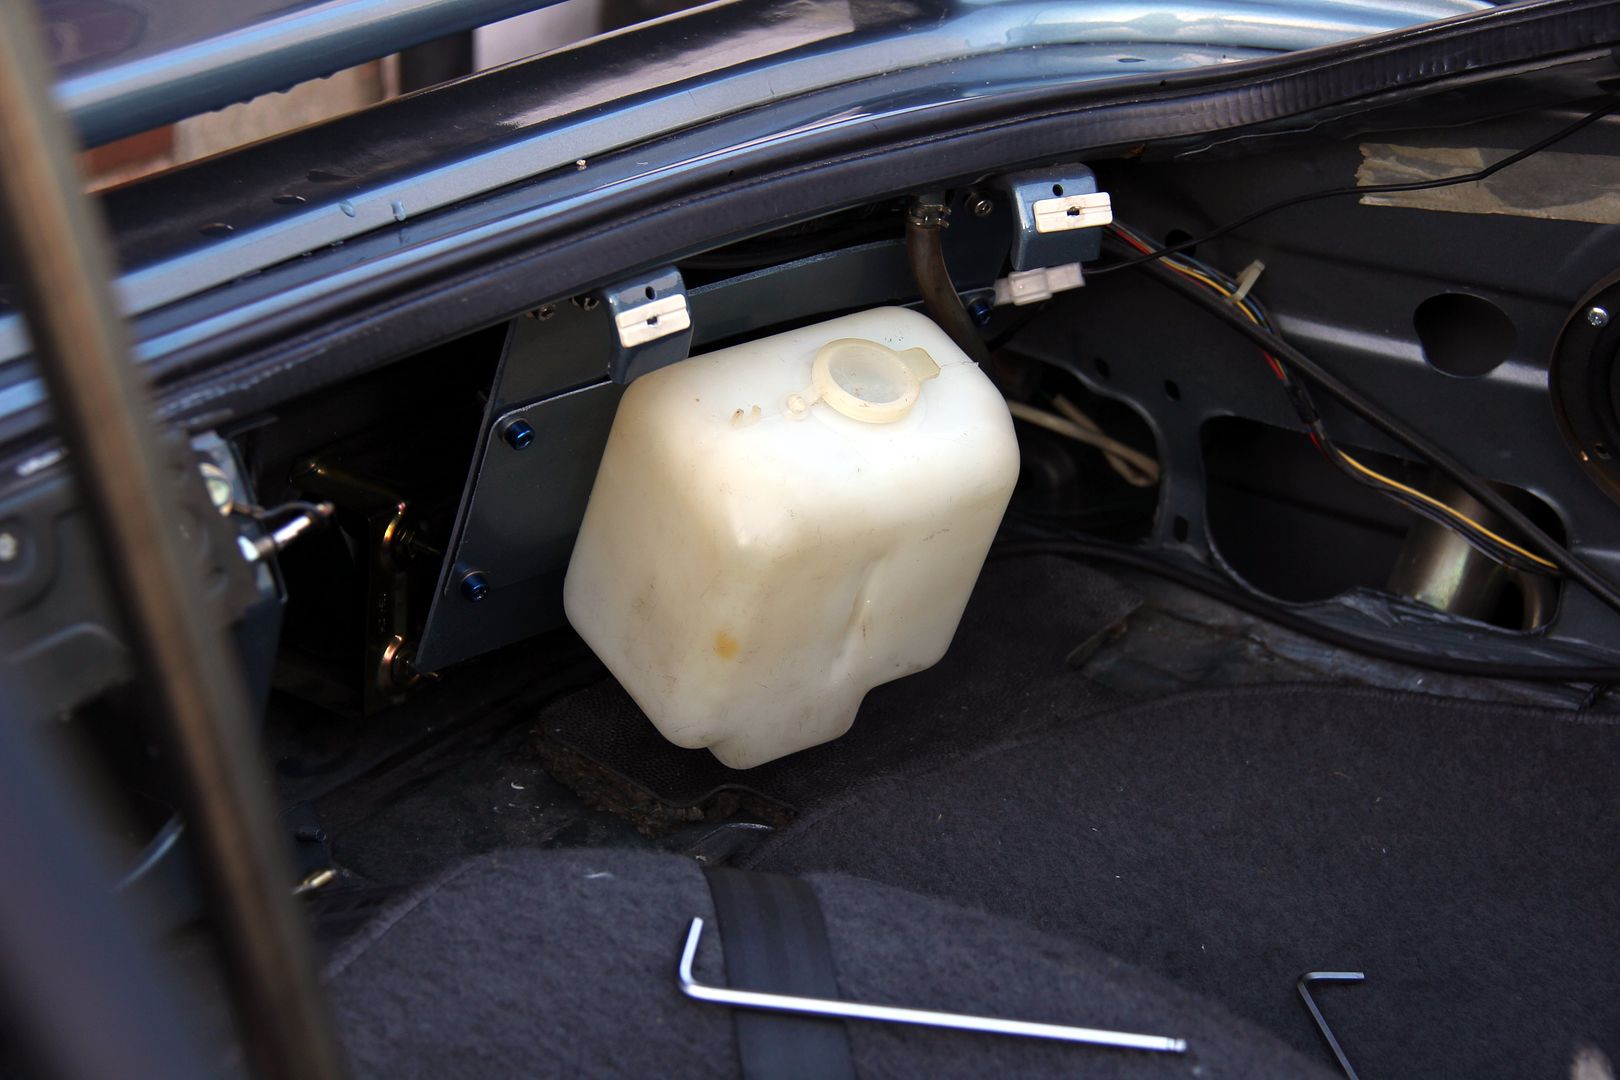
Anyway, so there we have it. One compact, robust and functioning rear washer setup installed and ready for action;
Chuffed with myself, I went indoors to warm up and have a coffee before going back out to re-install the boot trim panels. You know where this is going, don't you? Yep, a little lake of washer fluid was slowly and placidly spreading across the boot floor. Dang. You'd think I'd bloody learn to check things out first, wouldn't you? Especially after the leaky bag calamity! Out came the tank again, and on minute inspection I found a tiny pinhole leak where the bracket had chafed through the plastic over the years. It only actually opened up enough to leak if pressed on exactly the right spot... or under its' own weight when filled with fluid and hung on the bracket. Bloody thing

Typically enough, I had spare tanks in the larger Series 3 style, like the one I'd just swapped for alloy, but no more of the earlier smaller ones like this leaky one. So with no choice but to mount the bulkier version, I took the opportunity to make up yet another bracket to support the bottom of the setup and give it a bit more strength. I wasn't that happy with the weight of all that fluid hanging off the top-mounted lugs anyway.
And FINALLY, after four days on and off work plus waiting on a replacement jet in the middle, it was all up together, leak free and functioning. What a bloody mission!
At some point I think I'll source a smaller tank because this one's not only wider but deeper than the one I wanted to use, so it intrudes into the boot further than I'd really like. But for now, I can't face even looking at the $£%#*!ing thing again for a few months at least! And at least it'll be ages before it's empty! But the main thing is;
It works! Worth all the aggravation? Hmmm. Ask me again in a few months when I've calmed down.


