Right, well just because I'm lazy doesn't mean I'm idle, lol. Prior to the accident I'd spent the past few weeks getting stuff ready for what should have been the great hand-over. I wanted to get everything I could sorted before giving the car to Super 7 to build/fit the new ported engine. Bear with me, this may take a while!
First thing was a jaunt up to darkest Northamptonshire. Mark (K) was clearing out all his remaining FB stuff cos now he's seen the light of FD glory it was in the way and it had got to the point he was going to just tip it. I didn't really need most of it, but like all good hoarders I can't bear to see what are essentially now irreplaceable out of production parts chucked away. Because one day someone
will post saying "my windscreen wiper linkage has snapped" and I'll think "ooooh, now where did I put those three I blagged off Mark!". I'm a custodian for obscurity, lol. No, please, no need to thank me
Anyway, it was weird driving actually past Santa Pod and not going in, but at least in a rare moment of perception I'd stolen the waff's F*rd rather than try to fit it all in an RX-7. Just as well. It ended up full. And I mean
full!
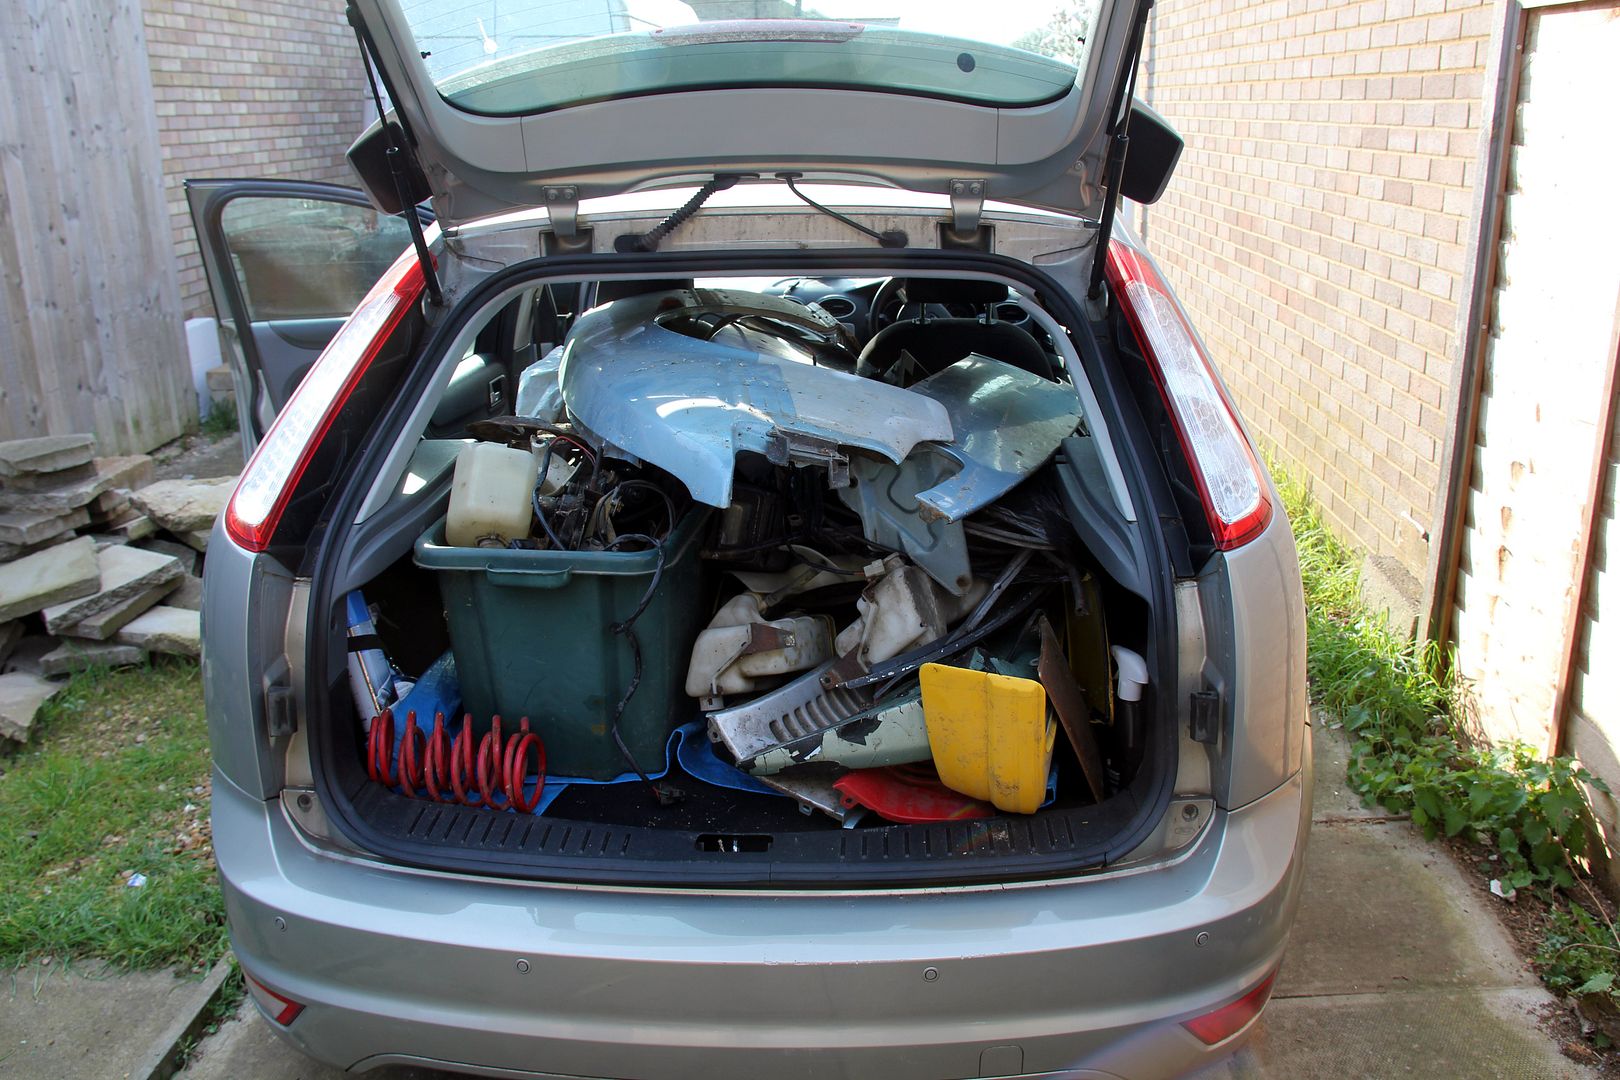
Big thanks to Mark for insisting I took it all, anyway. I felt a bit cheeky just bunging him some beer money and scarpering. There were certainly a couple of bits that made it worth the trip for me, things I'd been after for a while. Firstly was a decent seat. The one that came with the 2nd hand leather interior I scored had a couple of problems. One was that the foam padding was completely knackered, absolutely squashed flat. Either the car it came from was owned by an elephantine fatty or it had done interstellar mileage, but after a while it got pretty uncomfortable sitting directly on non-upholstered springs and there was no lateral support at all so I tended to slide about in corners. The second problem was that the quadrant gear for the reclining mechanism had stripped all its teeth so the seat back was either all the way upright or all the way gangster lean but wouldn't stay anywhere in between.
So, the first thing I did was inexplicably manage to shatter my 12mm socket getting the runner mounting bolt undone. Yeah, that real PITA one under the rear trans-tunnel side of the seat
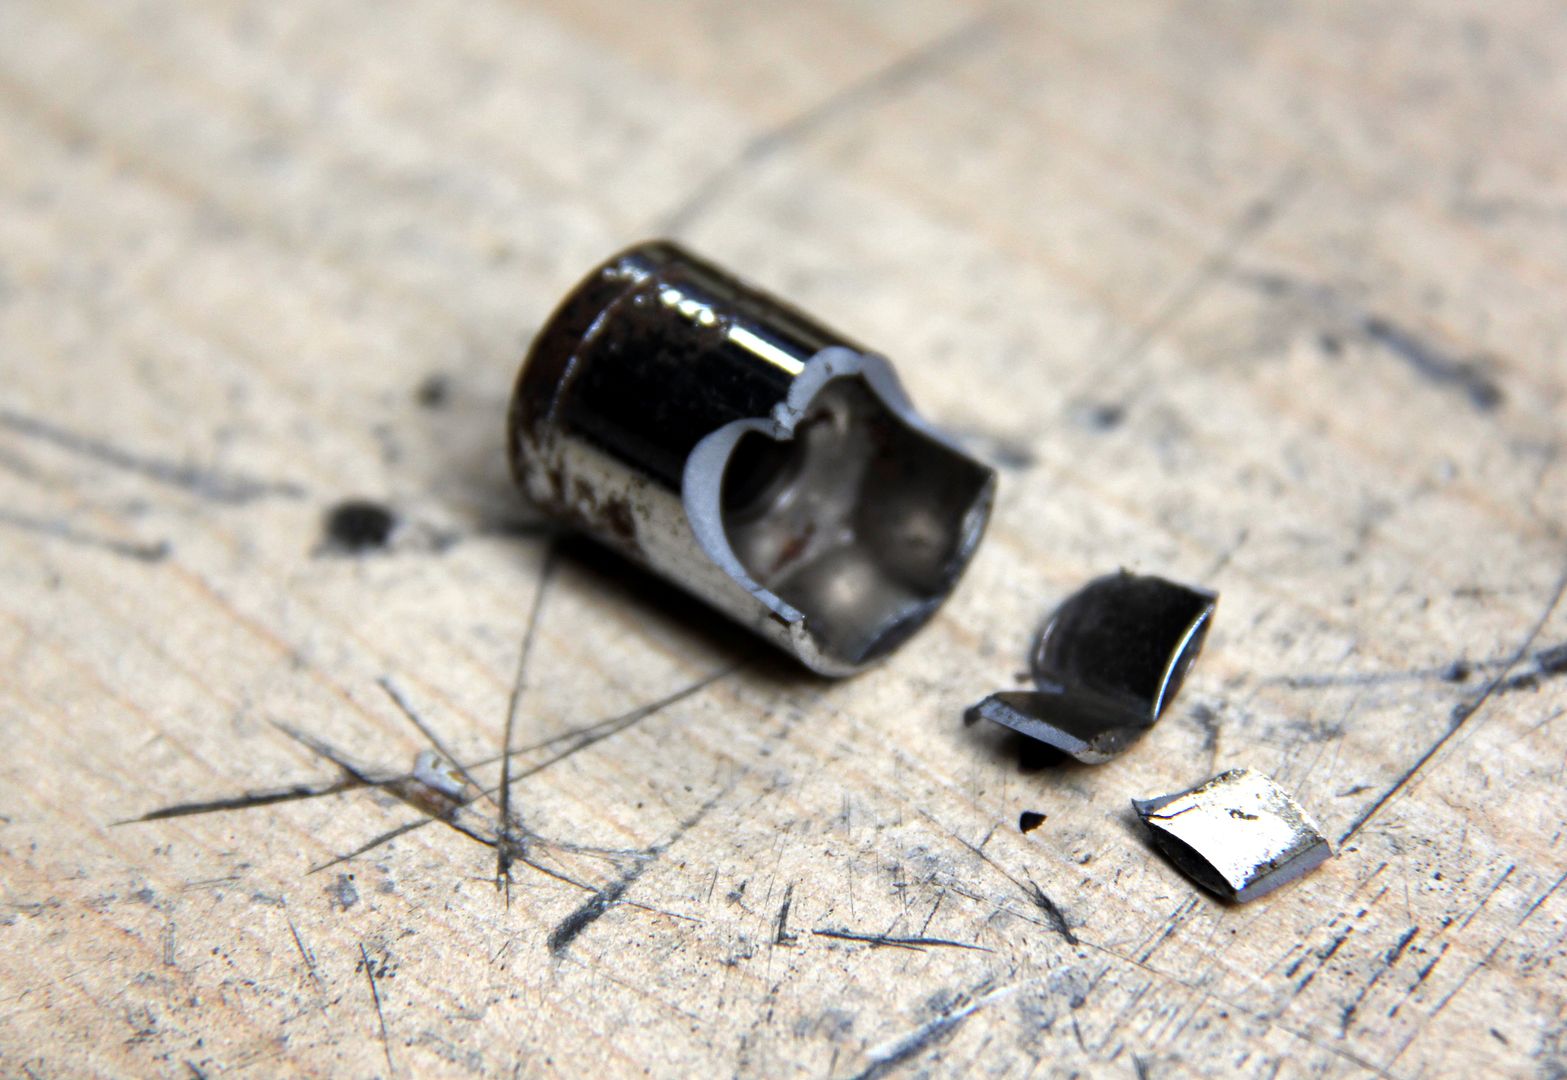
Hopefully this wasn't going to be an omen for how the job was going to progress. Armed with a socket that had the advantage of having all six sides still attached, I got the bugger out

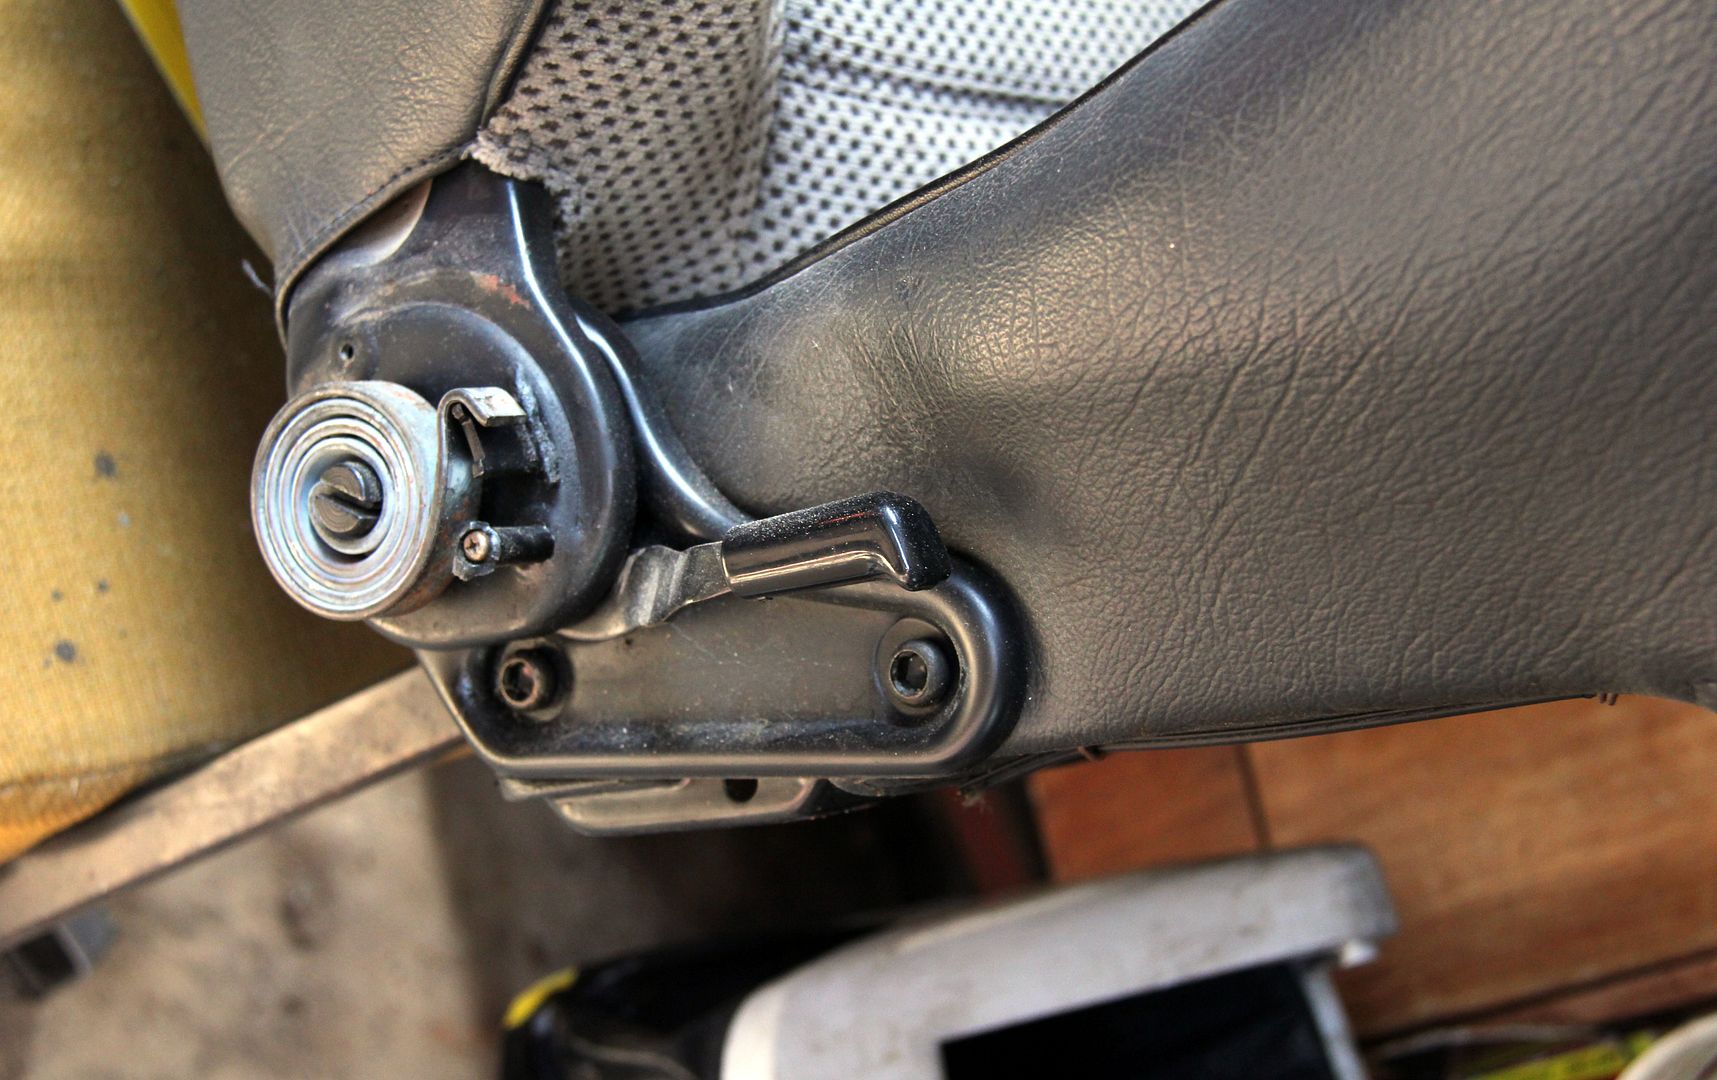
Then I pressed on with disassembling the "new" seat from Mark. It's easy enough to split the seat into its halves; just a couple of socket head bolts on one side, one screw in the lumbar support crank and that's about it. I didn't touch the actual spring-loaded mechanism for the recliner; the spring in this is designed to lift fatties against gravity. If it cuts loose you're going to lose an arm!
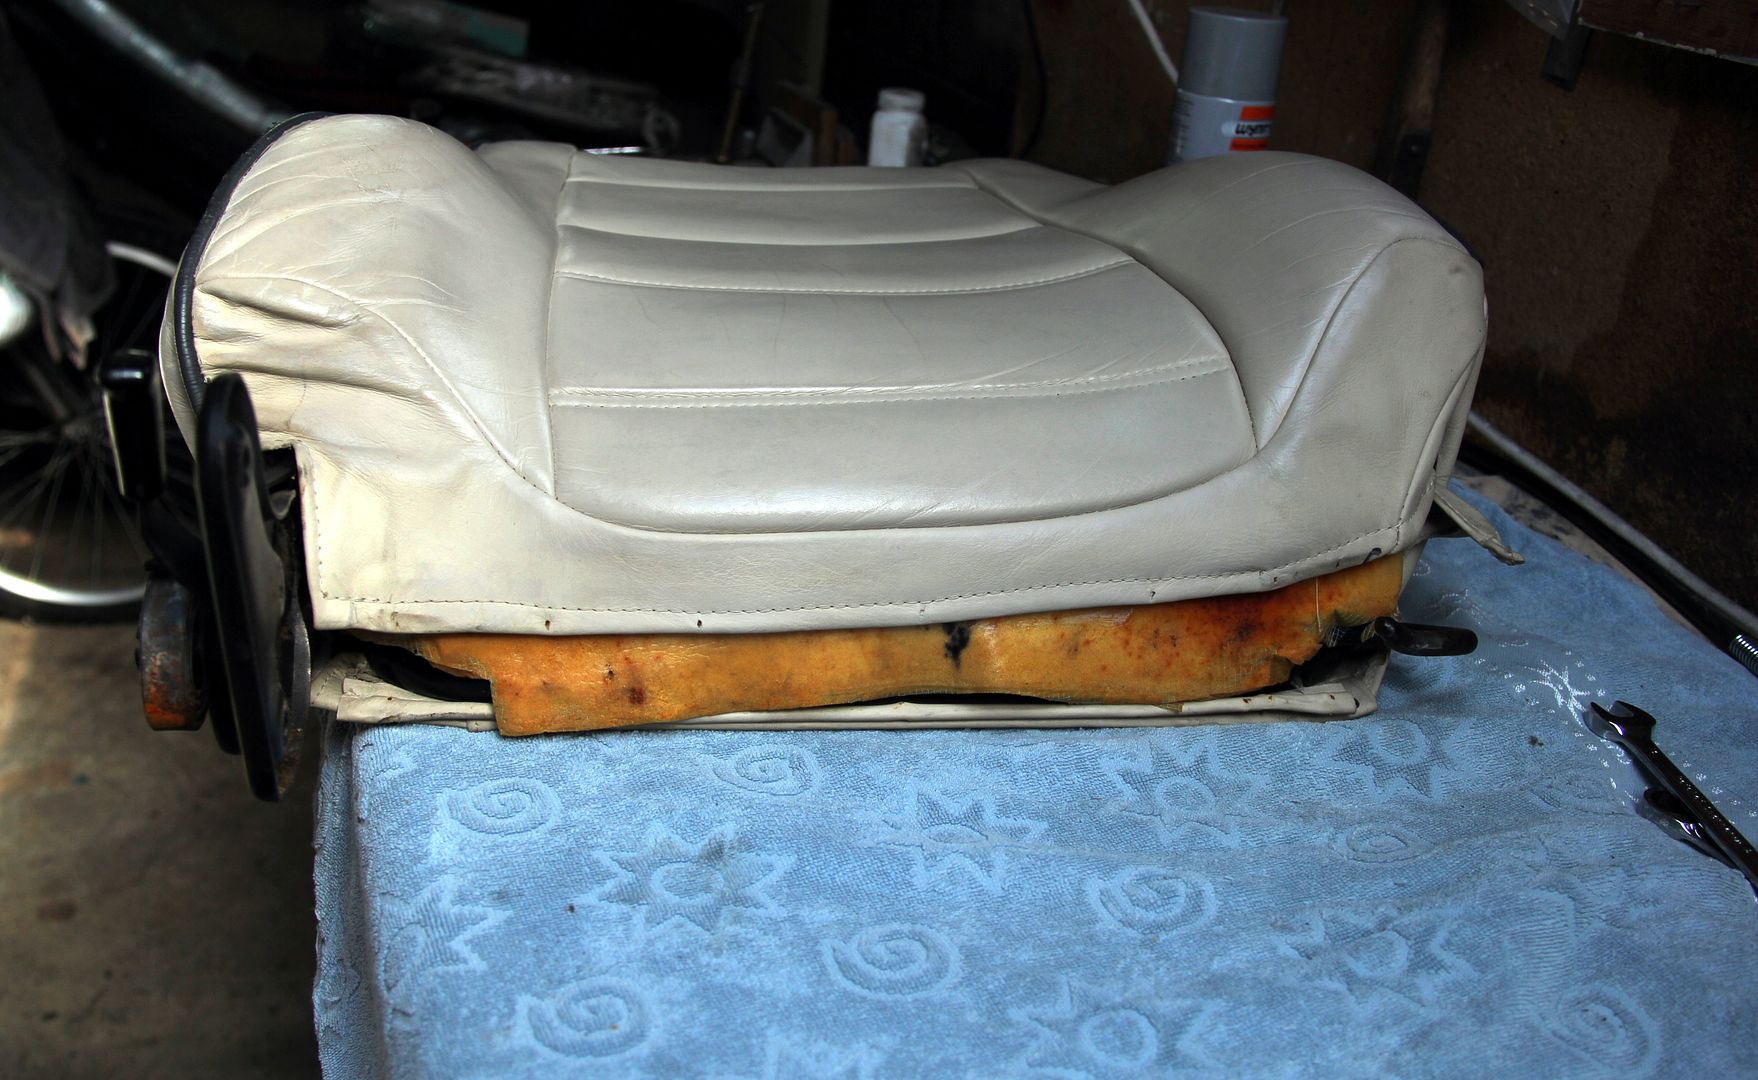
As you can see in these comparison pics the seat backs were very different in how pert and supportive the lumbar side cushions were. Mark's seat they stand nice and proud;
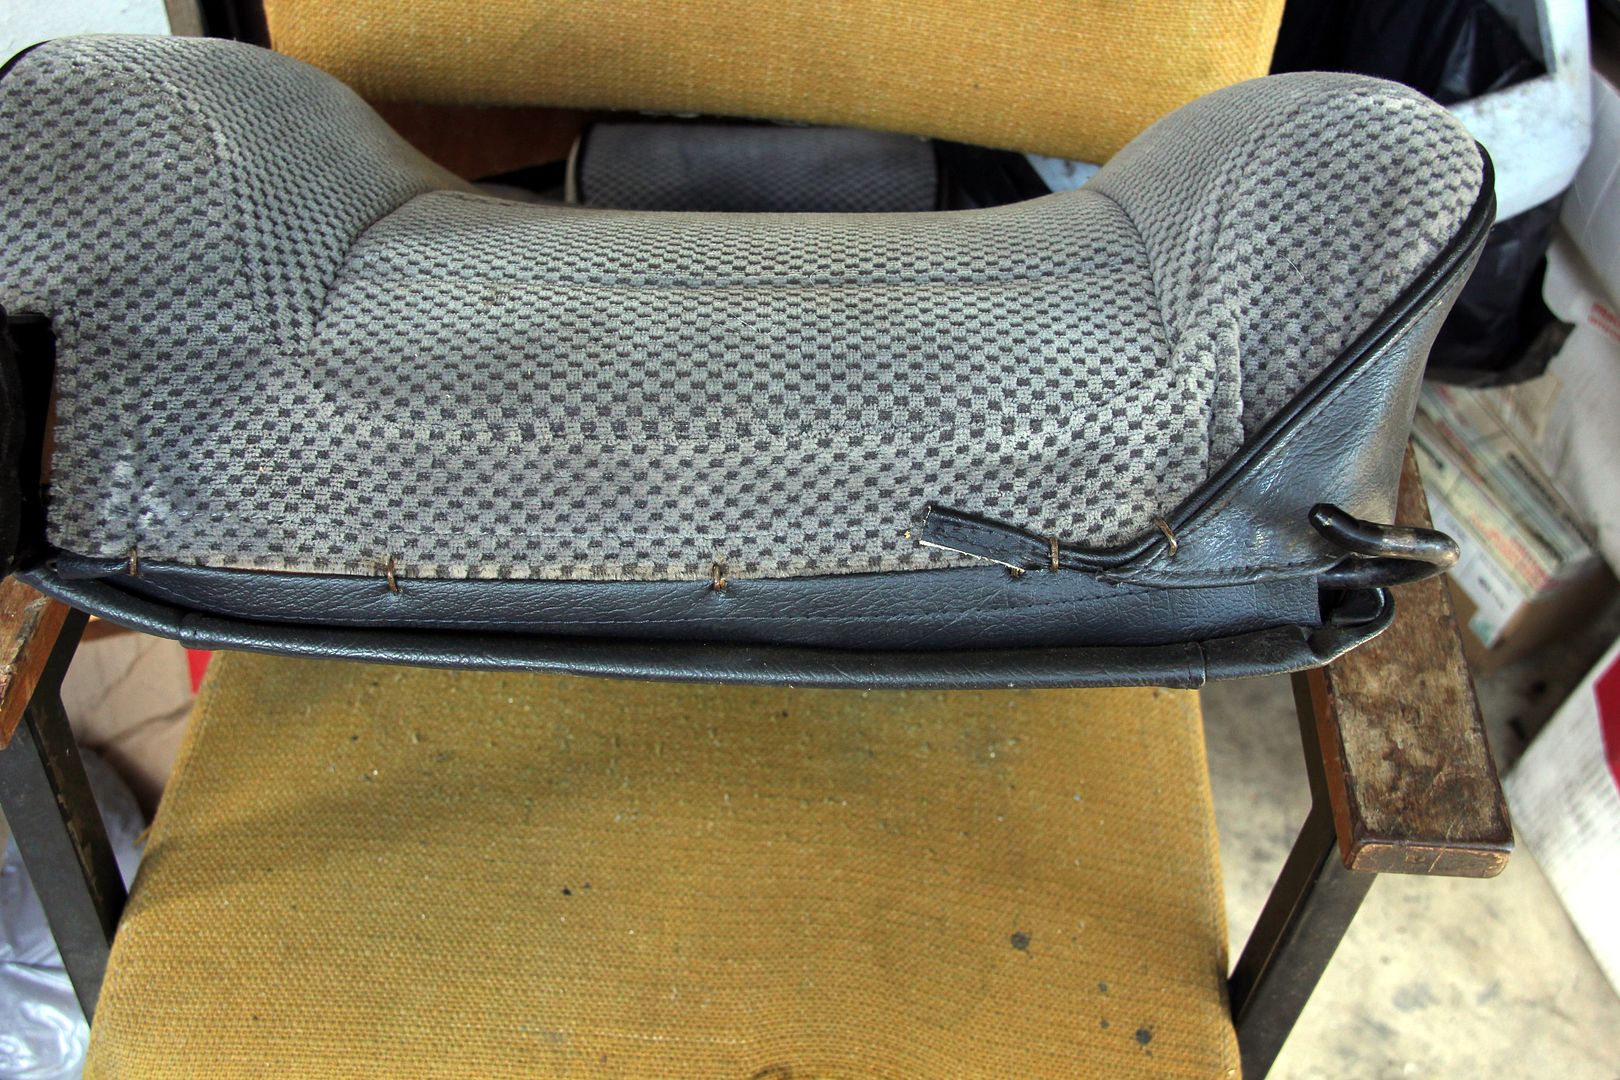
on mine they're all floppy and baggy. There's probably a joke in there somewhere. Not only that, but presumably because this was a one-off trimming job, the dimensions of the leather are clearly slightly wrong to the point the trimmer couldn't even get it fastened underneath where the back mounts to the base, and all the foam was just hanging out of its gaping gusset. Euwww. Definitely a joke in there
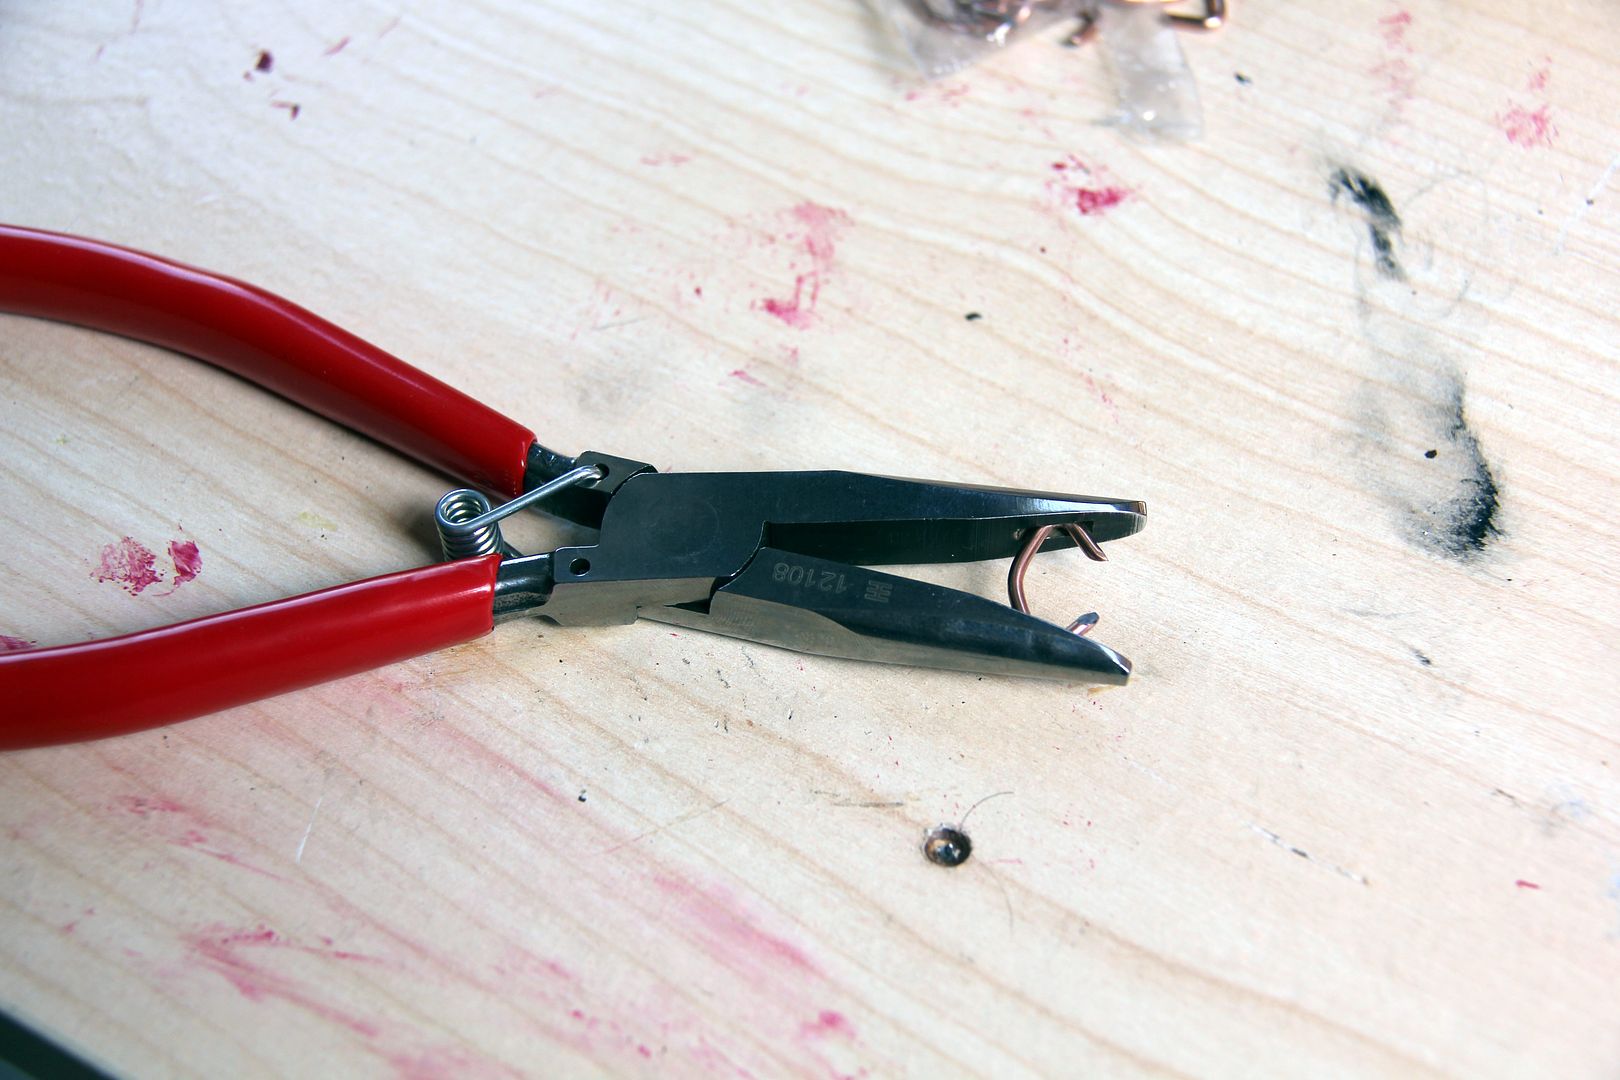
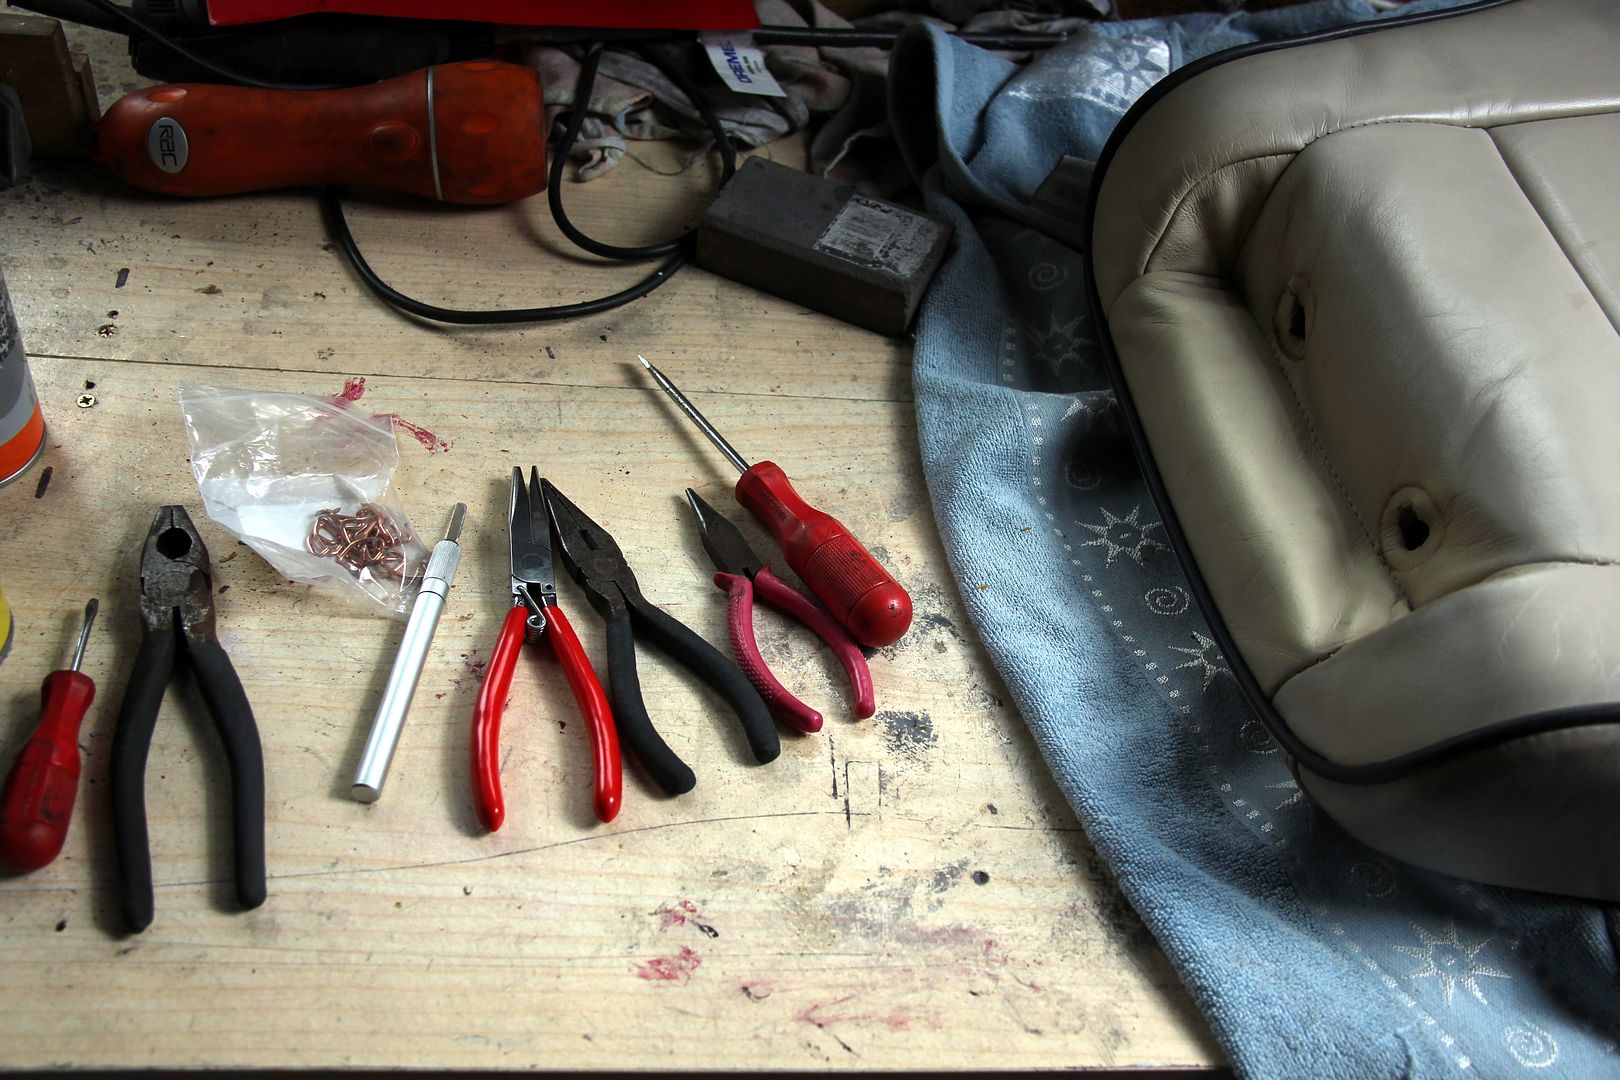
So essentially what holds the seatcover to the frame are hogrings. These are little c-shaped clips that when you squeeze them in the jaws of special pliers (called hogring pliers, imaginatively) make a spiral shape and clamp the fabric or leather to wires inserted through the foam or to the seat springs. Fortunately, having stripped and repaired the leather seat on my FD, I had some pliers and hogrings leftover. The pliers are devilishly simple yet clever, like all the best inventions. They're essentially sprung snipe-nose pliers with a dentent machined into each jaw that grips the hogring and forces it round on itself when you squeeze the handle. The spring keeps the jaws gripping the hogring so they are one-handed to use while you manouvre the material into the right place with the other
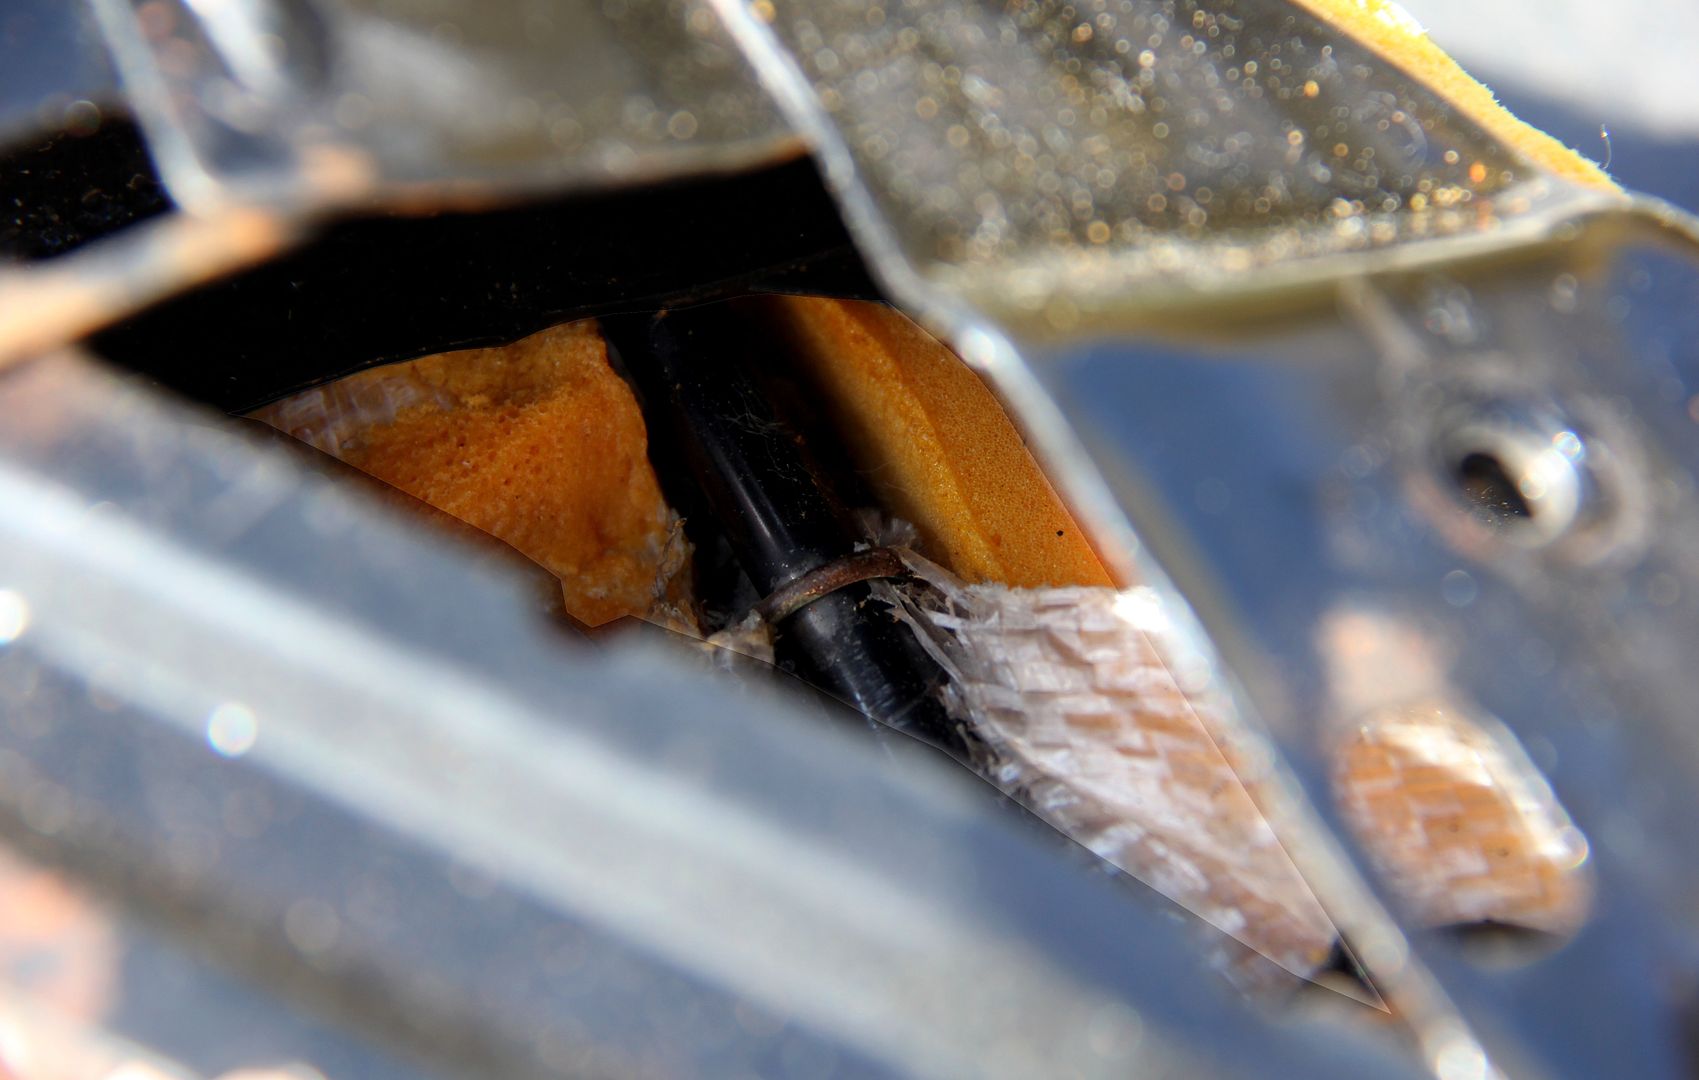
However, nothing is as easy in practice as in theory, and before I could even think of using clever pliers I had to strip both seats.. which meant uncurling a load of hogrings. And there are a LOT! Some are obvious, some more hidden. For example, every arrow on this pic of the base is a hogring. The easiest way to to lever a slight gap in the ring with a screwdriver, then un-curl it with longnosed pliers. However, restricted access sometimes makes this a properly irritating test of patience

by way of example, there is one here, in the corner-web of the seat base structure, clipped around the frame of the springs. This space is about two inches by three, surrounded by sharp metal edges. Yeah, these ones had me inventing some new swear words just for the occasion!
However, it's a therapeutically simple procedure and basically I like the fact that an entire seat can be stripped and re-assembled using these few tools;
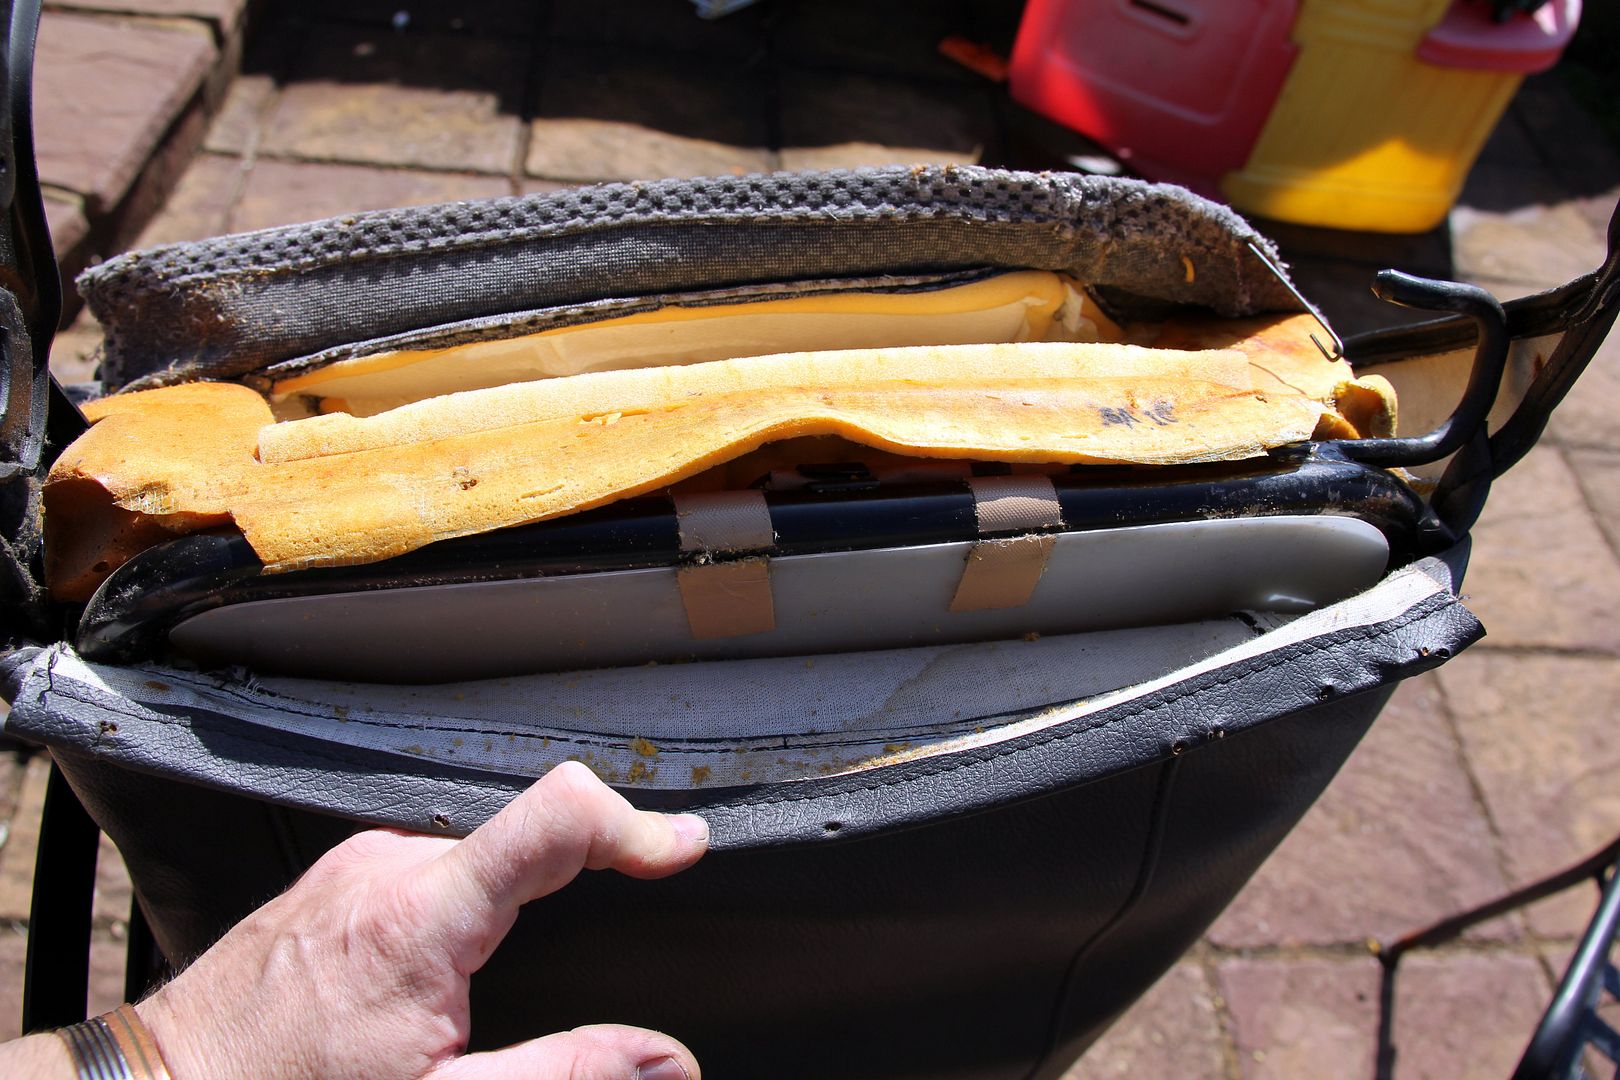
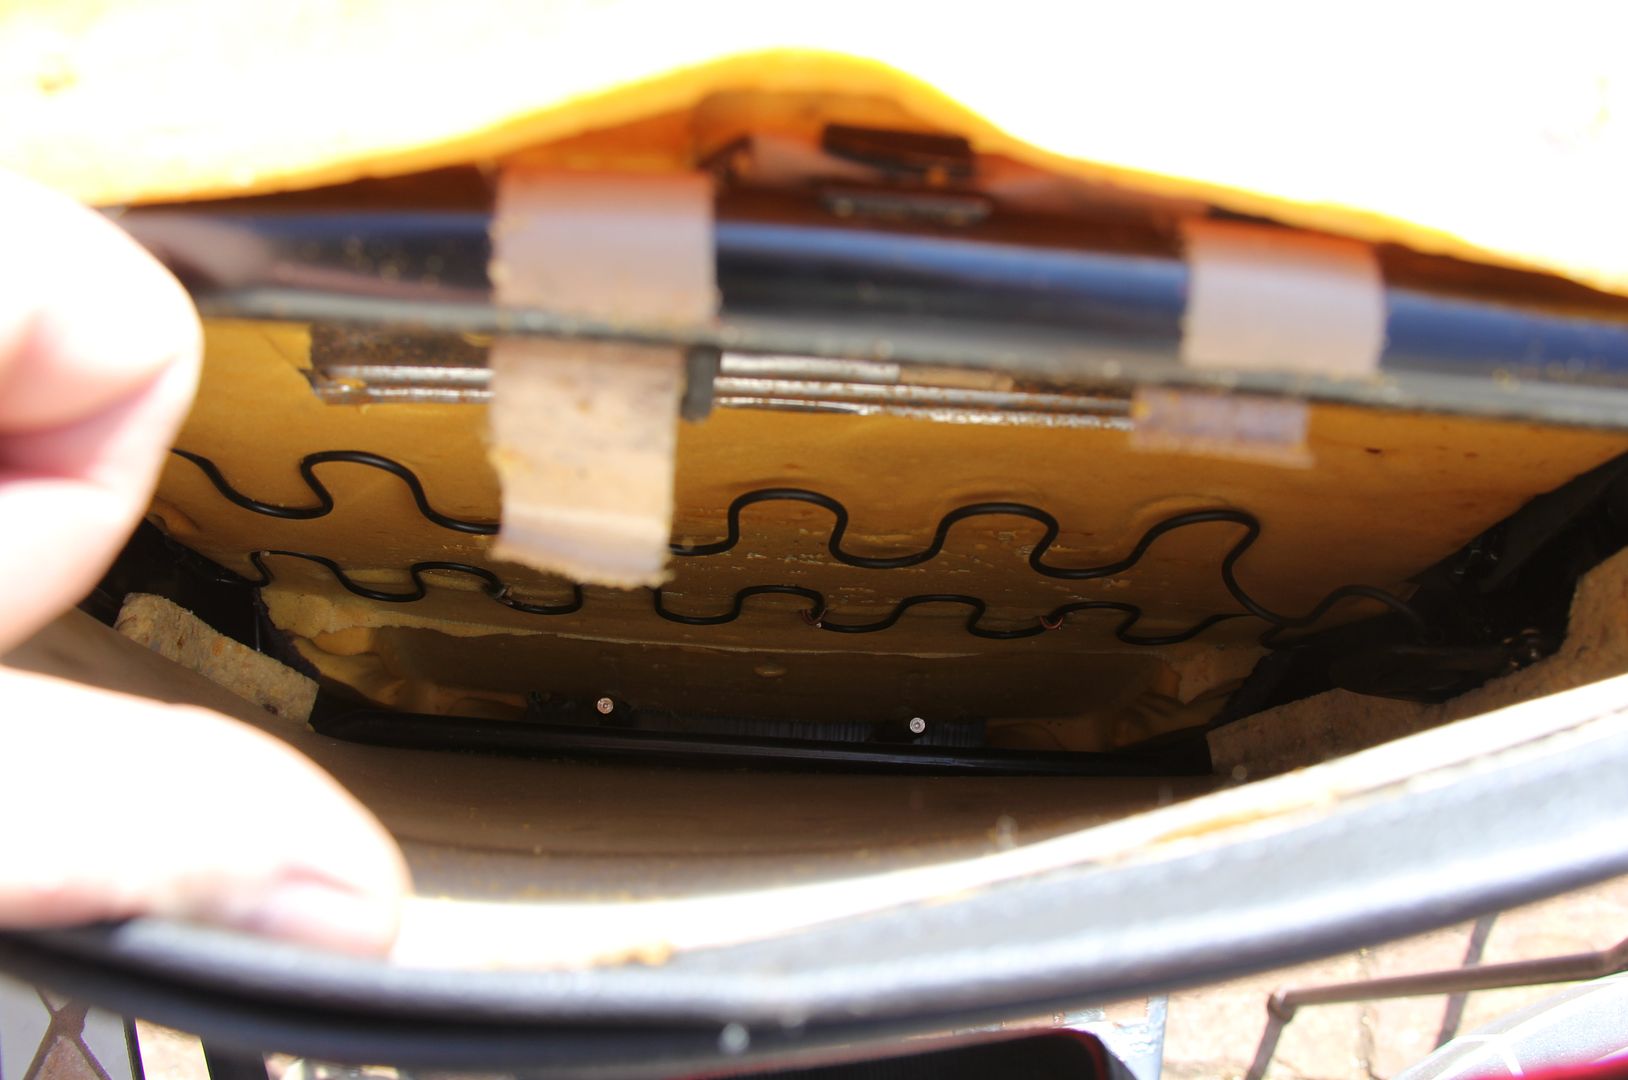
The back is a bit more complex than the base. It has this weird plastic tray in it, presumably to give the back of it some rigidity. It's held on by freaky rubbery surgical tape where the glue has gone weird with age and heat and basically turned into some kind of permanently gooey un-set tar type stuff that sticks to bloody everything.
The seat cover has pockets that basically stick backwards from the inside of the front face and these are hogring-ed through the foam to the spring structure at the back of the frame. Which means you have to get right down in here with your two pliers/screwdriver routine, all the while needing at least two extra hands to hold the damned thing apart for access. Nadgery doesn't even come close to describing it, and I gained a whole new respect for people who do this for a living!
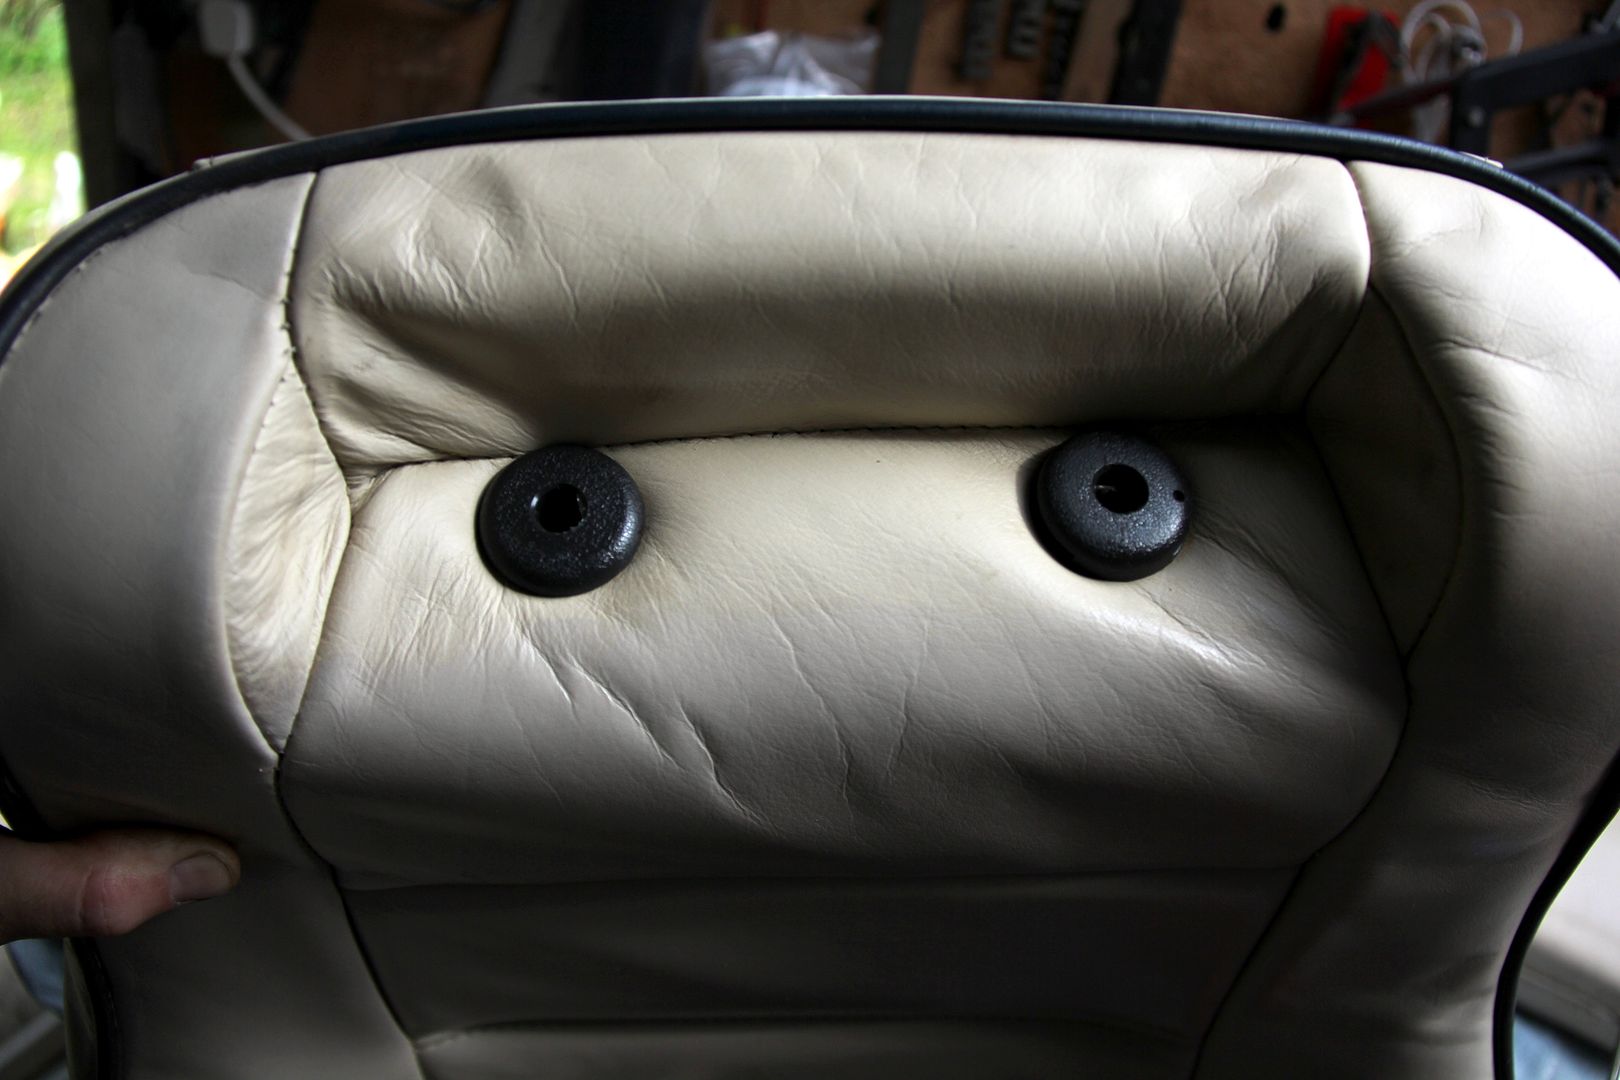
At first I was stymied as to how to remove the headrest, until I discoverd that a) some squirty grease freed up the seized runners nicely and b) one of the plastic guides that hold the runners in the seat has a little spring clip built into it that you can release through a tiny groove using a small screwdriver. Then I could remove the plastic guides from the top of the seat, the last thing holding the cover on

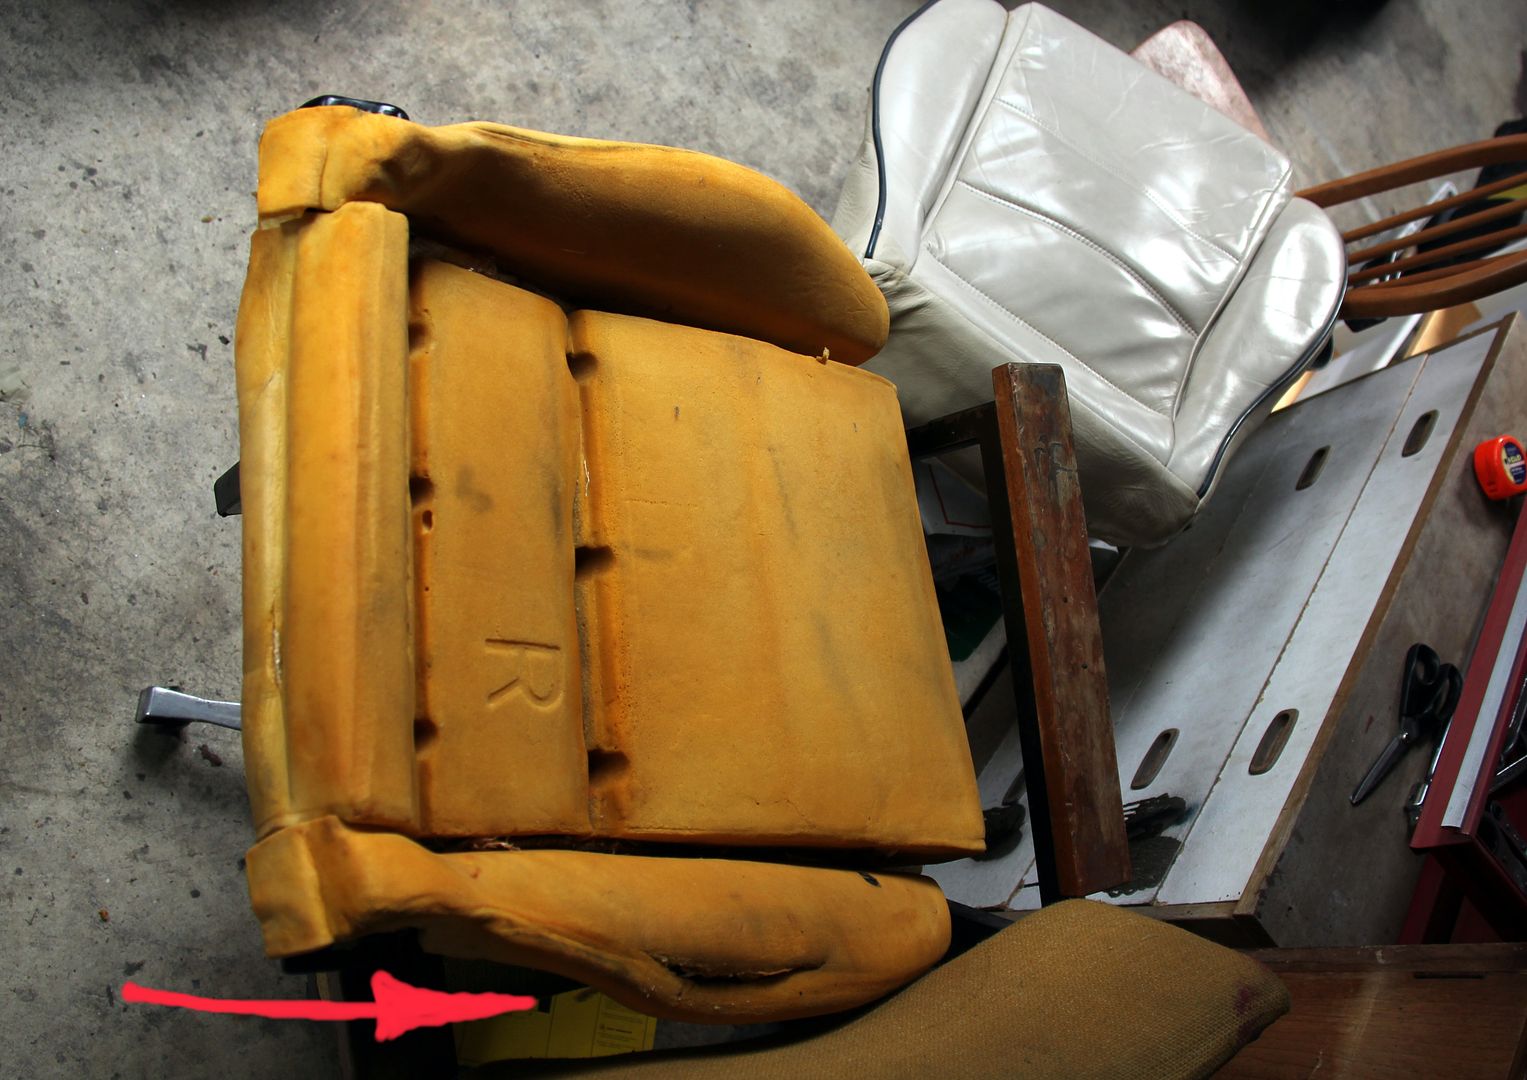
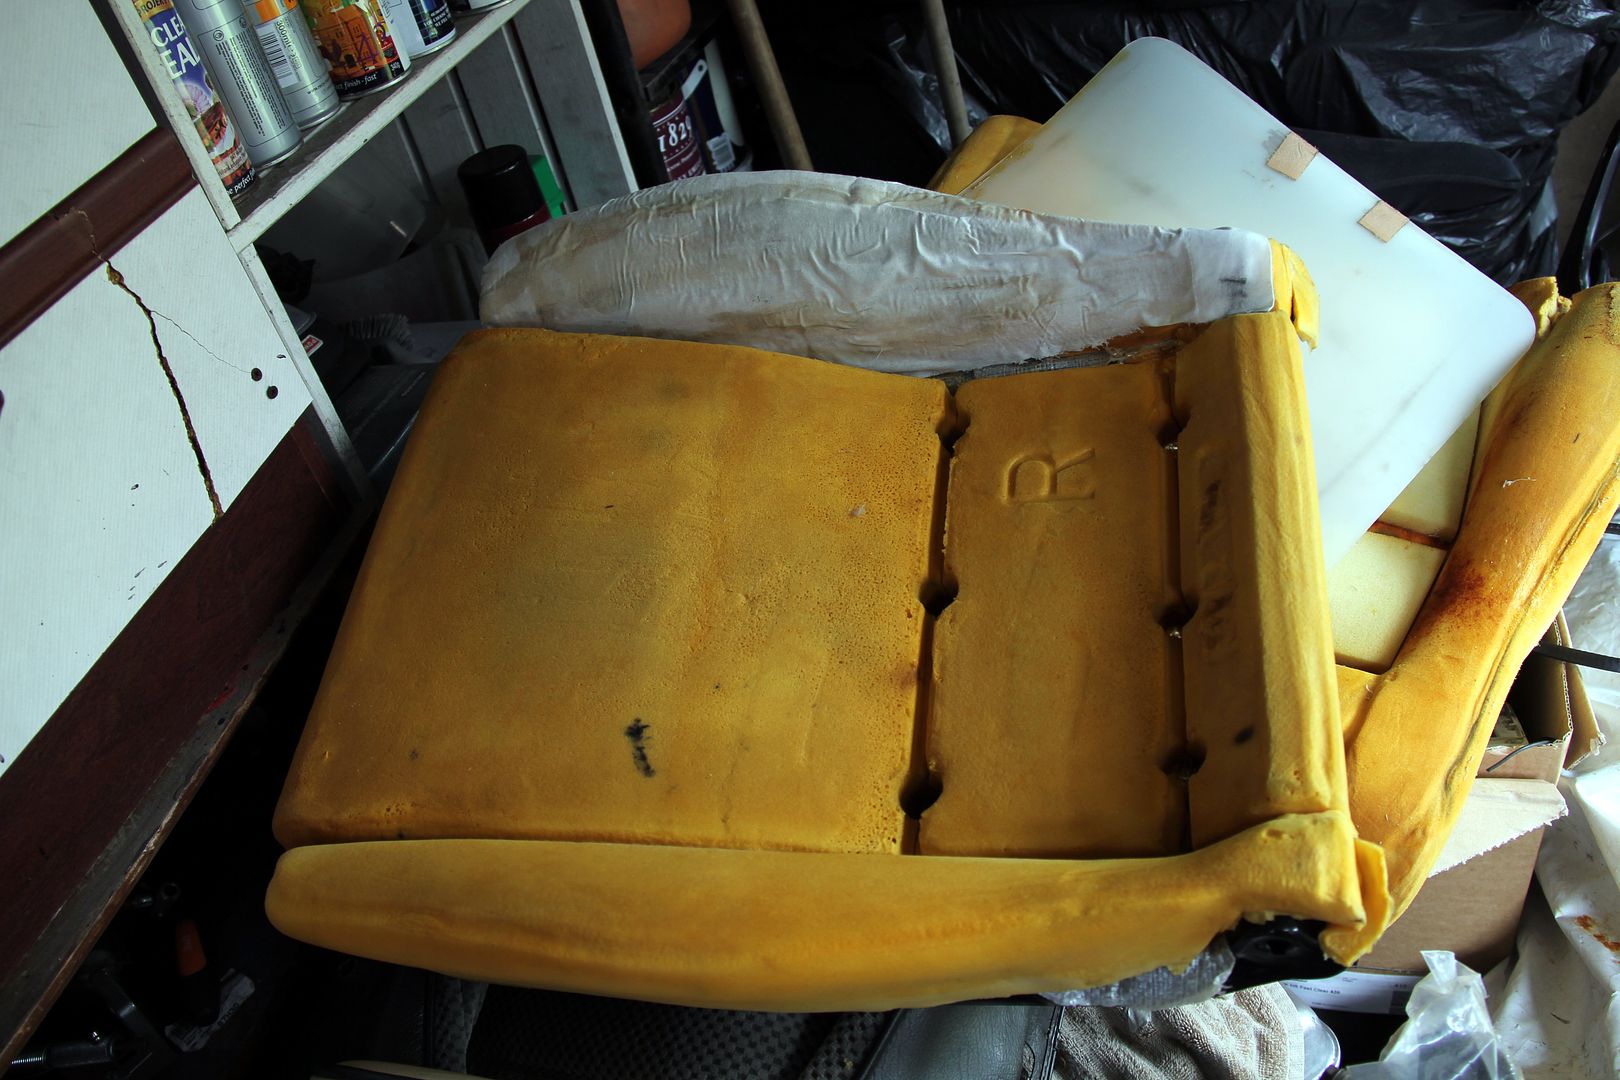
One of these was broken on my old seat, so it was good to get a decent pair fitted and stop the slight lateral movement in the headrest. So, all disassembled, the poor state of the foam can clearly be seen now. Here the arrow shows where the metal frame of the base has actually worked its way through the foam and the foam itself is all distorted and useless. This is caused by decades of lazy people flopping out of the side of the seat without bothering to use their legs to exit the car, lol
The one out of Mark's seat was a lot better, though I took the precaution of spray-fixing some linen onto the side bolster as a bit of a preventative against similar wear starting. The lines in the foam with the little circles every so often are the places where the wires in the covers go, and the little circles are where the hogrings have to be clipped through from the underside and go around the base springs (or whatever) and the cover wires.
The worst part of re-assembly was this bit at the top of the seat. Imagine the inside of this, where the right-angle of the indent for the headrest is. There are two wires in here that need to be hogringed to the frame, and they're arm-deep within the structure, holding pliers, blind, against the tension of the leather and trying to line up the rings past two ninety-degree bends in the metal. It was one of those jobs where I actually gave up in outright fury the evening of the first day because something was going to get smashed. Went back and started again in the morning, got them done first time. Bliss. The rings on the top rear wire I ended up doing by wiggling the pliers in through the holes for the plastic headrest guides. Took a few goes, but a lot easier than going in from the bottom. Oooer...
Not entirely sure why I took this photo. Maybe to illustrate that even with a choice of two completely different fasteners in the two seats I still managed to use a third one. The lumbar clicky support thing (it's basically a plate on a spring inside the back) had been my only means of adjustment on the old knackered seat so I felt it deserved the best in its new home. Interestingly, despite the fact that the cover was now fitted a lot better than it had been on the original seat, I had to enlarge the hole to let the mechanism here protrude through, which was a bit odd. I guess not all seats are exactly the same size

I know the cover fitted better because I actually managed to get it closed at the bottom. It was tight, but I used the method of putting a hogring in each side, then drawing them together with a cable tie through both, a bit like an industrial-strength zip. The I could get just a single ring through both sides and remove the extra ones and cable ties

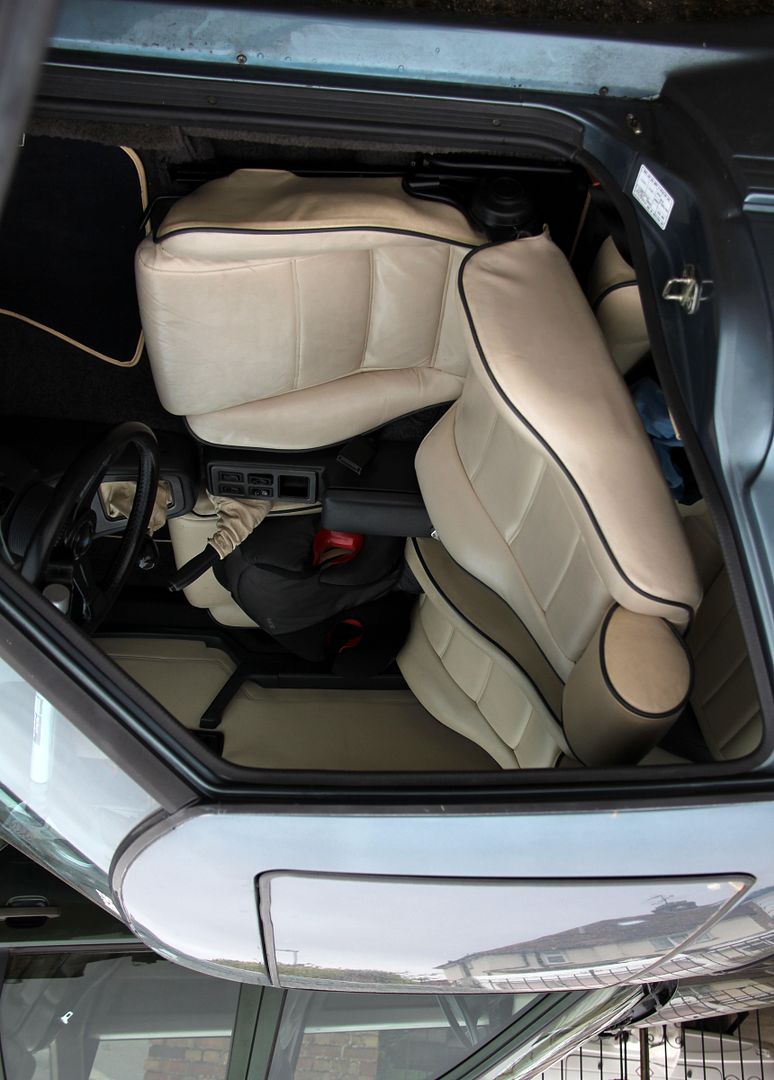
And there she is; finished. Looks slightly weird in this photo cos I gave it a going-over with the leather cleaner and hide food, so it's a bit greasy as the stuff soaks in.
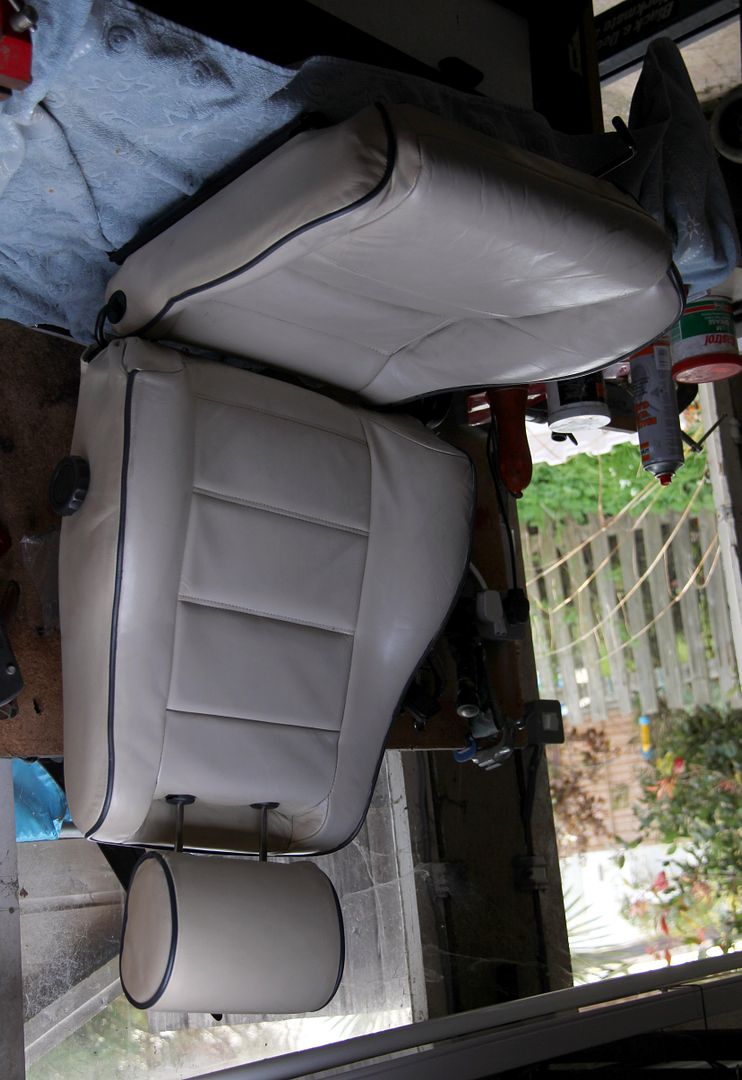
And then back in the car. Yeah, it doesn't look madly different from where I started but in terms of comfort it's a whole new car all over again. Plus I have the satisfaction of knowing it's better than new, the foam is more resilient than factory and hopefully I'll never have to see another hogring. Ever