Lucky's Series 3

Restoring, modifying, fettling or just enjoying your RX7 ? Share it with us here...
Lucky
VIP User
VIP User
Posts: 2685
Joined: Mon Nov 07, 2011 8:30 pm
Location: Worthing, UK
Been thanked: 5 times

Re: Lucky's Series 3

Post by Lucky »

While I was titting about with wheels I took the opportunity to steal the wife's bathroom scales and weigh them, just out of curiosity :) The stock wheels;
Image

The Sharaks are almost exactly the same weight;
Image

third of a kilo lighter. The Watanabes...
Image

...would float away if it wasn't for the tyres weighing them down 8-)
User avatar
ian65
Admin
Admin
Posts: 6402
Joined: Wed Mar 30, 2011 12:11 am
Has thanked: 315 times
Been thanked: 376 times

Re: Lucky's Series 3

Post by ian65 »

That's a great touch on the centre caps Nik, loving the Exile graphics.... awesome!!

1999 Jaguar XJR V8 Supercharged

1992 Peugeot 205 1.9 GTI
2003 Mercedes SLK 200 Kompressor
User avatar
MelloYello
VIP User
VIP User
Posts: 1151
Joined: Wed Jun 01, 2011 8:42 pm
Location: London, England.
Has thanked: 22 times
Been thanked: 52 times

Re: Lucky's Series 3

Post by MelloYello »

Attention to detail, it is the little things that make a big difference, nice work.
Lucky
VIP User
VIP User
Posts: 2685
Joined: Mon Nov 07, 2011 8:30 pm
Location: Worthing, UK
Been thanked: 5 times

Re: Lucky's Series 3

Post by Lucky »

Sorry guys, got stuck with putting the kids to bed lol. Sat here with a stab and ping Passanda to revive myself now :lol:

One minor detail that's been annoying me is the stock foglight. Which looks anything but stock, it looks like a Halfraud's five quid bodge job. Especially seeing how much better James' looks without one at all, I decided it had to go. I don't like the idea of sacrificing a reverse light, so went for the tried and tested method of a racing LED rainlight. I have one of these on the FD and it's retina-searing bright but small and unobtrusive. They've changed (read "cheapened") the design since I bought the FD one, where they used to have water-proof connectors with built-in resistors you now get no connectors at all and two resistors floating around loose to put in yourself.

Inspired by the fact people like Steve solder an entire ECU together in their spare time, I plodded on and ended up with
Image

Light all voltage regulated and a nice stainless bracket (so it won't rust like the rest of the car) sprayed up enamel black (so it won't show up too much). I love LEDs, dunno why, there's something about them that's just... trippy :shock:
Image

Whilst rooting around the boot I felt motivated to investigate the aerial. As suspected, it was an electric one, but as also suspected, it was borked. No workuuu. It transpires it isn't a proper FB one anyway, it's some aftermarket cheapness.
Image

I never listen to the radio anyway, not in the car, so it didn't break my heart to lose it. But what to plug the massive hole with? In fact, there were three additional holes left each side by the original spoiler mounts that wouldn't be covered by the new spoiler. What to plug them up with? The obvious thing would be get them welded but I didn't want that for two reasons. One being I'd then have to get the whole rear end sprayed up, which is time and money I don't have, and the other is that it'd then be impossible to put it back to stock should anyone want to.

For the spolier holes I went to Pro-Bolt http://www.pro-bolt.com/index.php/ who I've used for bike fasteners loads of times, and who make fasteners sexy enough to turn any amateur mechanic into a shameless onanist (look it up :wink: ). Some of their drilled cone washers and allen bolts for the bigger holes and simple dome head bolts for the smaller, in titanium grey anodised alloy, with rubber washers inside and out to keep it watertight solved the holes. Plus they look trick and maybe pass off as if they're supposed to be there.

Image

The rest of the holes I filled with Sikaflex sealant, which sticks like the proverbial to a blanket, covered with heavy-duty bike bodywork protective pads. It looks terrible, but no-one will see when the spoiler's on and it'll stop the boot acting like a seive
Image


I ruminated over all kinds of solutions for what to plug the aerial hole with, including the perhaps obvious but very unimaginative option of errr.... another aerial. In the end there was only one possible logical and sensible solution
Image


Player One ready..... :lol: Yeah, so it's silly, stupid, childish, but up yours, it makes me chuckle. It's a player start button from an arcade cabinet game, in case you didn't realise. And guess what? When you turn the foglight on...
Image

Oh yes 8) That's how hella cool I am
Lucky
VIP User
VIP User
Posts: 2685
Joined: Mon Nov 07, 2011 8:30 pm
Location: Worthing, UK
Been thanked: 5 times

Re: Lucky's Series 3

Post by Lucky »

Right, so the spoiler, I hear you cry :wink:

OK, OK. lol. I knew exactly what look I wanted. The stock spoiler's all very well.... actually, no it isn't, it's utterly hideous. The way it sticks out off the bootlid, the silly pointy bits that run up the fenders, the way no one part of it matches any other line on the car. It had to go.

I wanted a simple ducktail style spoiler, like the *whispers* Pontiac Firebird style thing. So that got me thinking... what's like a Yank muscle car but shrunk onto a Japanese scale? Answer was obvious, a Datsun 240Z of course. I've become an expert over the last few weeks lol, researched every pic I could find and pretty much convinced myself it'd fit. Then came the task of trying to find one. I seen a rubber plant and a horse fly but I ain't never seen no mythical 240Z spoiler. I was going to give in and either spunk 200 notes on a Rocket Bunny 200SX one or (worse idea) try to make one myself when one came up on eBay. Good ol' eBay :D

Bidding war ensued, and I scored it for only 60 quid plus post, which I thought was awesome. It arrived and I breathlessly offered it up.... would it fit even close? Had I just made and arse out of myself? No. It fitted, just like I wanted it to. Winner

It was however, a fairly disreputable-looking thing
Image

Plenty of cracks and chips showed it'd had a hard life, so it had to be stripped back and painted. The other problem was that three out of the six structural mounts had full-thickness cracks around them. One had gone right out and bulged the rear face of the blade out. First step was to fix them, or it'd all be a waste of time. So, holes drilled to stop the cracks spreading...
Image

Image

And then the repair proper. It became quickly apparent this had been dropped on one end at some point and it'd almost completely snapped off. I went for some strength and flexibility in the repair;
Image

ally mesh to bind it all together, follwed by Sikaflex which is super-strong adhesive filler used to glue boats togther. That ought to work then!
Image

Image

Then it was sanding, sanding, sanding. Made all the worse by the fact Datsun had tried to give it some weird almost leather-like texture originally by putting loads of deep lines and scores in it, all of which had to be sanded out by hand. As you can see;
Image

and the more the paint and cack came off, the more cracks I found that needed repair
Image

In the end, every scrap of paint came off and the repairs looked ugly but at least were strong and once painted, hopefully invisible. Flexible plastic filler proved a godsend here.
Image

The big crack in the rear face defeated me, though. It got to the point where I was sanding it wafffer-thin to try and lose it completely, and in the end I accepted it was just going to always show. Hey ho, it's an old car. Waddya want?
Image

The others I was pretty pleased with, they're not invisible, but a hell of a lot better than they were.
Image

So that was it, a last coat of primer, then it was all ready for some nice shiny black... and I was ready for the bottle job of taking a step drill to my perfectly good decklid
Image
Lucky
VIP User
VIP User
Posts: 2685
Joined: Mon Nov 07, 2011 8:30 pm
Location: Worthing, UK
Been thanked: 5 times

Re: Lucky's Series 3

Post by Lucky »

So, we've now got to today when it all came together, the last coats of lacquer on the centre caps, the wiring finished, the spoiler painted, the wheels built up at last, the arcade button arrived in the post, and the final touch, more Purple Panda decal righteousness. So you'd like to see what the end result of my bodging it all together today is, then?

OK

Image

Image

Image

Image

Image

That foglight in full effect;
Image

Image

And the money shot. Pete's Rotary Engine sticker right where a filthy Datsun badge used to live :twisted: .
Image

I think when I get the lowering springs on it'll be exactly how I wanted it to look. And I'll be happy. Now, I'm shattered and I'm off to watch the footie. Thanks for reading.
User avatar
Steve-A
VIP User
VIP User
Posts: 560
Joined: Thu Mar 31, 2011 11:20 pm
Location: Bromsgrove, Worcs
Been thanked: 4 times

Re: Lucky's Series 3

Post by Steve-A »

Nice one Nik, as James and Ian said, its the attention to detail that's awesome. The player one arcade button I've seen used before for blanking holes, but to have it light up with the fog light is inspired! 8-)

Nice work on the spoiler repair too. I think it sits there reasonably well, not 100% sold on it personally, but if you like it that's all that matters :P I actually quite like the stock spoiler :oops: :shock:
Ex-rotor owner exploring the world of pistons and valves....
Lucky
VIP User
VIP User
Posts: 2685
Joined: Mon Nov 07, 2011 8:30 pm
Location: Worthing, UK
Been thanked: 5 times

Re: Lucky's Series 3

Post by Lucky »

Wow, only one comment after all that writing? :o Must have really upset you guys hahaha. Oh, well, onwards and upwards, more progress today. Finally got it all together to try and fix the leak from the inlet manifold where the O-rings had allegedly perished. Or so many better minds than mine had assured me ;) You know who you are! Cajoled Ada-san and my mate Rich/Phil into giving me a hand and moral support. It's always something of a worry taking a car that runs perfectly albeit with a slight coolant leak to bits just in case it ends up worse rather than better. Or maybe that says more about my mindset than anything else :oops:

Anyway, to be fair Adam didn't need much persuading cos he's always enthusiastic about playing cars. Rich/Phil looks with scepticism at Jap cars in general and he's never been the same since spending an hour being tortured by the coolant buzzer in my FD on the way back from Bromley Auto Pageant lol, but since I spent Saturday morning helping him do this with his own project car he didn't resist too strenuously...

Image

Image

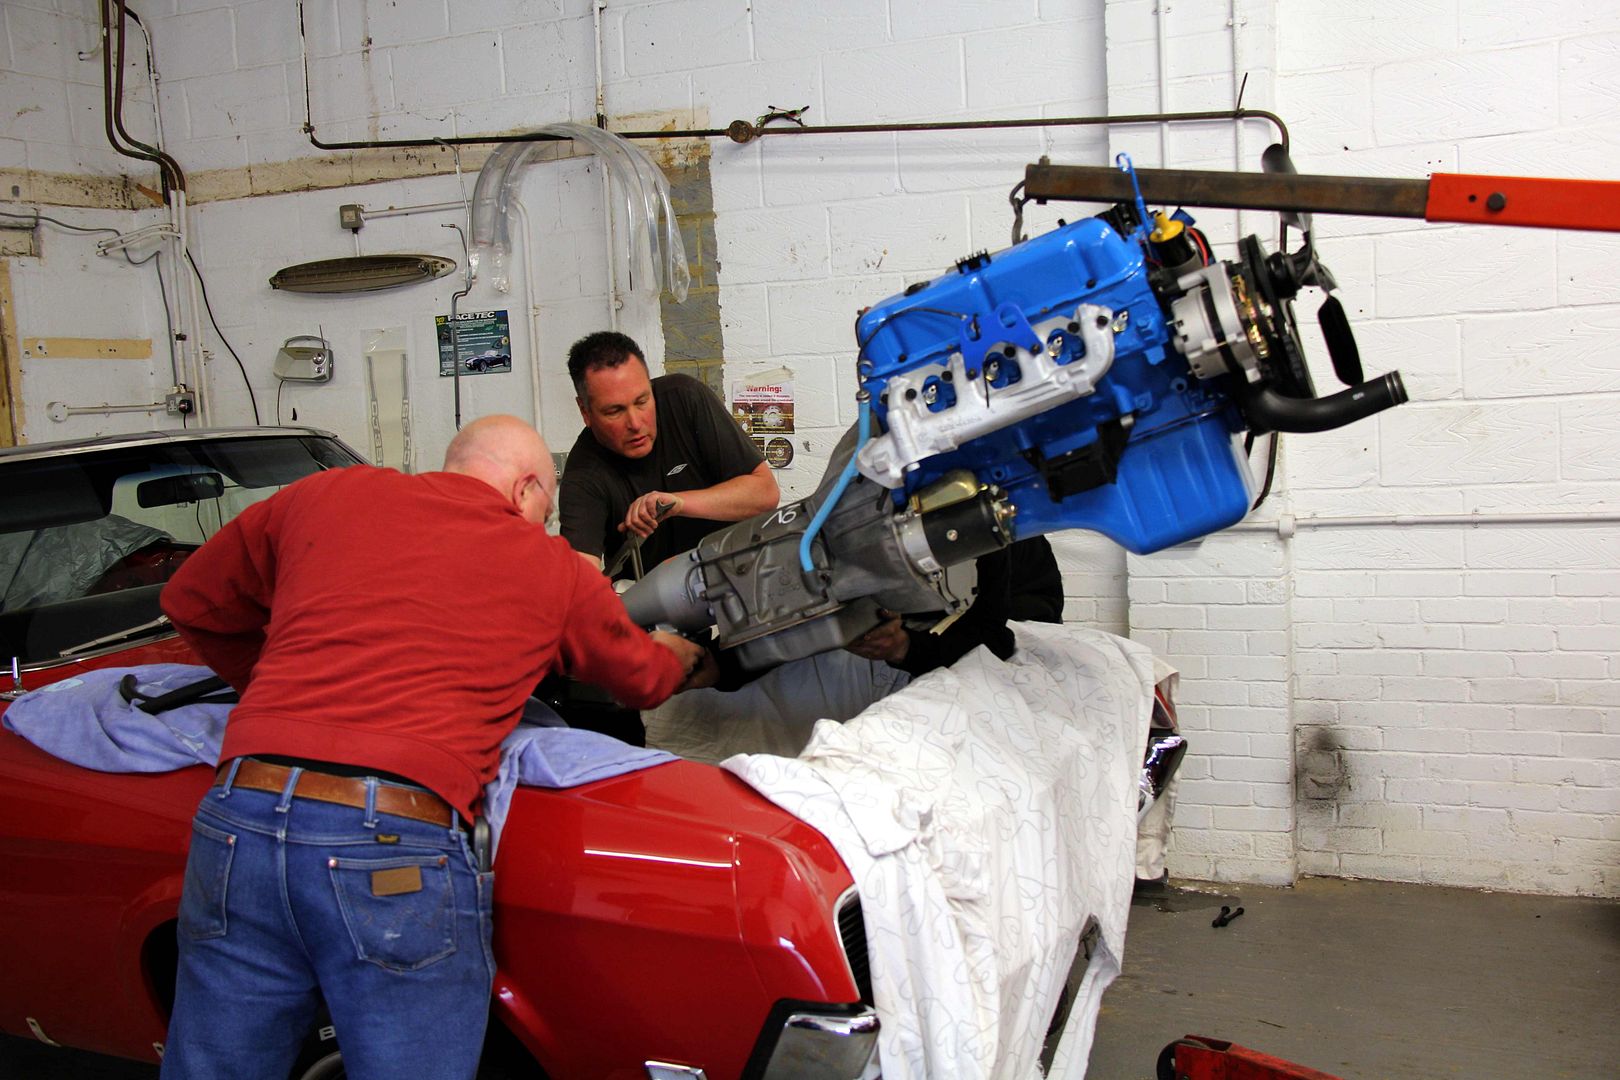
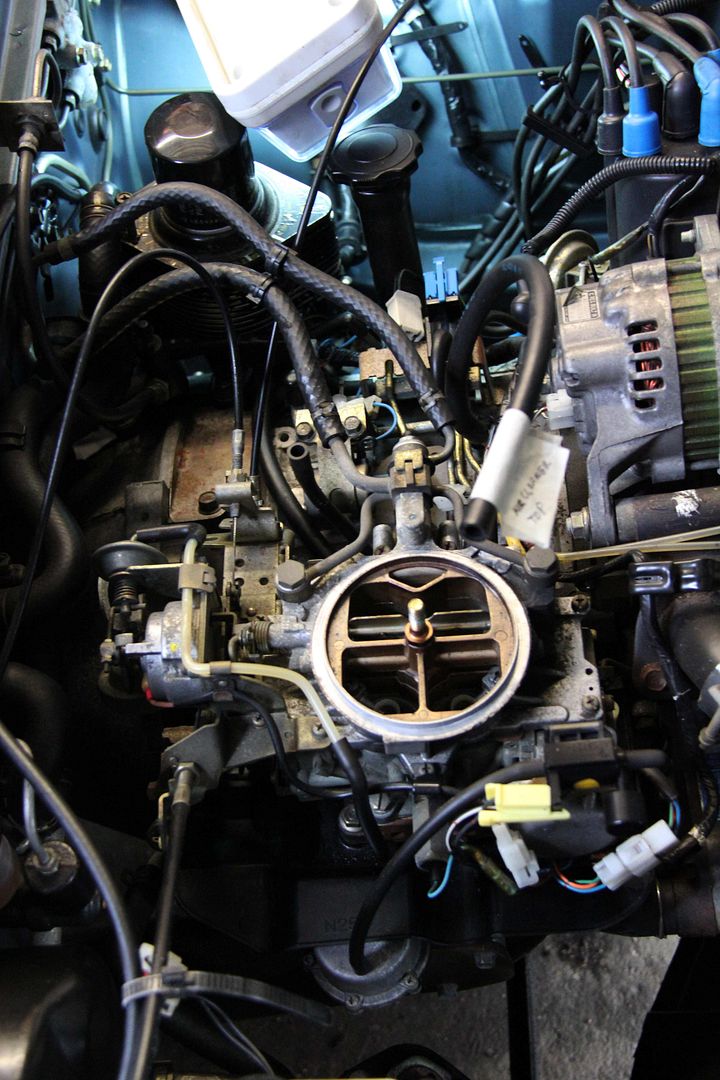
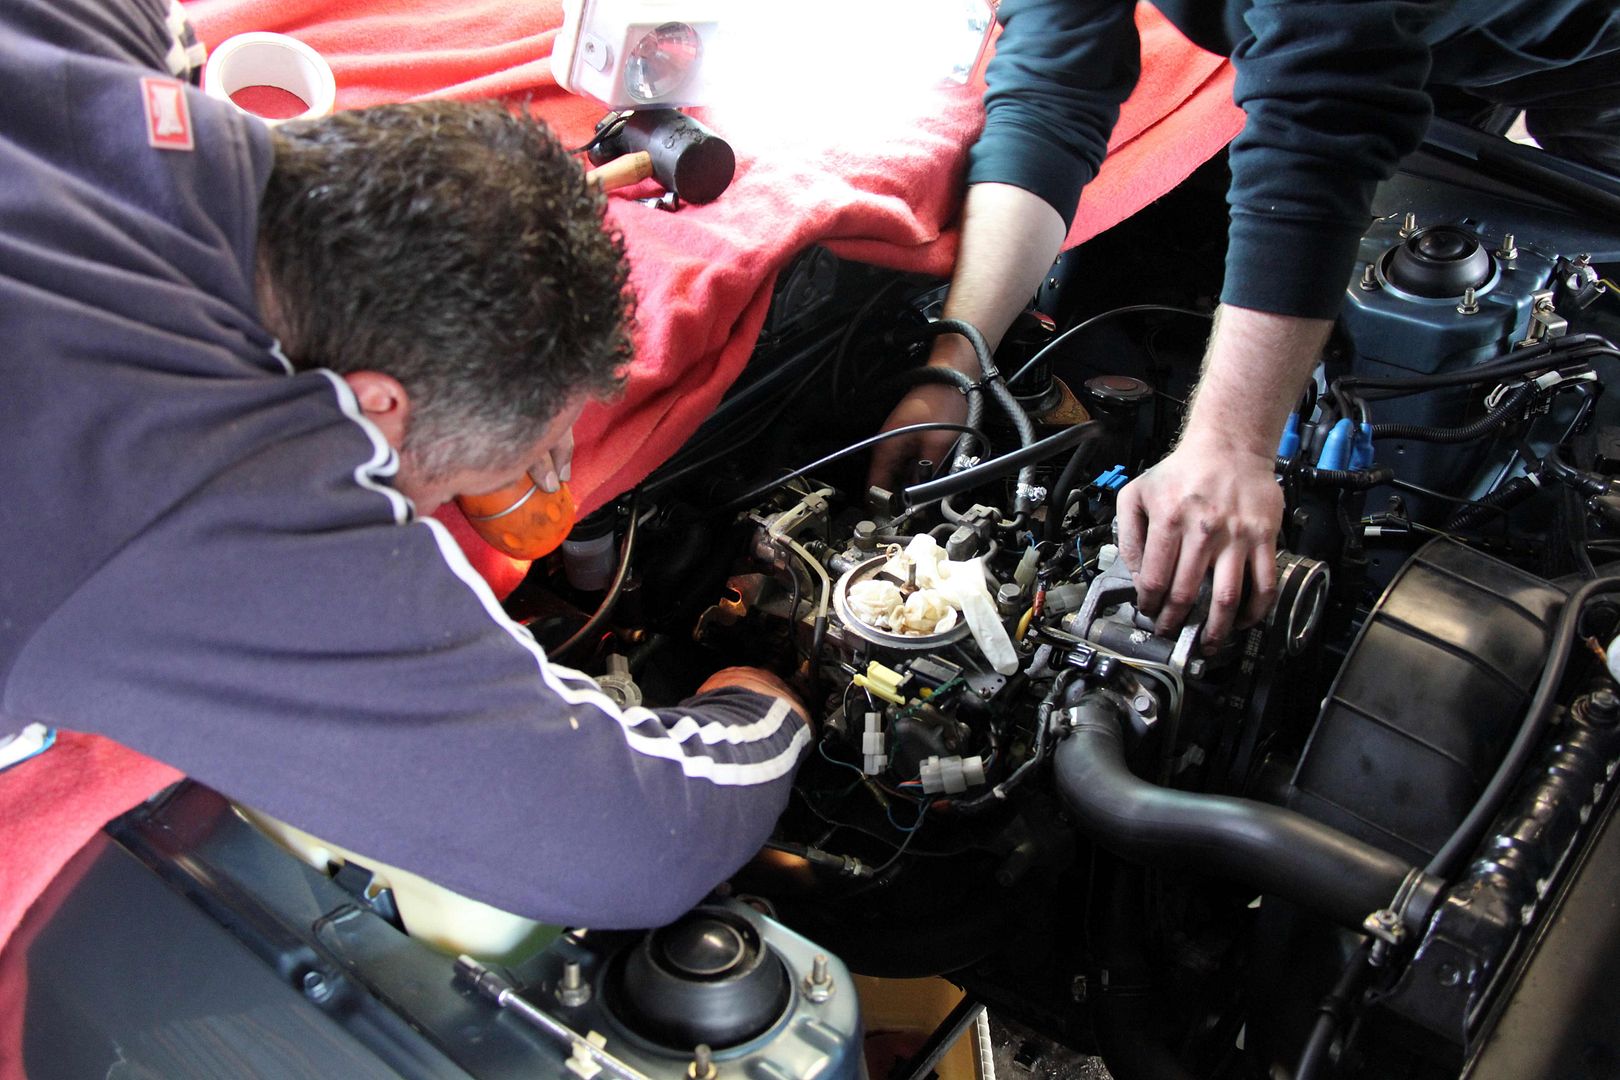
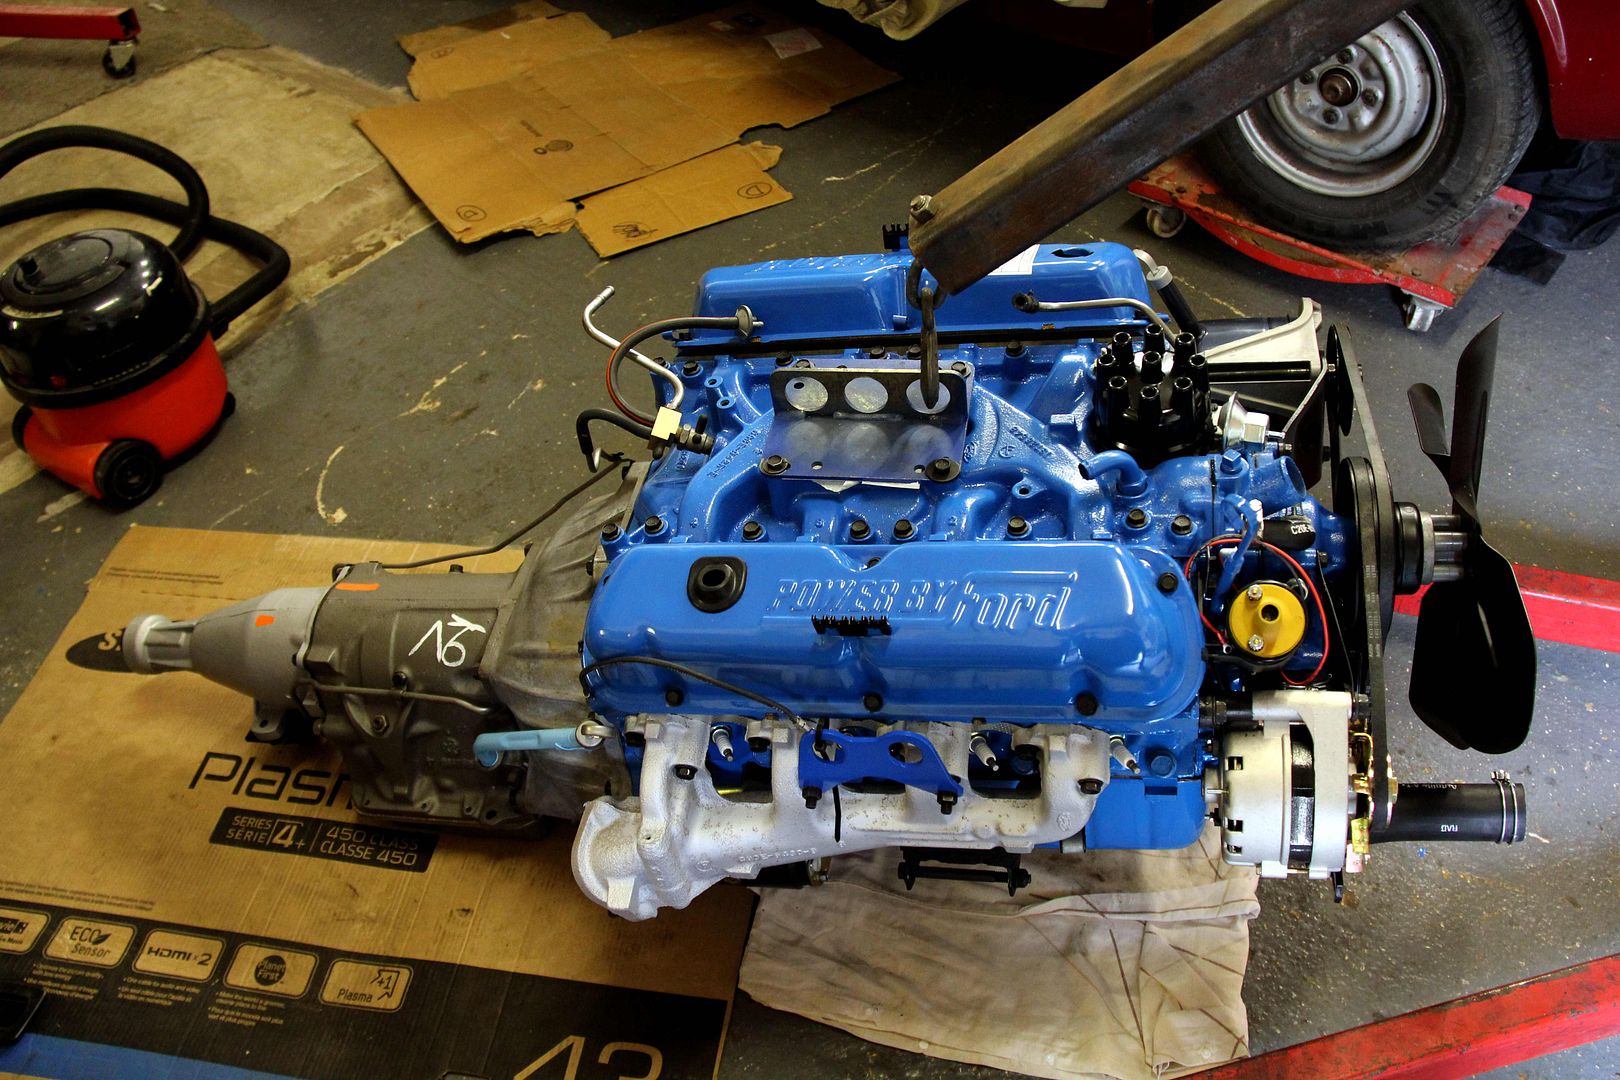
Right, enough giant Yank stuff. You all know what it looks like under the Blue Box of God, but I didn't so we went cautious-ish and tried to label everything and make sure we knew how it came apart so we'd know how to put it back together
Image

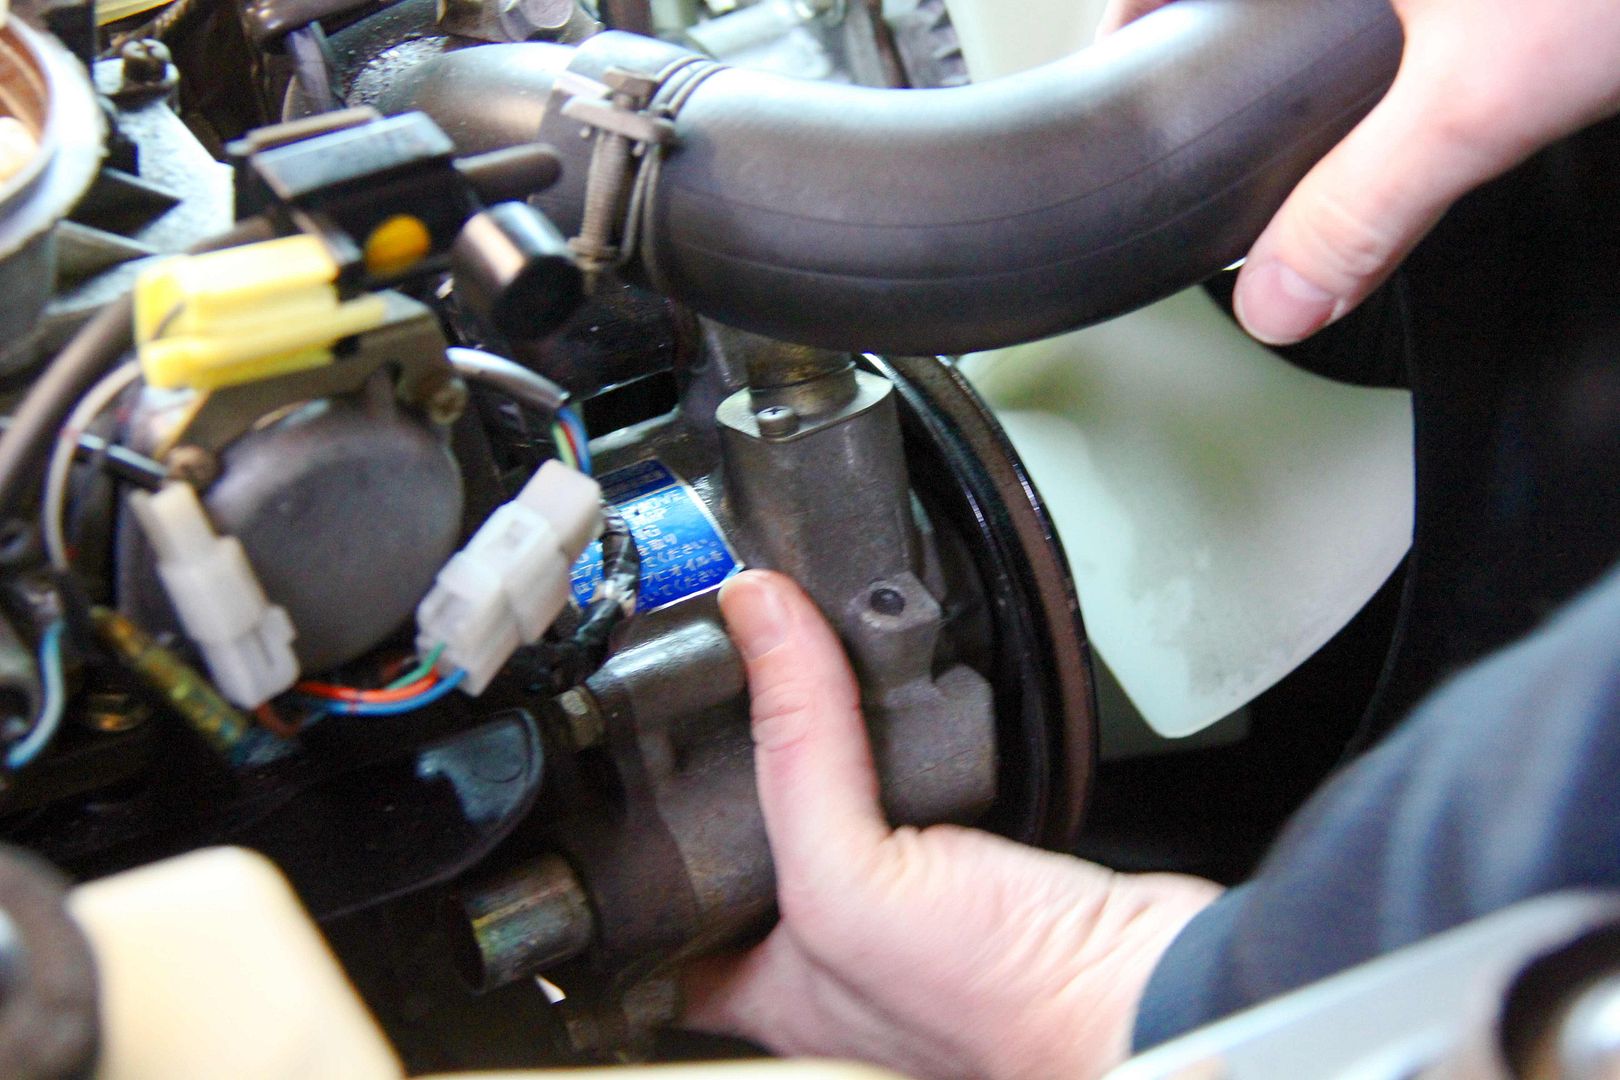
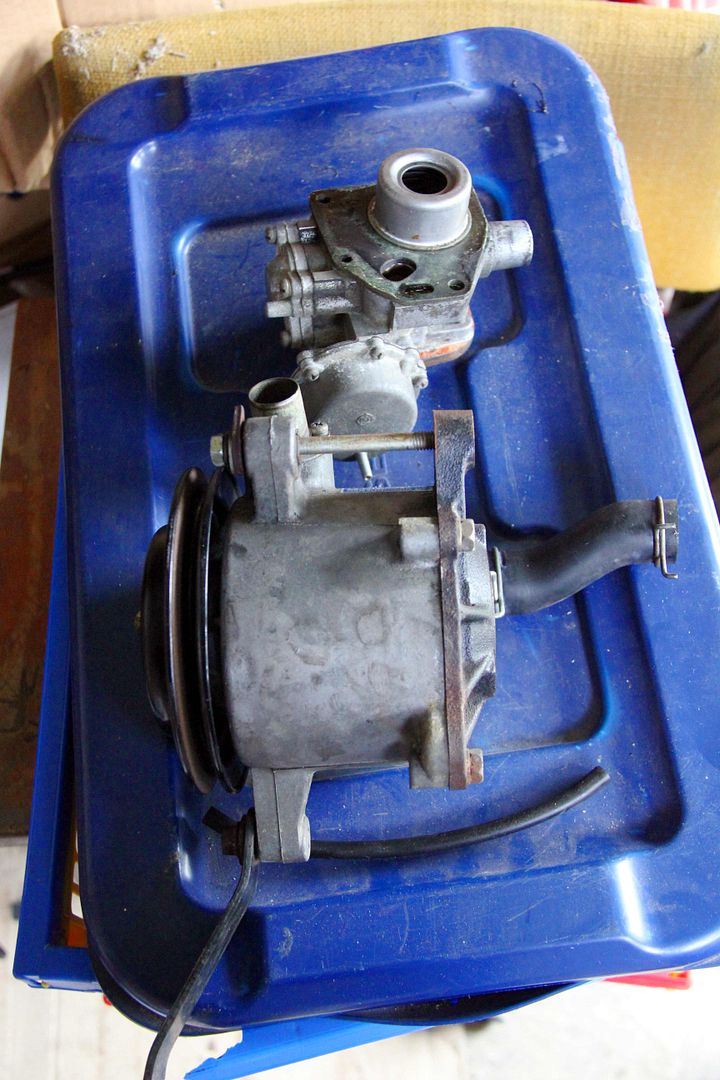
The good part is that it gave me the opportunity to finish the half-arsed airpump delete the previous owner had done. Here we are trying to persuade the pump off the 27-year old clag and gunge it had turned to something incredibly sticky. Took quite some abuse to finally remove
Image

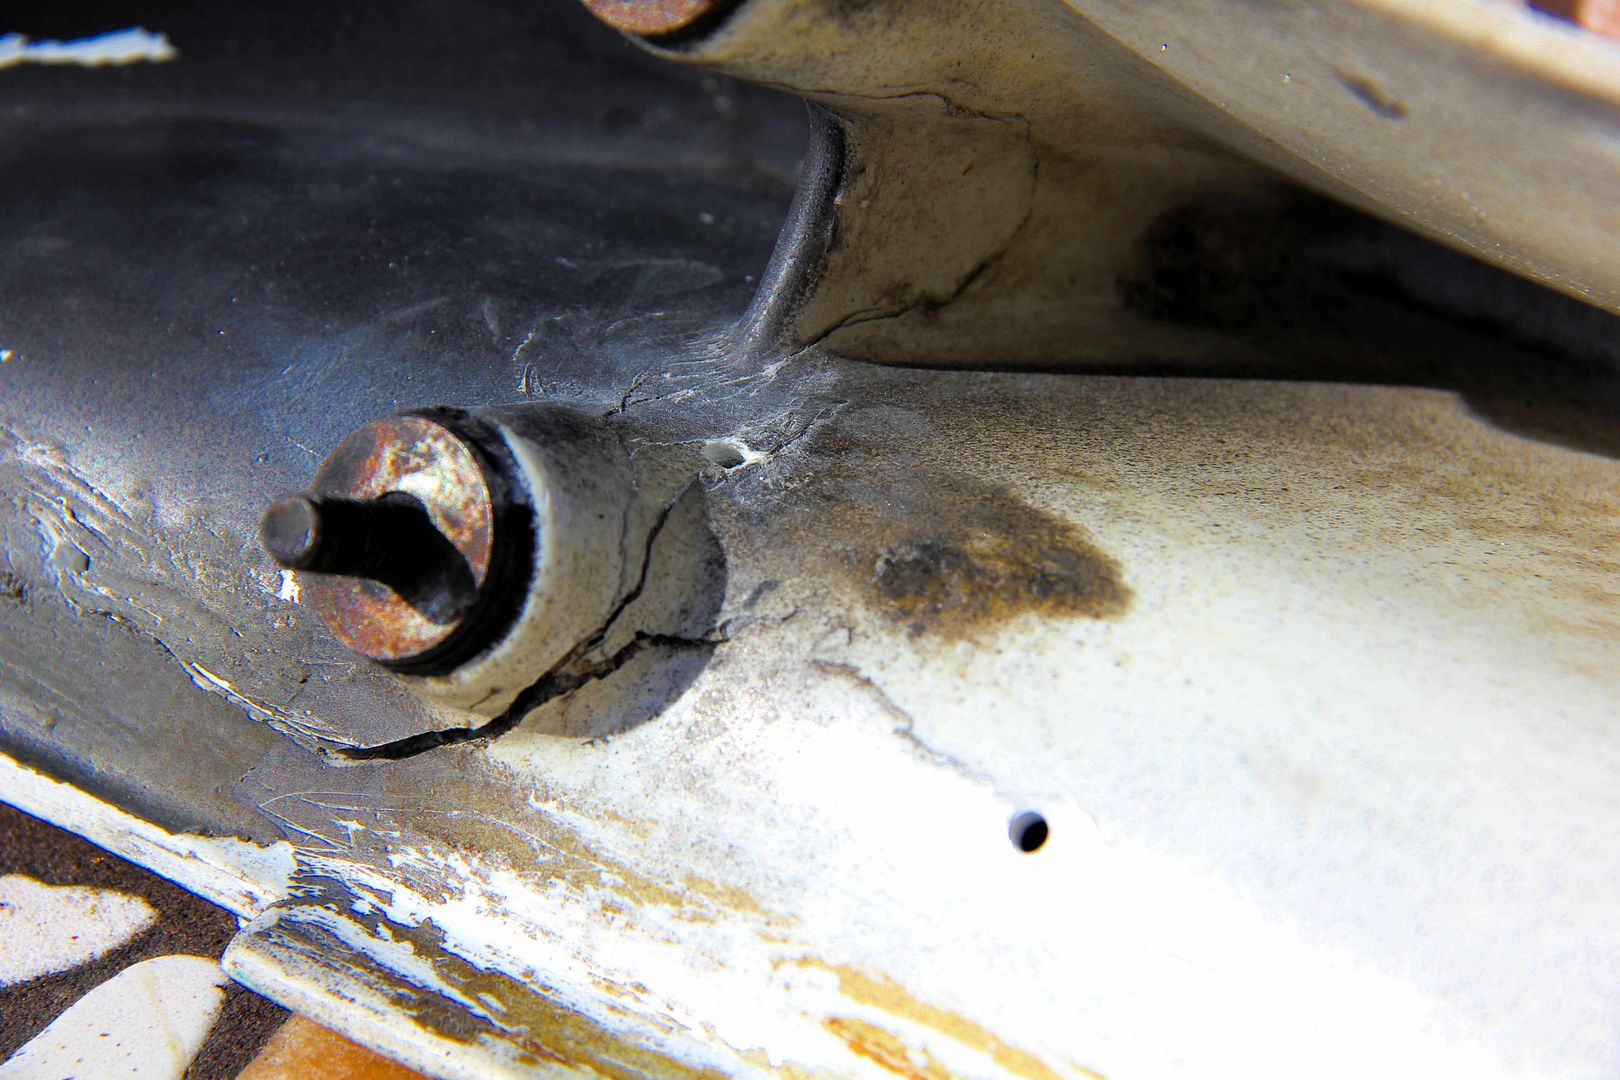
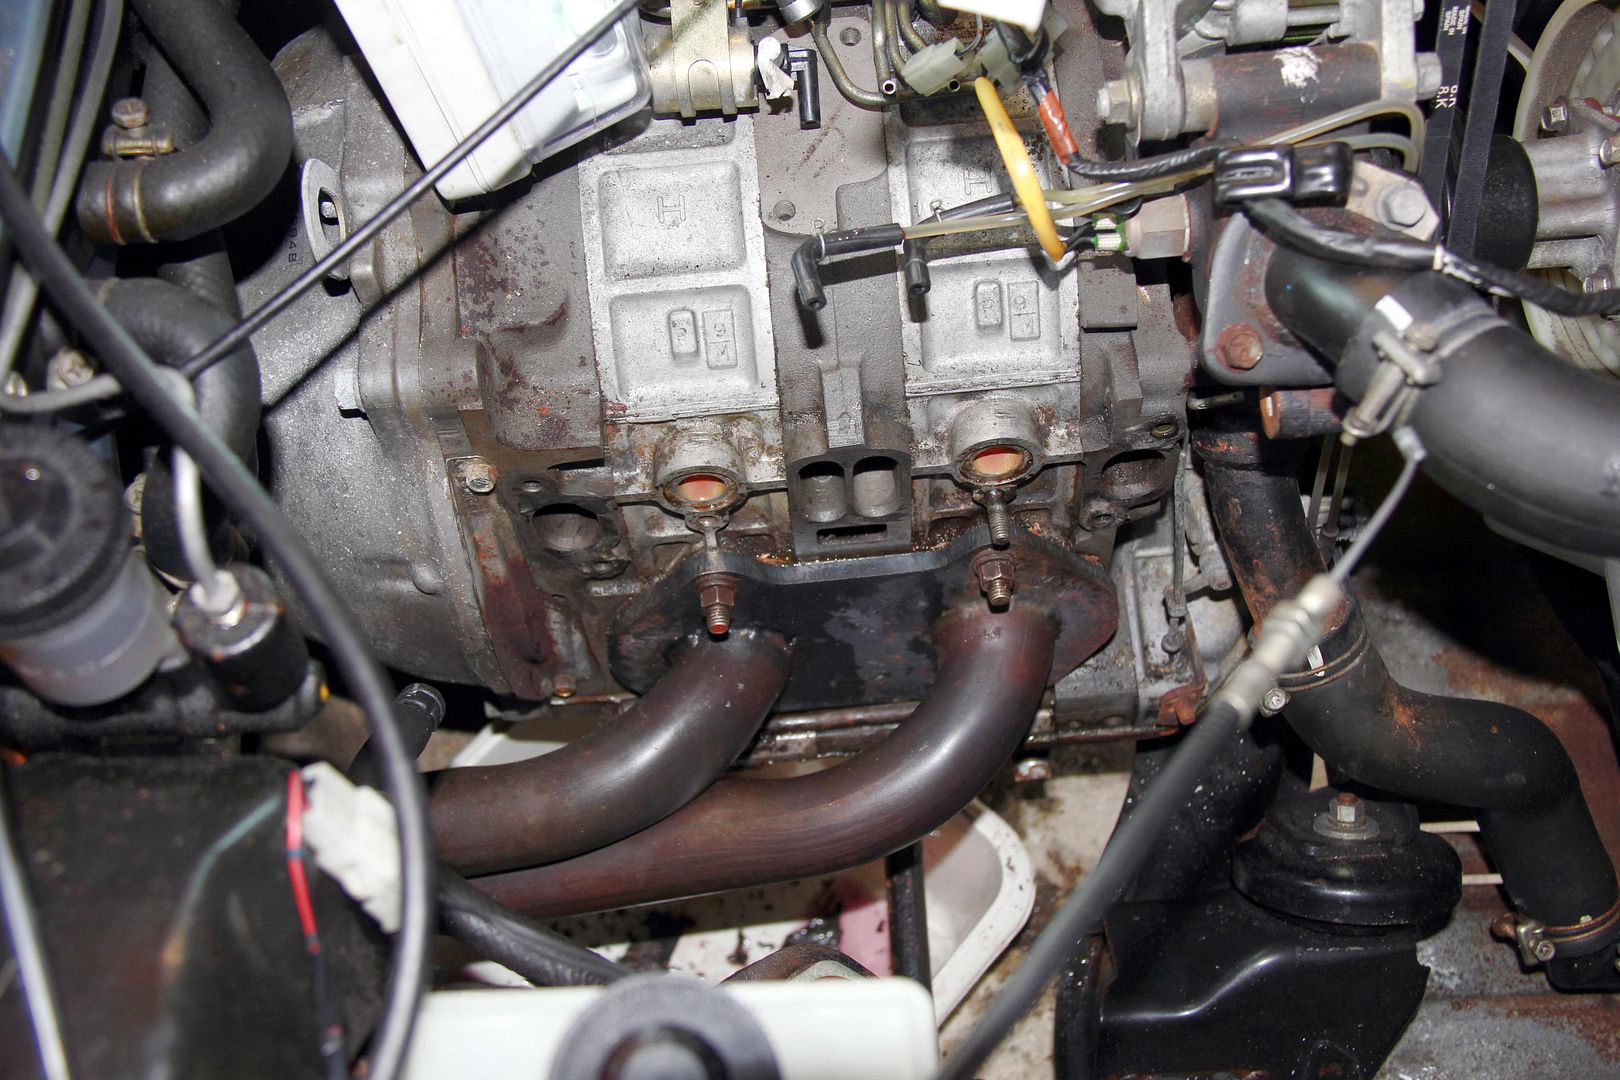
Finally got the carb and manifold off to find that suspicions were proved correct... the O-rings had not just failed, they'd totally obliterated themselves
Image

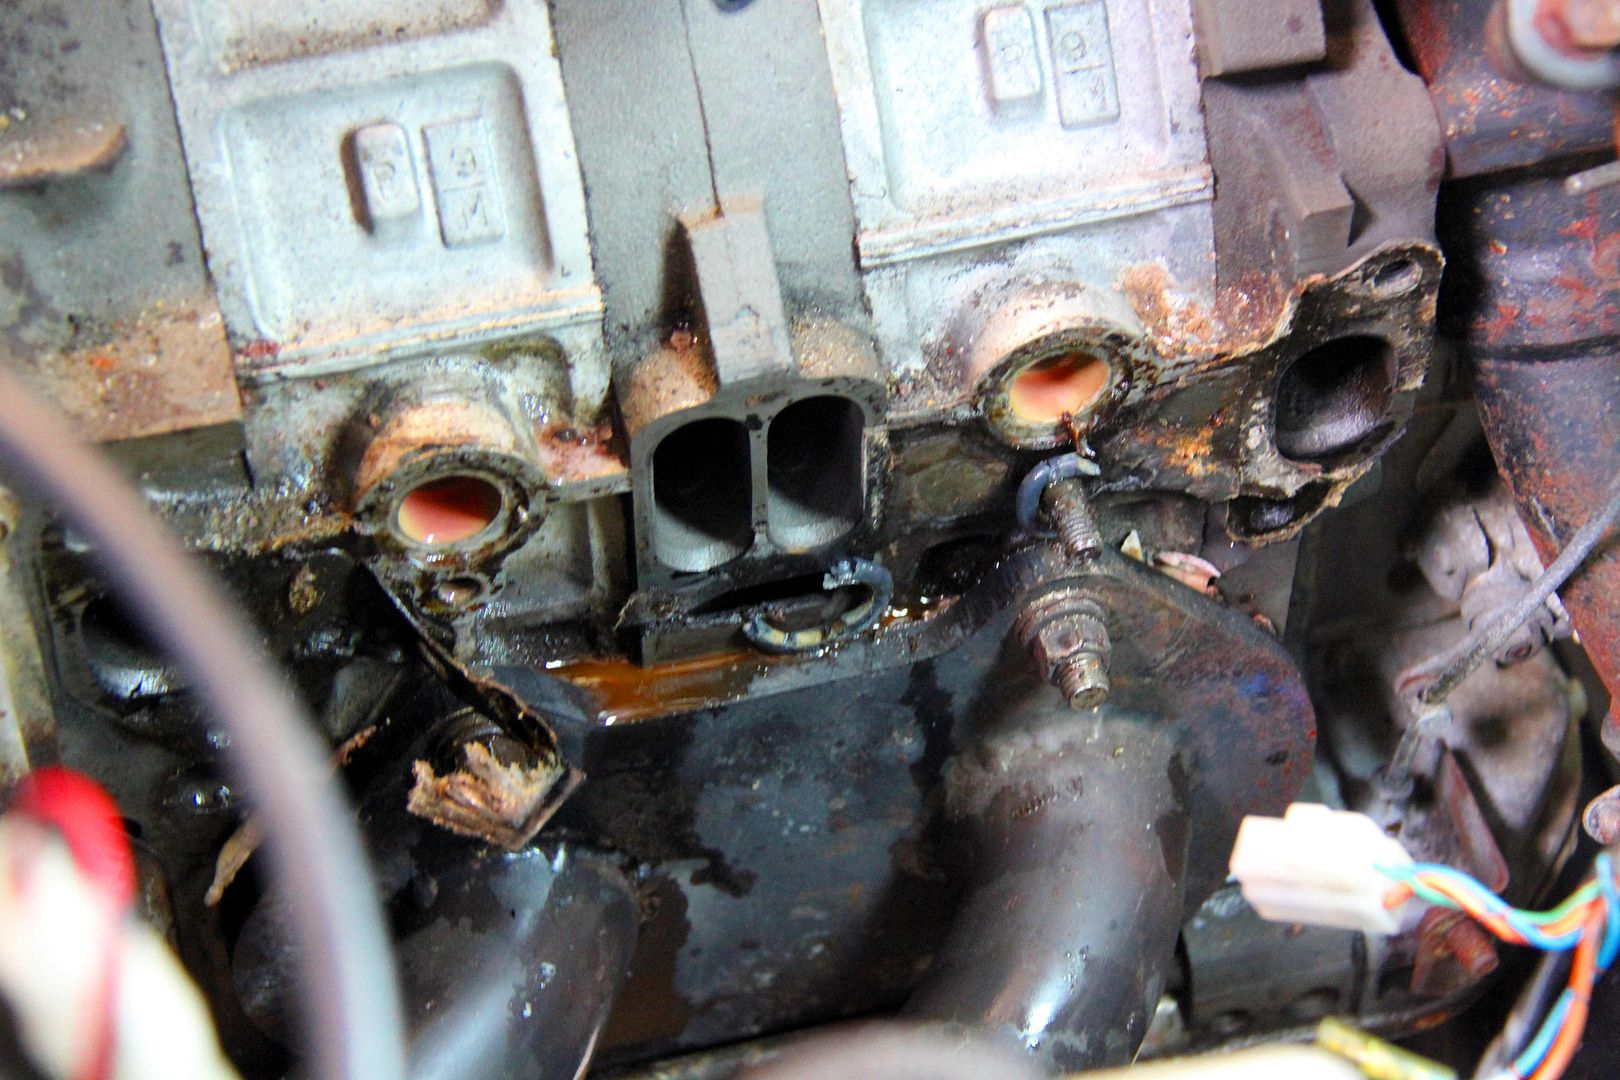
Then came the onerous task of cleaning all the surfaces The gasket was utterly FUBAR but what remained had turned itself into concrete in the time it'd been on the engine. It took ages of scraping, paring with a razor, wire-brush dremelling, sanding, and generally buggering around to clean it off
Image

This is the engine lol. Never ceases to amaze me just how tiny and sweet they are when you clear all the gubbins off.
Image

Since it was all apart we took the opportunity to clean everything else up as much as possible. Adam's Blue Peter handiwork putting aluminised heat barrier on the heat shield. It'll make precisely ten percent of 'kall difference to intake temps but hey, I had some lying around so why the hell not :?
Image

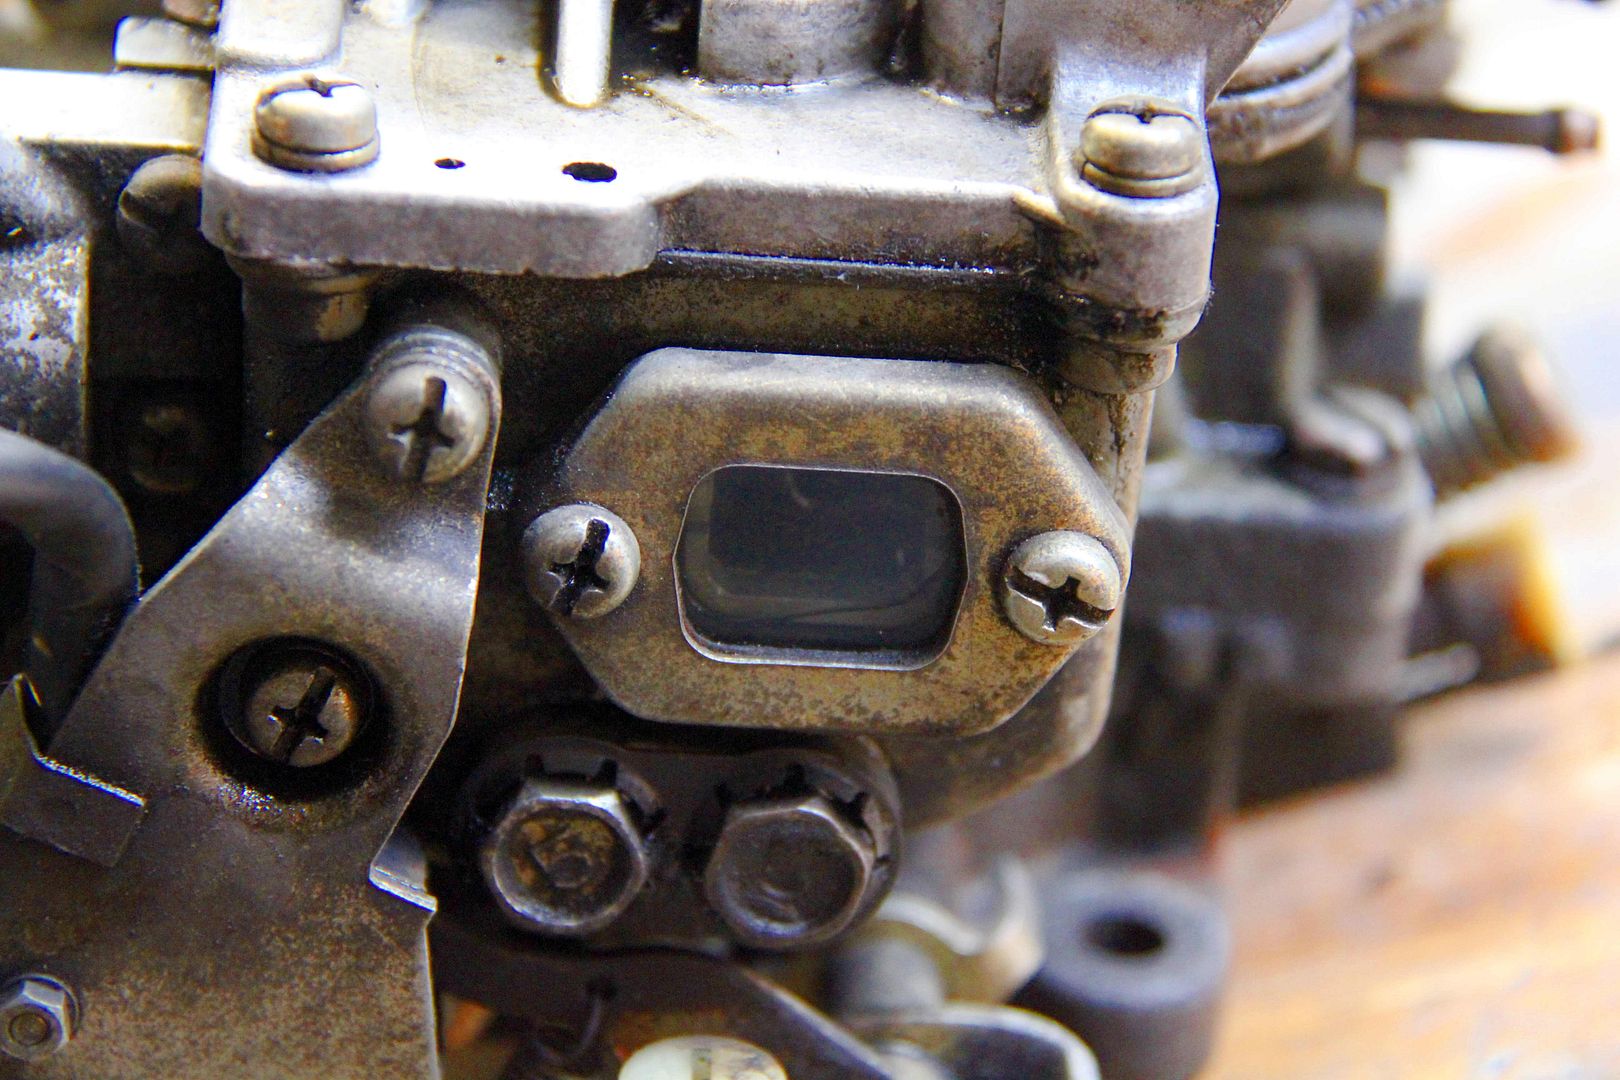
This is weird. There's a window in my carburettor.

Why is there a window in my carburettor?
Image

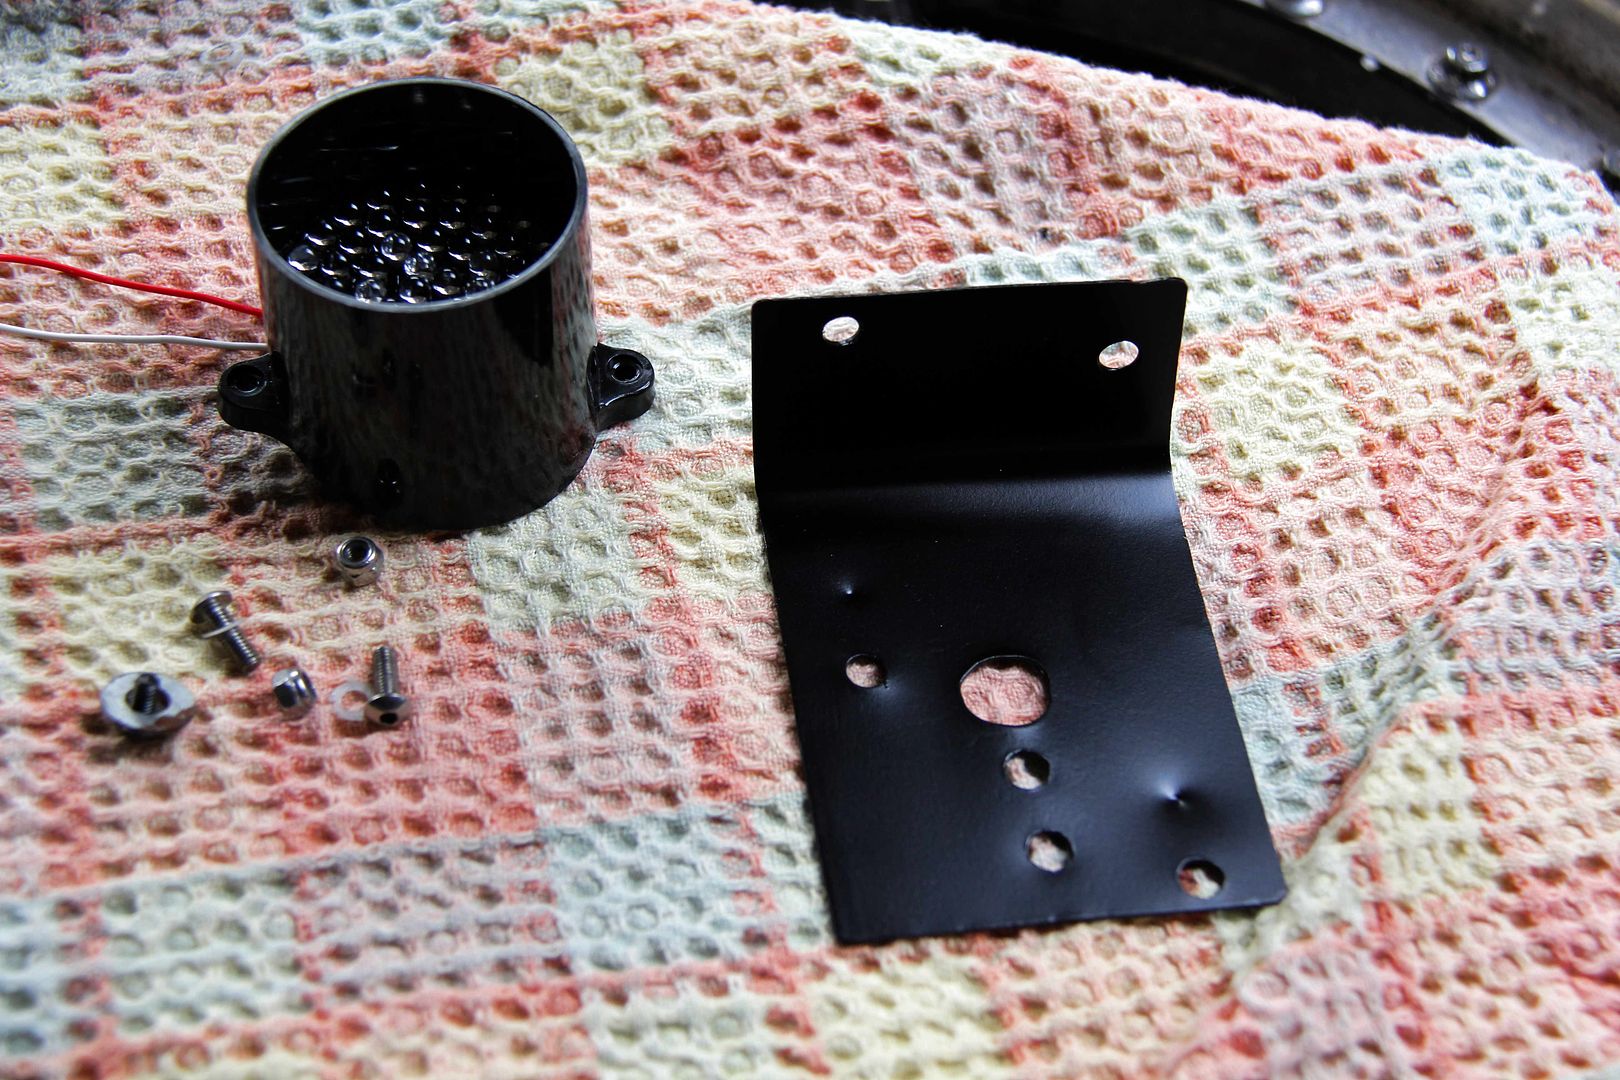
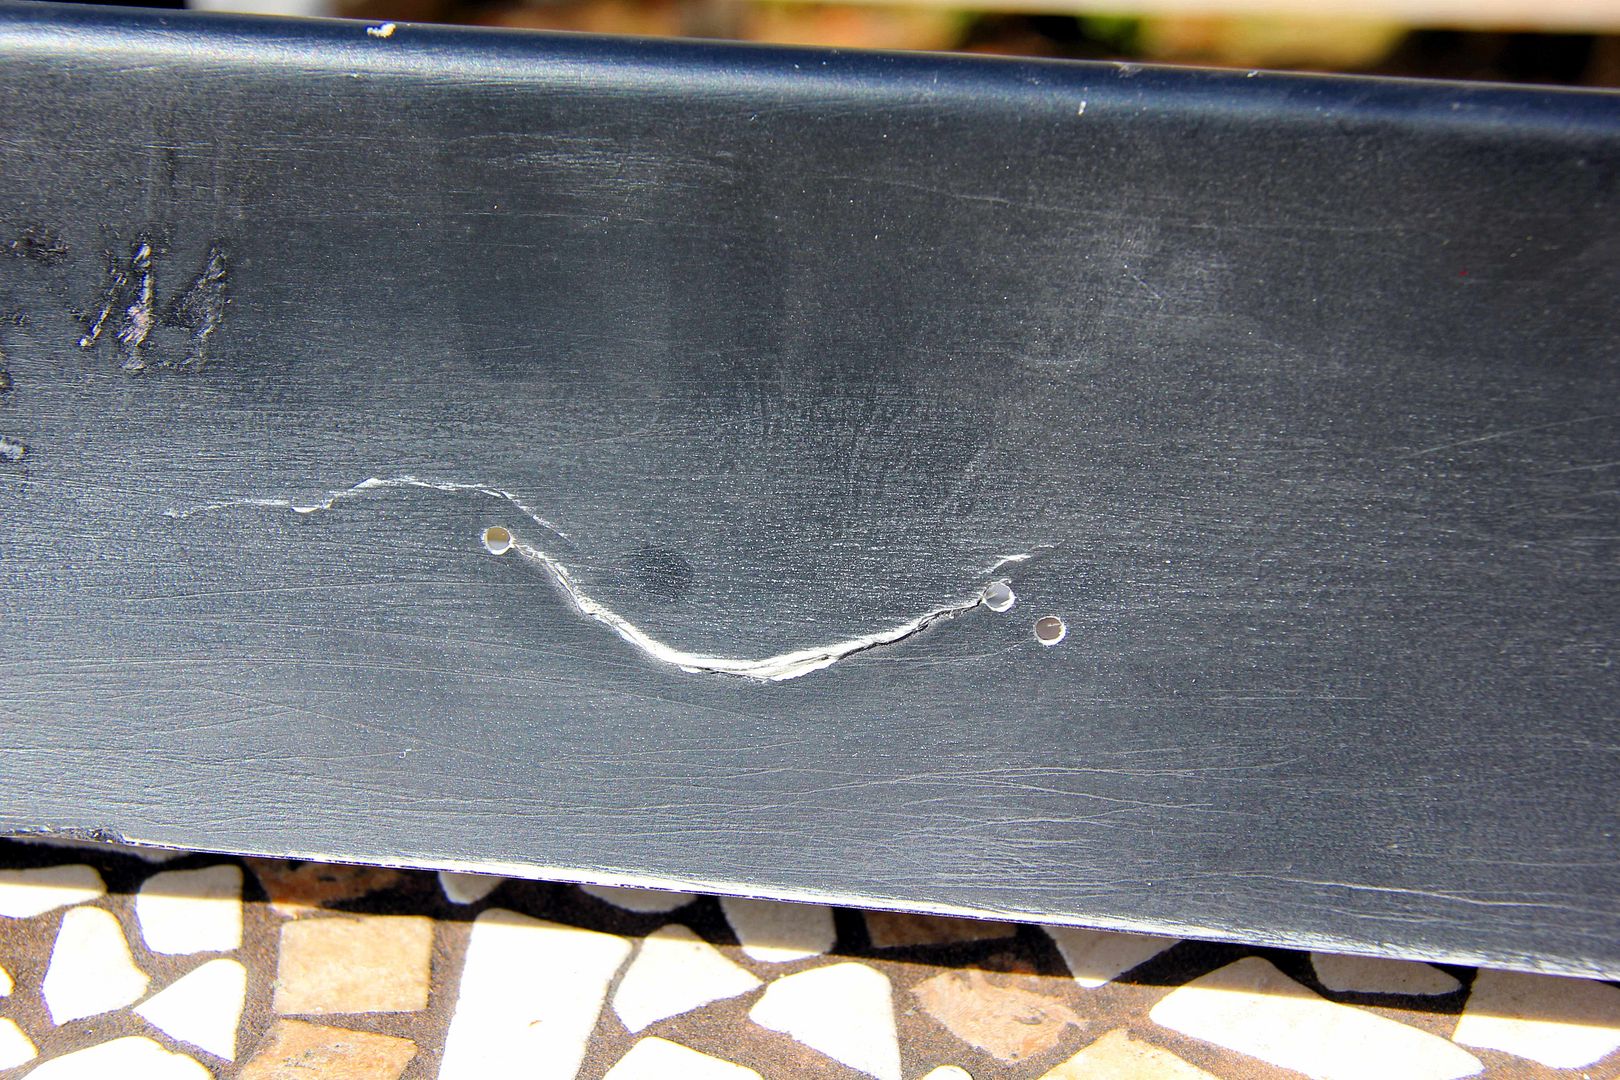
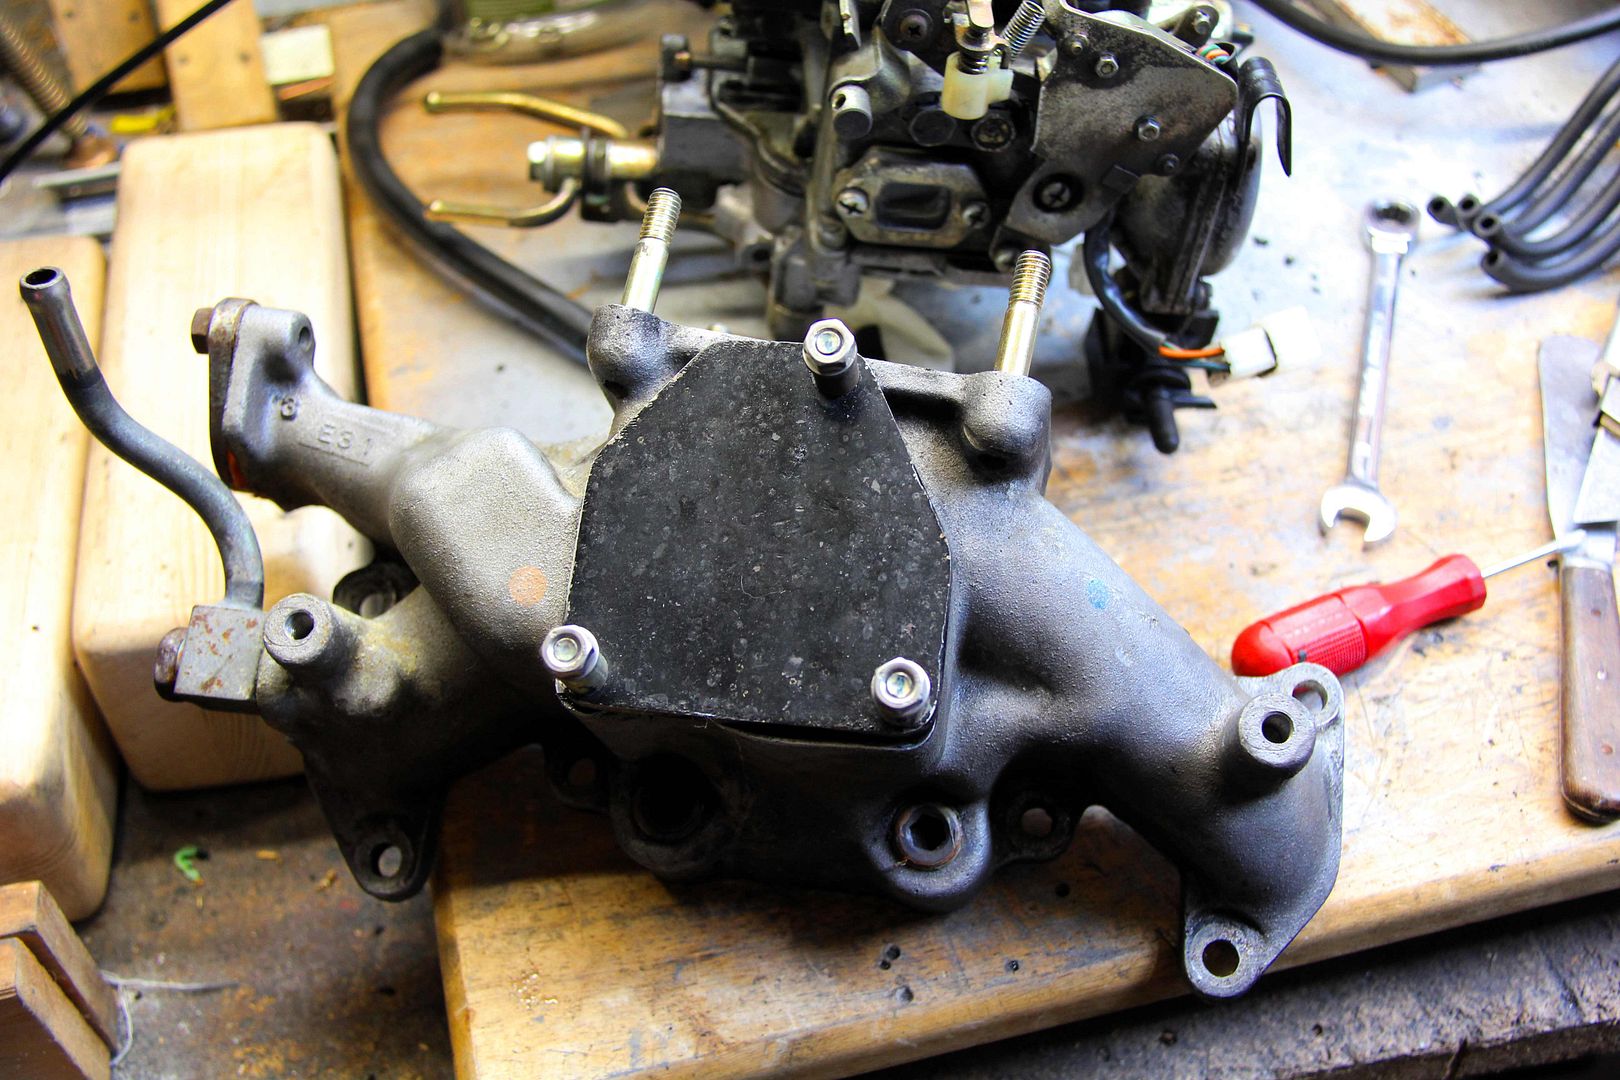
Steve's very kindly donated blanking plate going on the face of the mani where the air bypass bollockery once sat. Galloooons of RTV sealant not pictured lol
Image

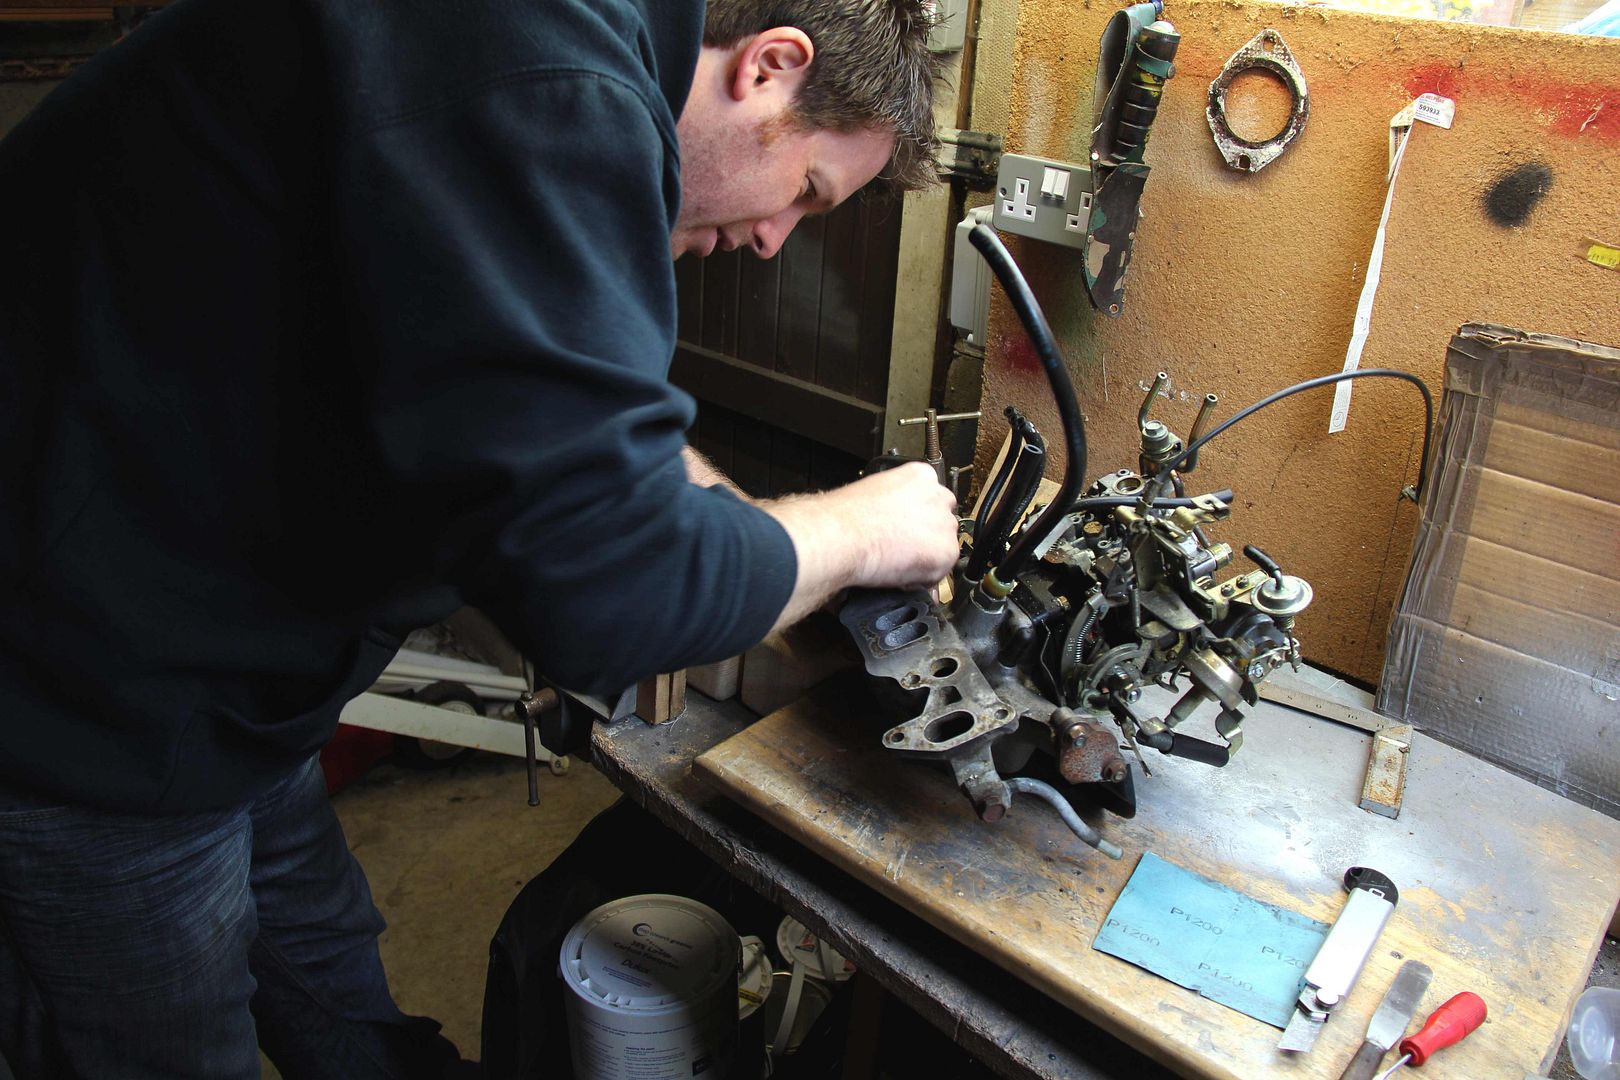
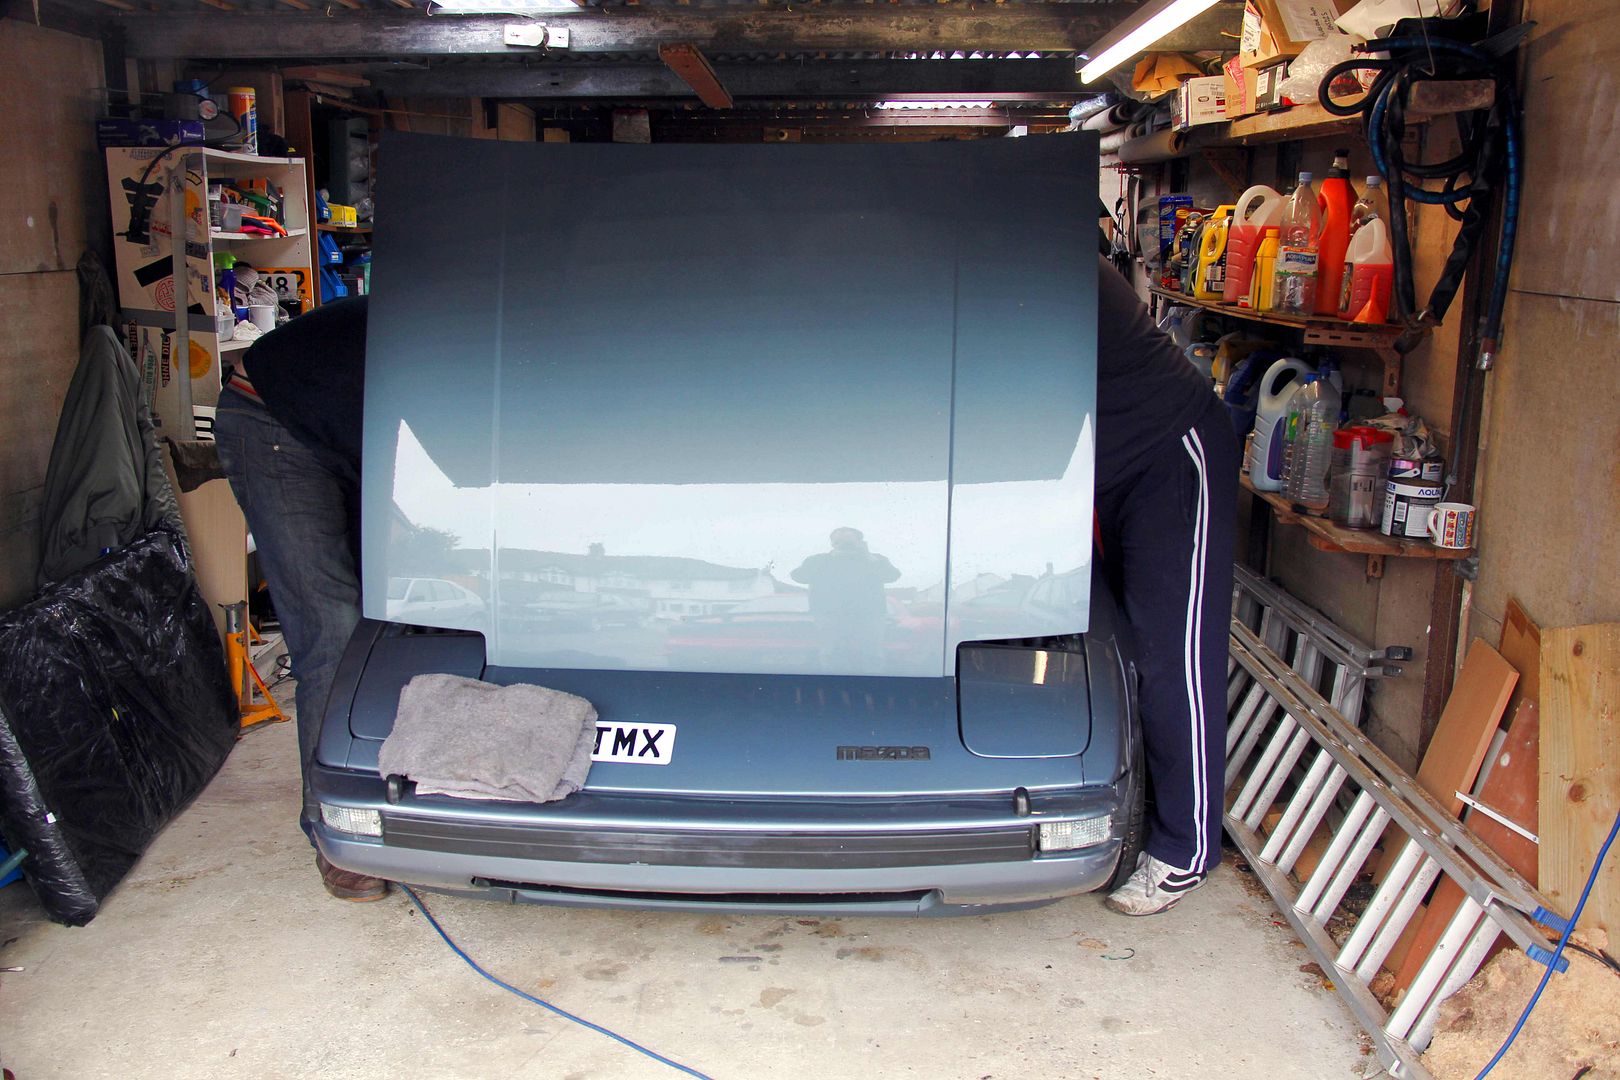
A fool stands in the rain taking photos while his mates work and break their backs. Or something. Old Chinese proverb say...
Image

To be honest, it was a terrible day for working on cars, Hurricane Barry was in full honk and I've never been so glad that we had the leaky old garage roof repaired last year and power put in. Nirvana. Here's the engine all going back together. Only broke the tip off the solenoid for the ACV, which presumably doesn't do anything any more anyway. Wowsers. A rotary, and we only broke one bit? :shock: Not so, actually, broke the clip that holds the bonnet stay as well. And lost the clip for the top line on the aircleaner housing. That's the three then
Image

For some reason none of us could figure out how the hell to get the throttle cable back on with it all in situ, so the carb had to be loosened again to get it on. Surely you don't have to take the carb off every time the throttle cable needs removing? Maybe we is just thick lol
Image

And this is the aftermath... gasket. No, really. This was a gasket once
Image

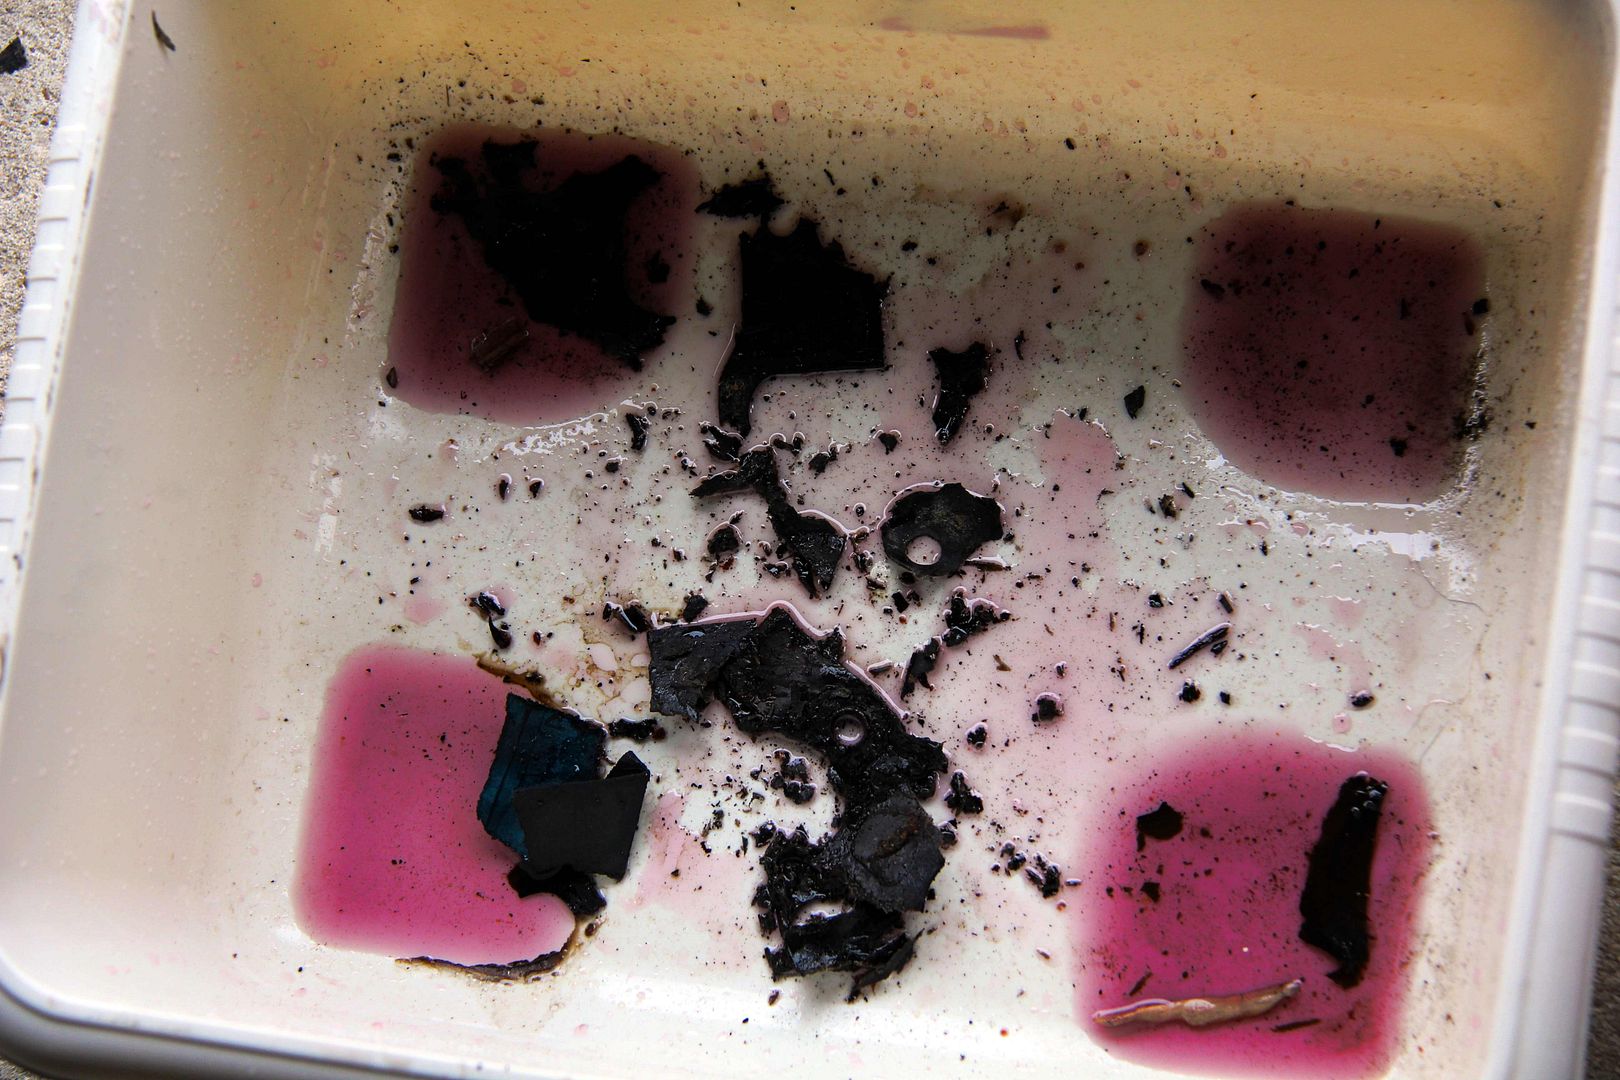
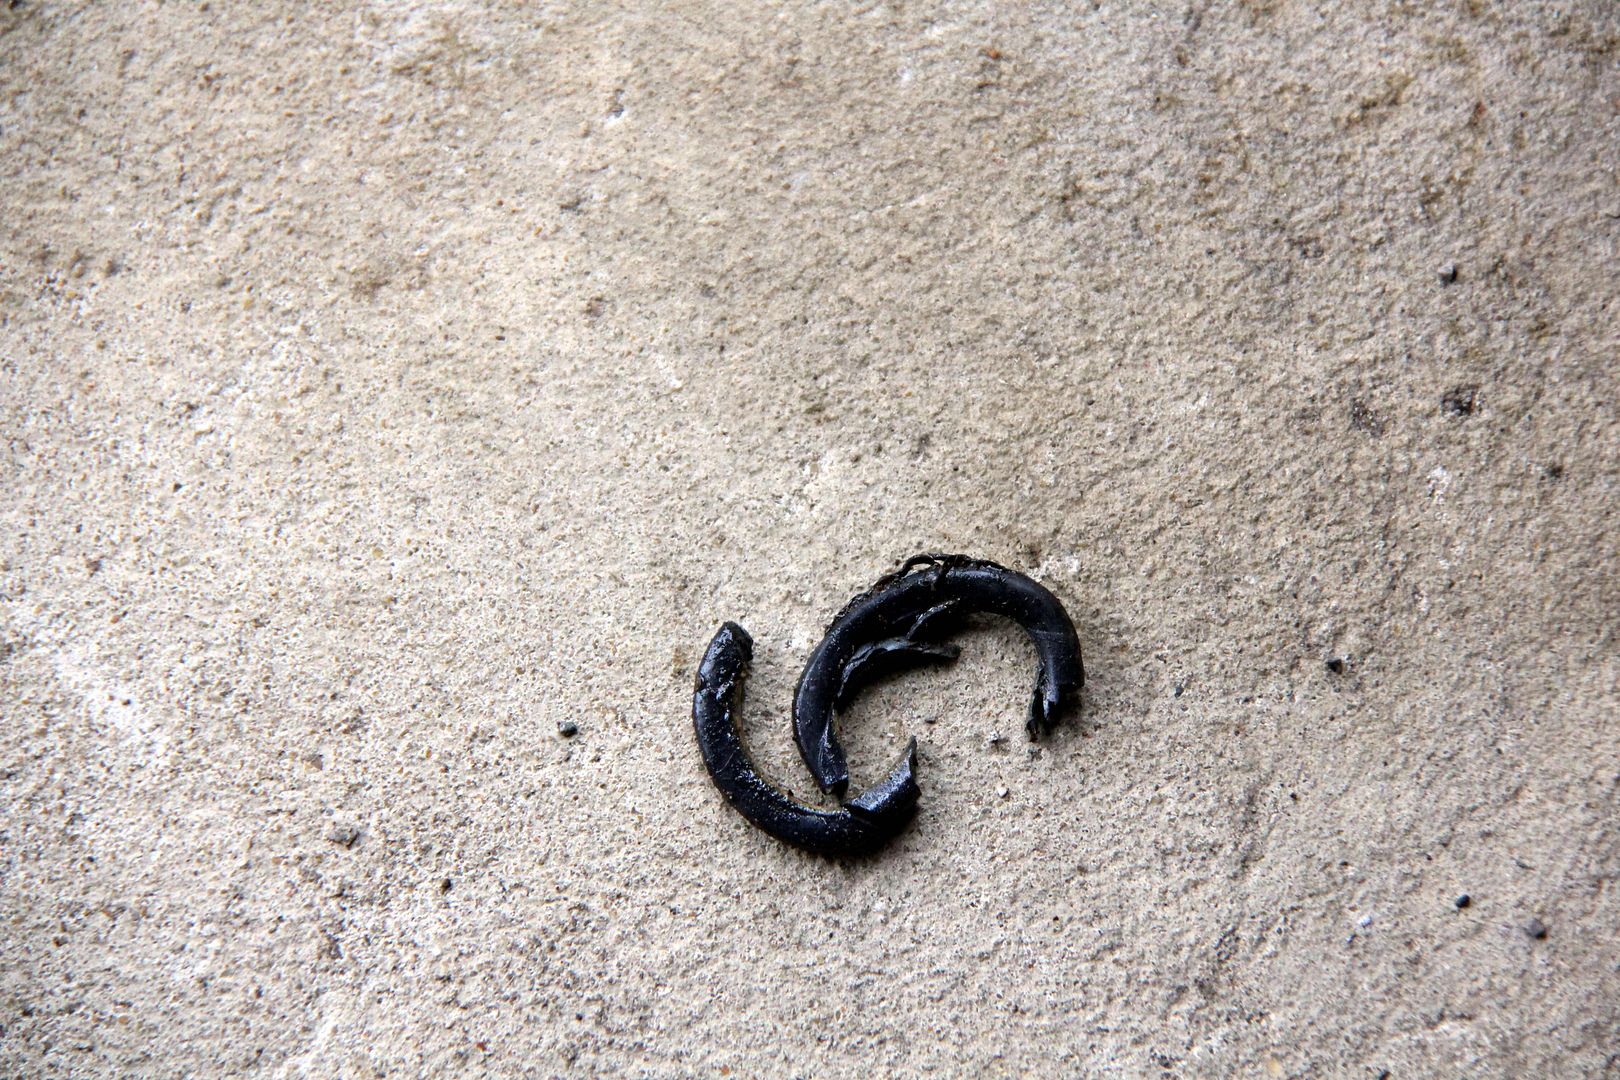
The culprit, seriously defunct O-ring
Image

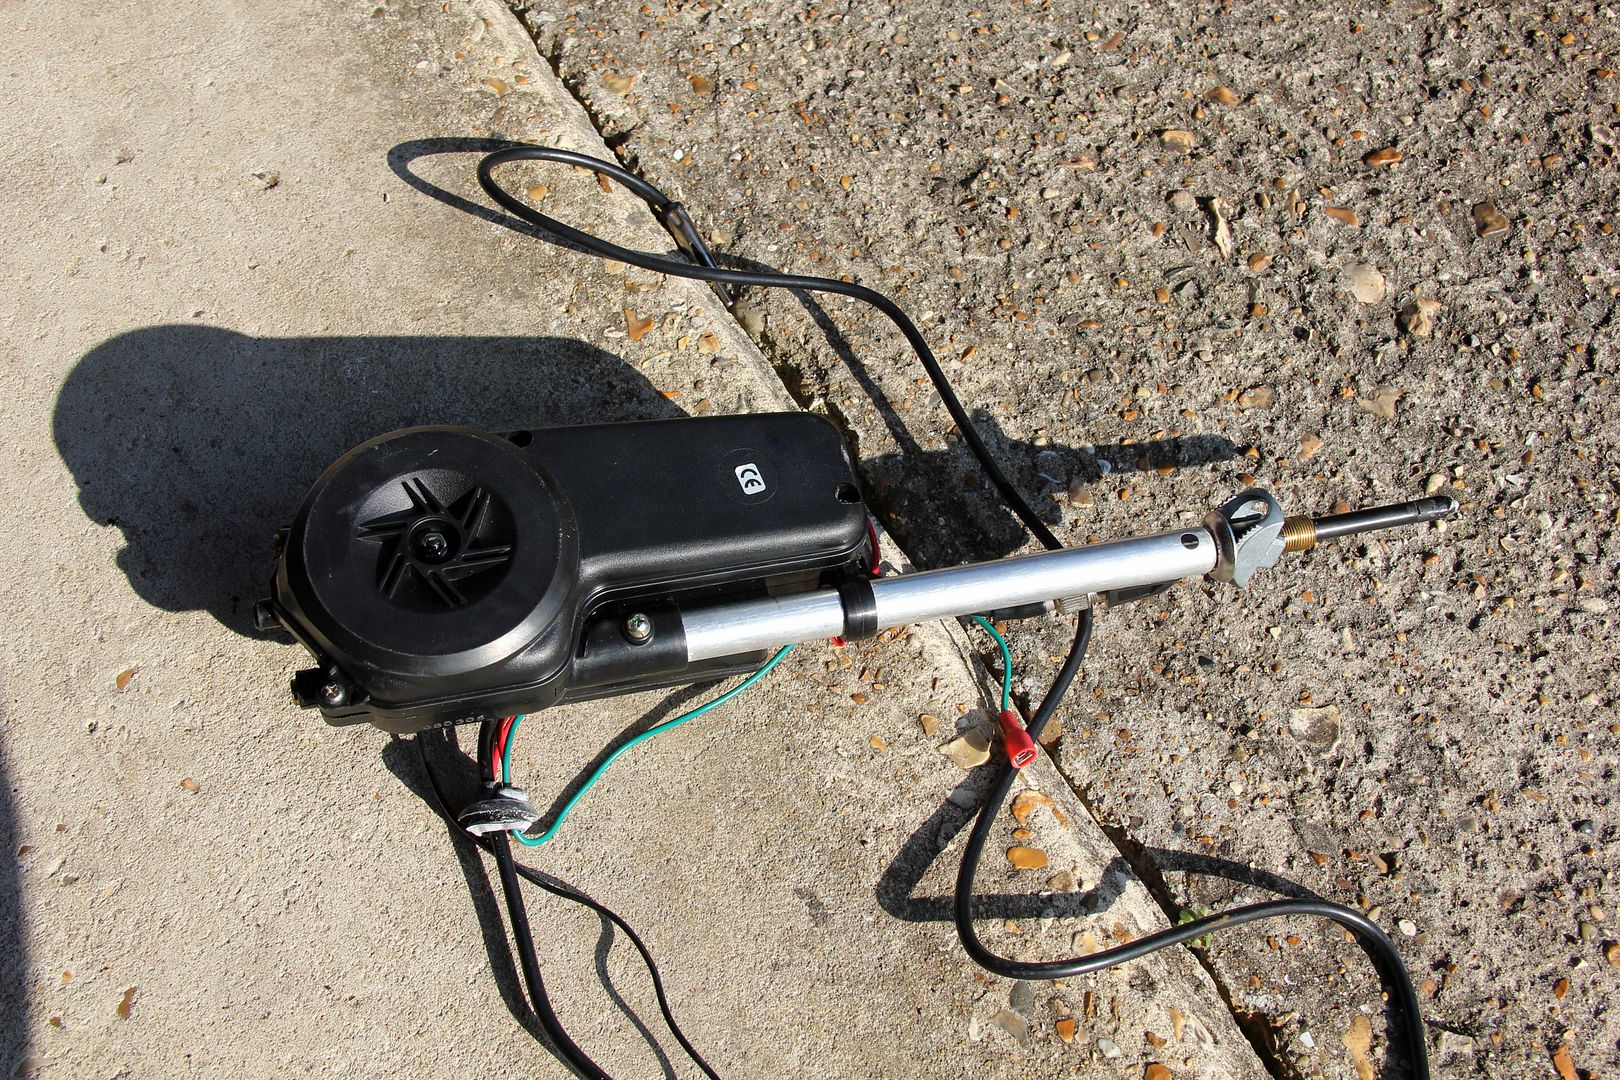
Several pounds of obsolete pigiron
Image

So, she's all good. All back together, runs lovely, no apparent leaks. Ask me again in a week, but fingers crossed we're all good.


What a top petrolhead weekend I've had, then: Friday was fixing mutant electrical faults on the FD. Saturday was muscle car supersize me daftness
Image

Sunday was learning clever stuff from Ramon and sharing quality Exile je ne se quoi with Tim
Image

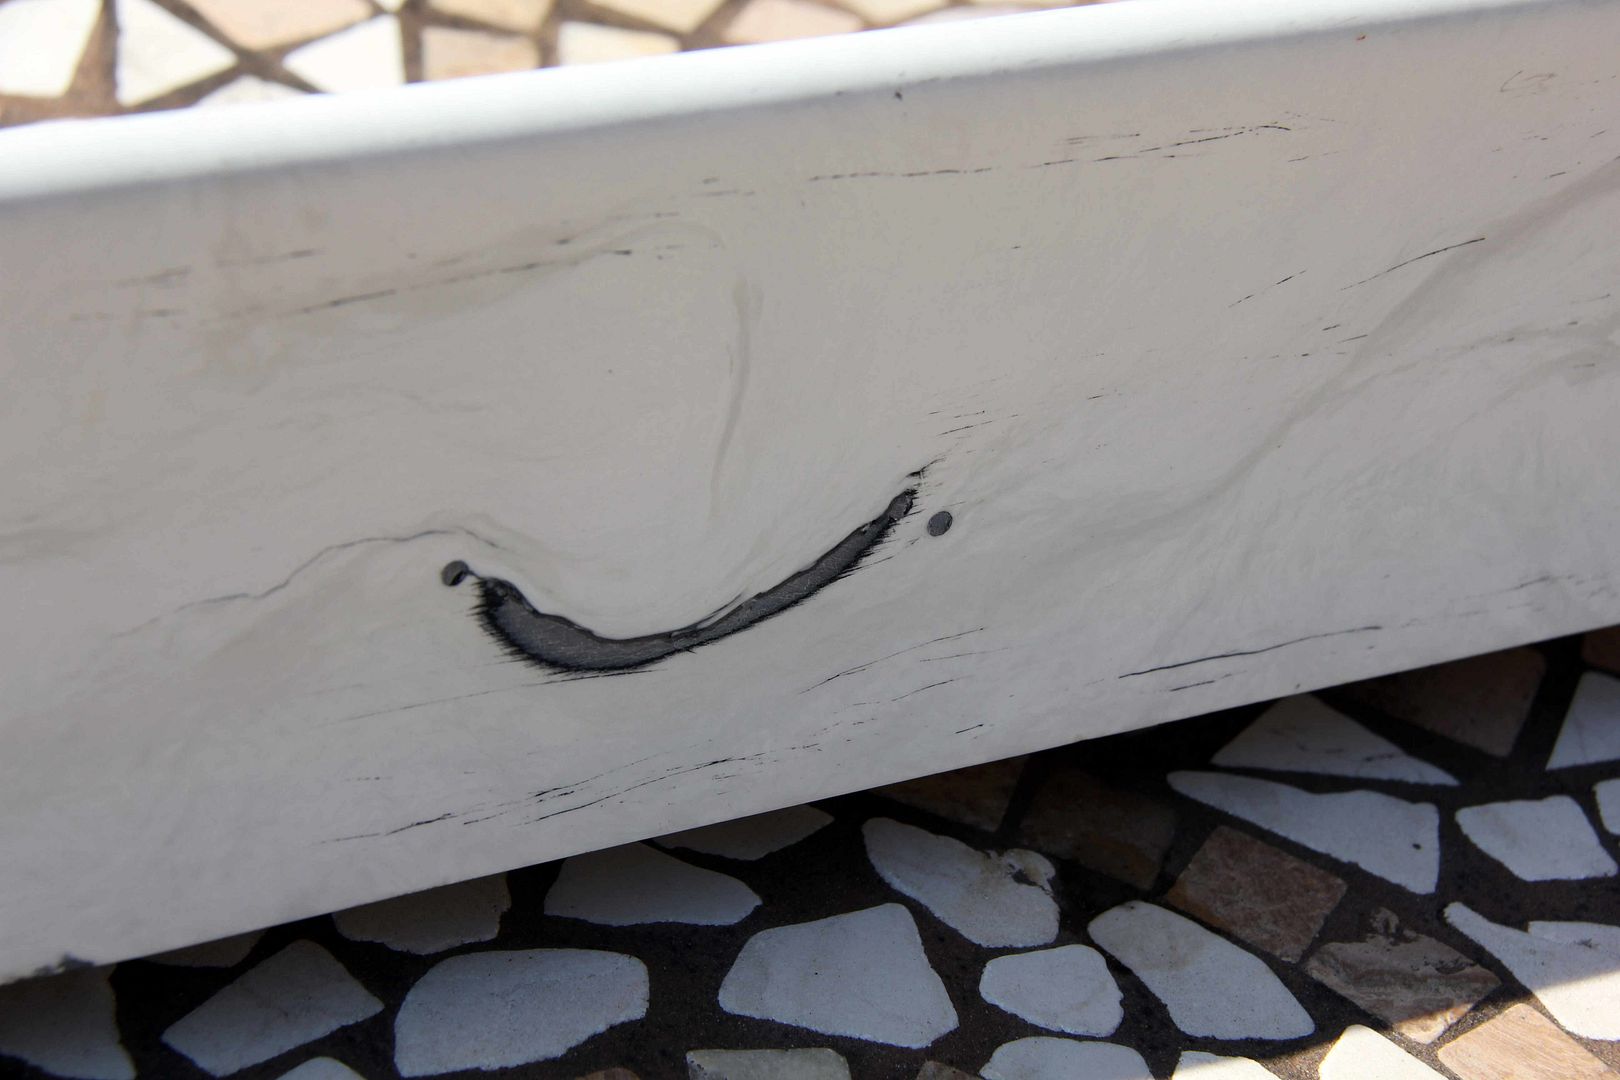
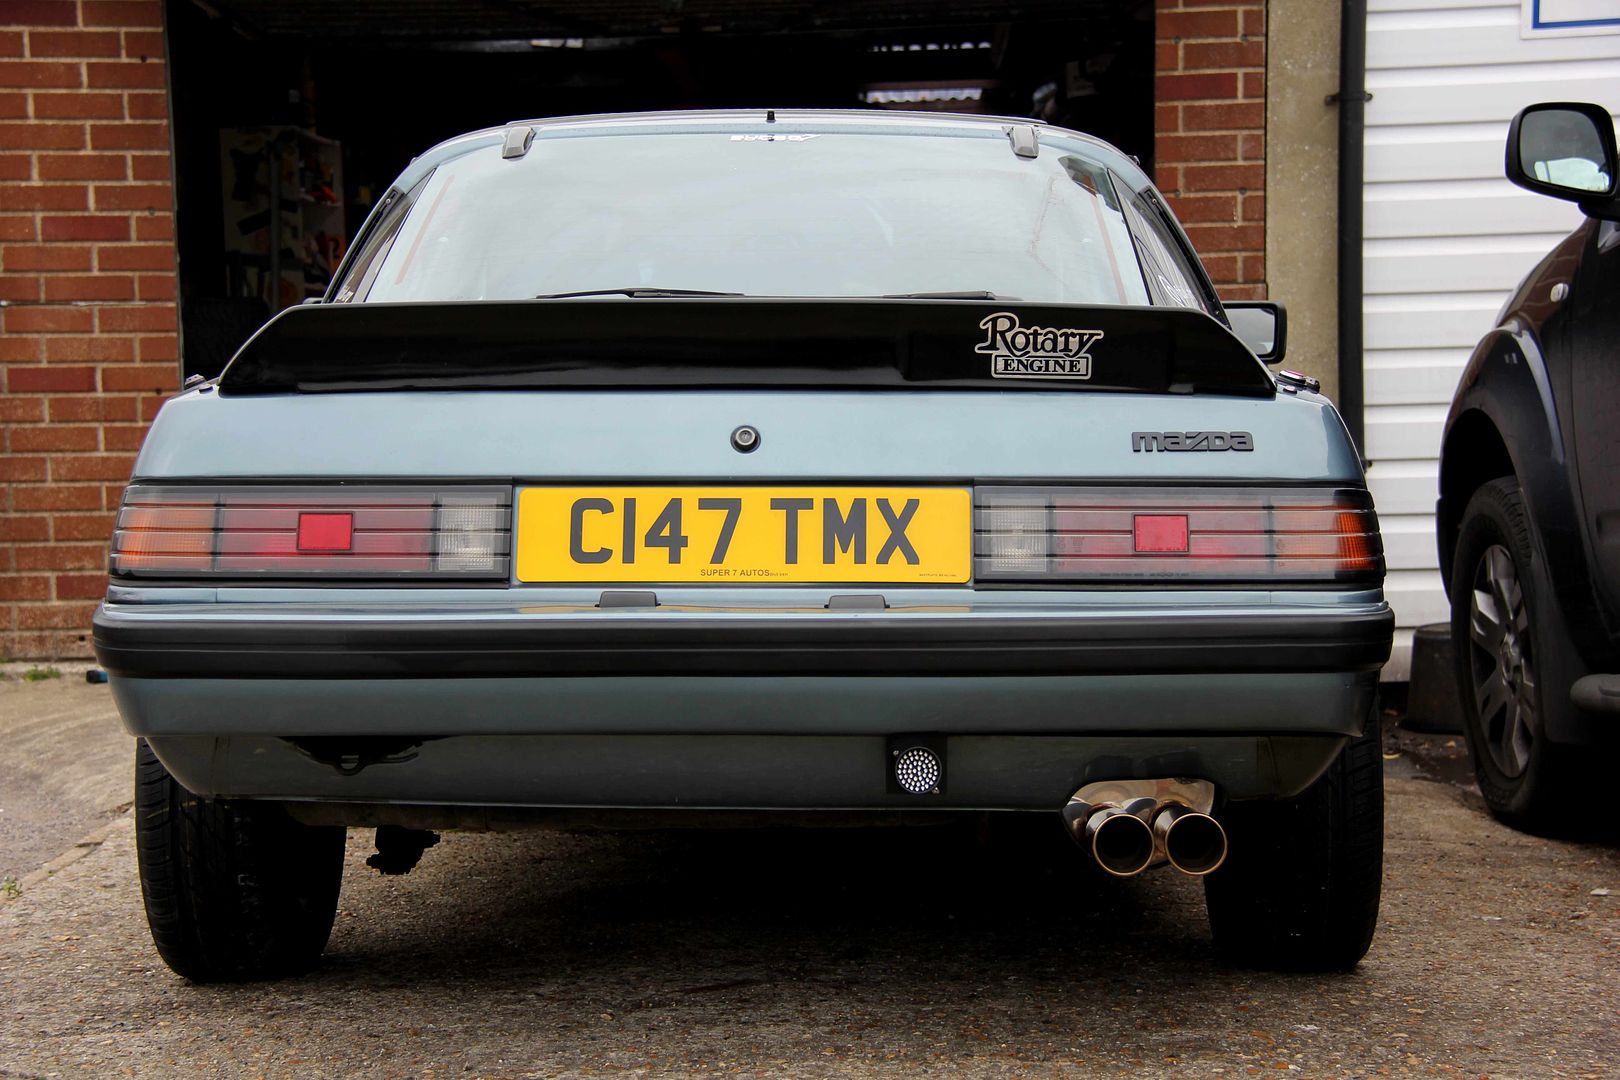
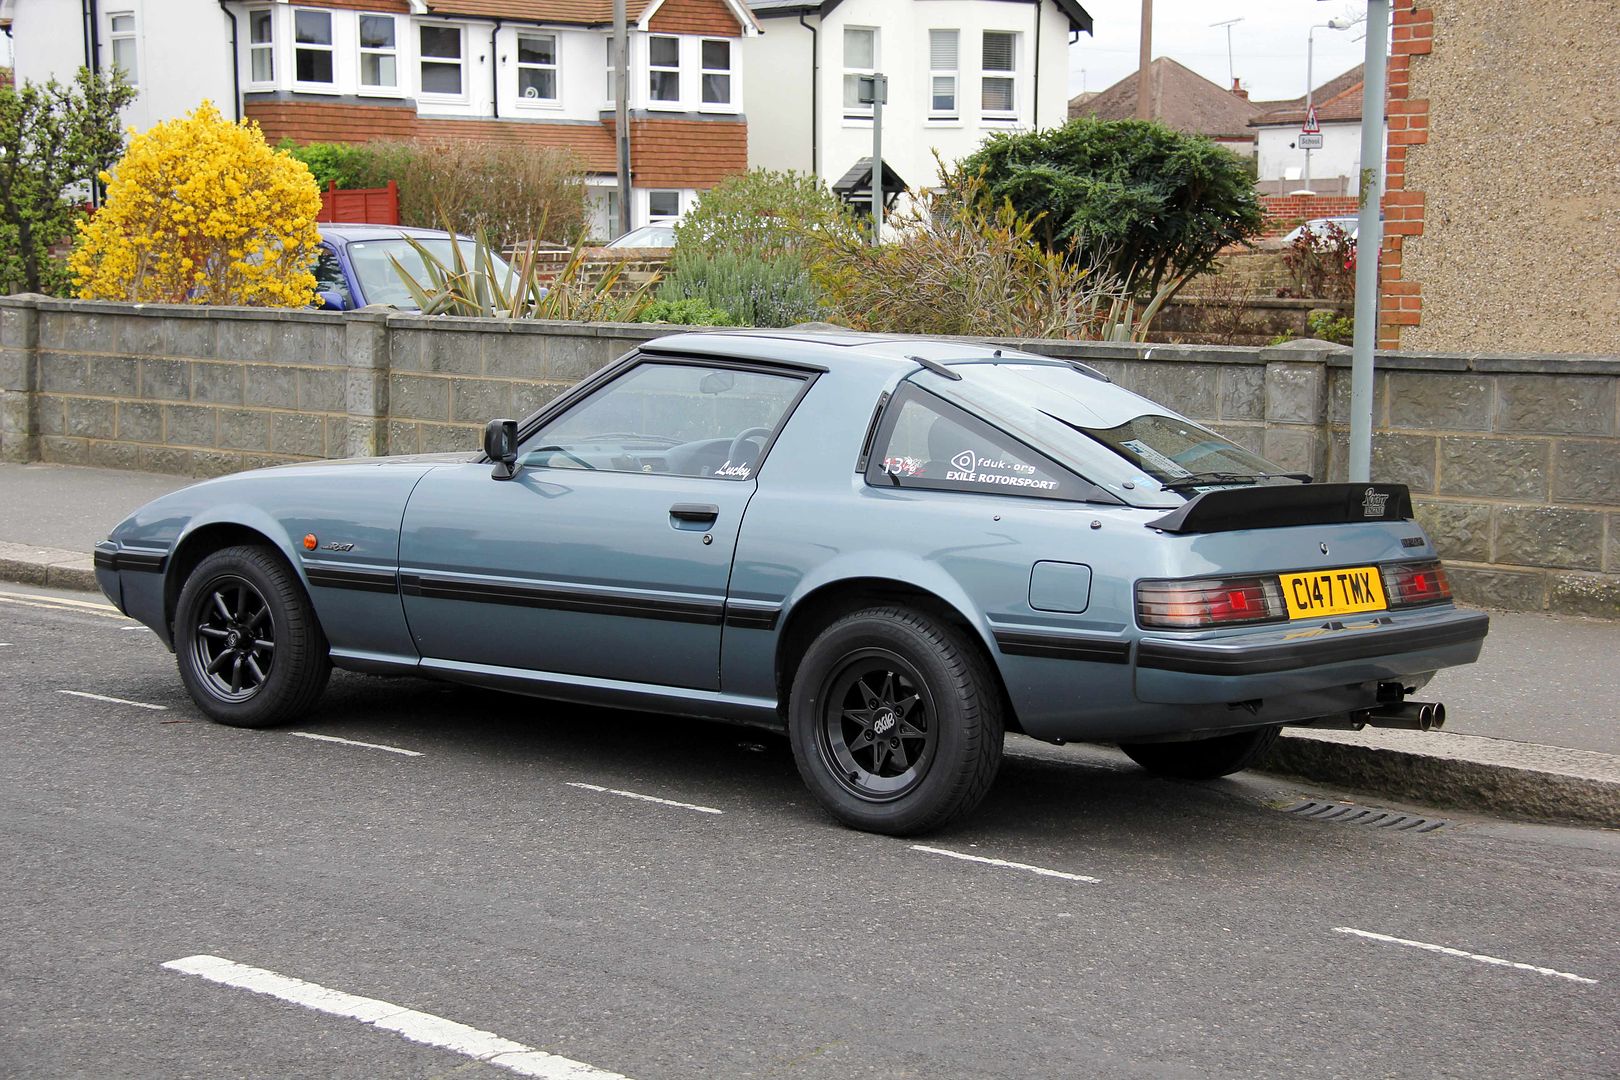
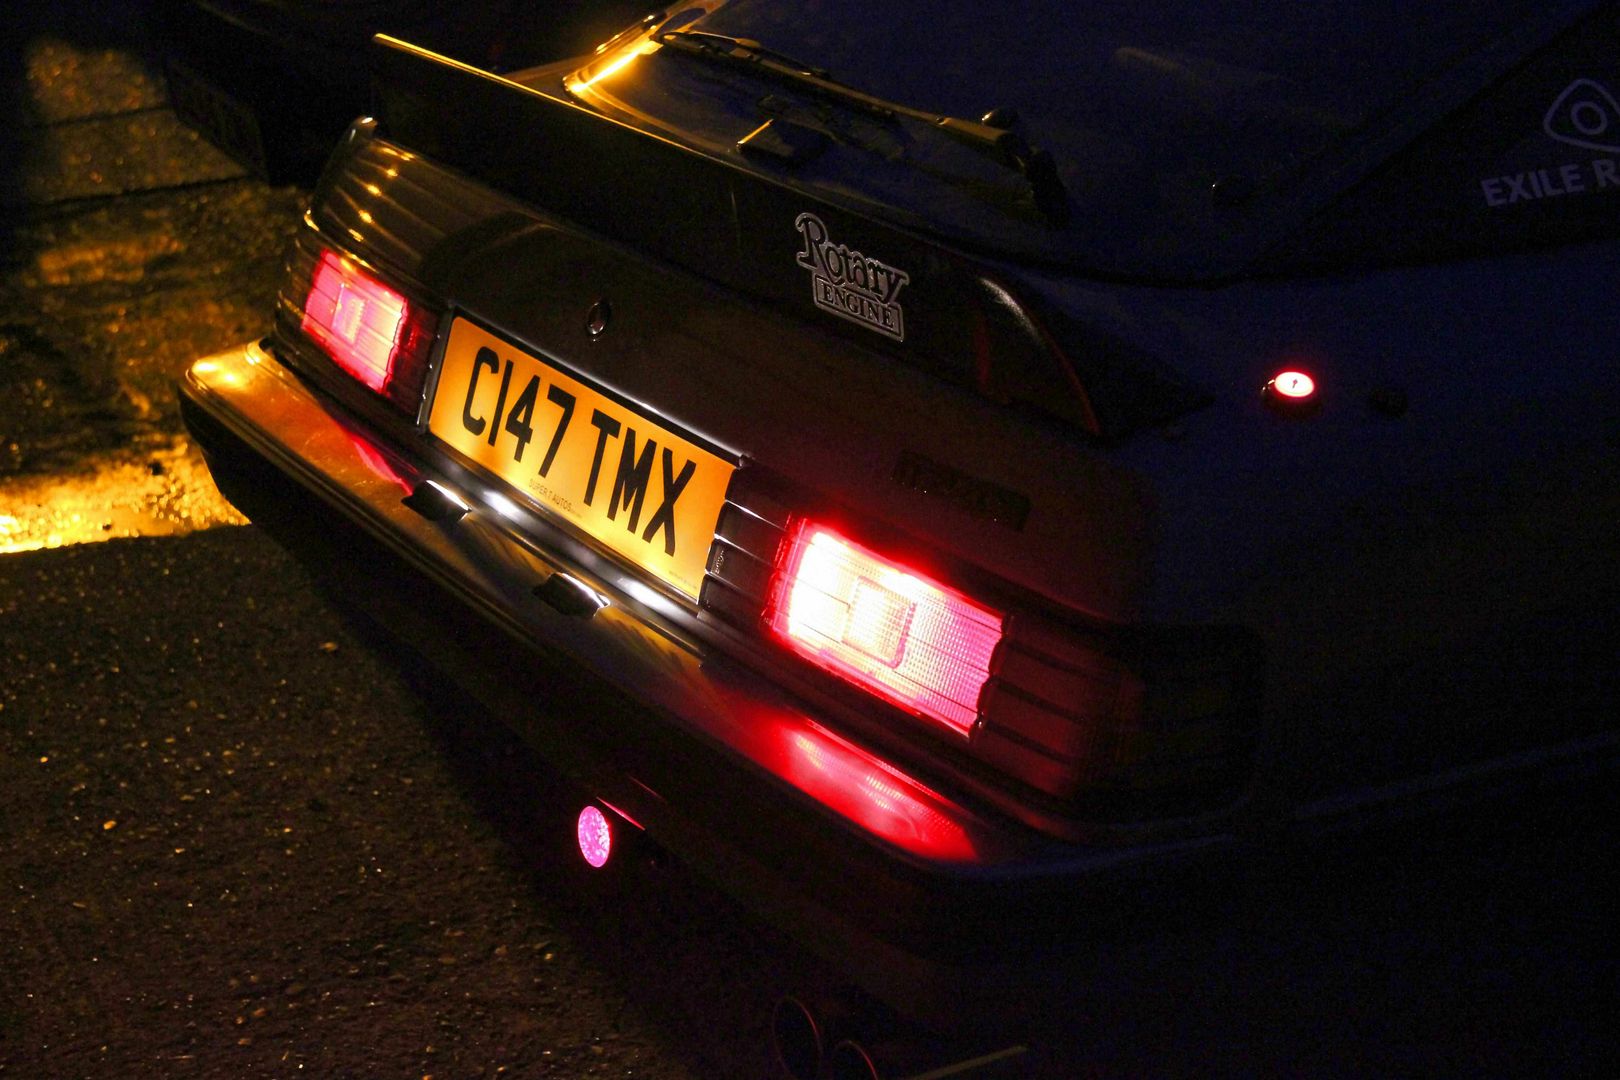
And Monday was fixing an on-going fault on ol' Safka and losing a load of extraneous crap from the engine. Happy days. On Tuesday I think I shall sleep. Meanwhile, have an arty pic to leave on...

Image

Now it's gin o'clock, bye :D
Lucky
VIP User
VIP User
Posts: 2685
Joined: Mon Nov 07, 2011 8:30 pm
Location: Worthing, UK
Been thanked: 5 times

Re: Lucky's Series 3

Post by Lucky »

....why IS there a window in my carburettor? :?
User avatar
Steve-A
VIP User
VIP User
Posts: 560
Joined: Thu Mar 31, 2011 11:20 pm
Location: Bromsgrove, Worcs
Been thanked: 4 times

Re: Lucky's Series 3

Post by Steve-A »

Thats a busy weekends worth! :)

The window in your carb is so you can check the floats are working properly and there's the correct depth of fuel in the carb. Should be halfway up the window IIRC.
Ex-rotor owner exploring the world of pistons and valves....
Post Reply

Return to “RX7 Rides and projects”